Why Is My External Hard Drive Not Showing Up On My Computer?
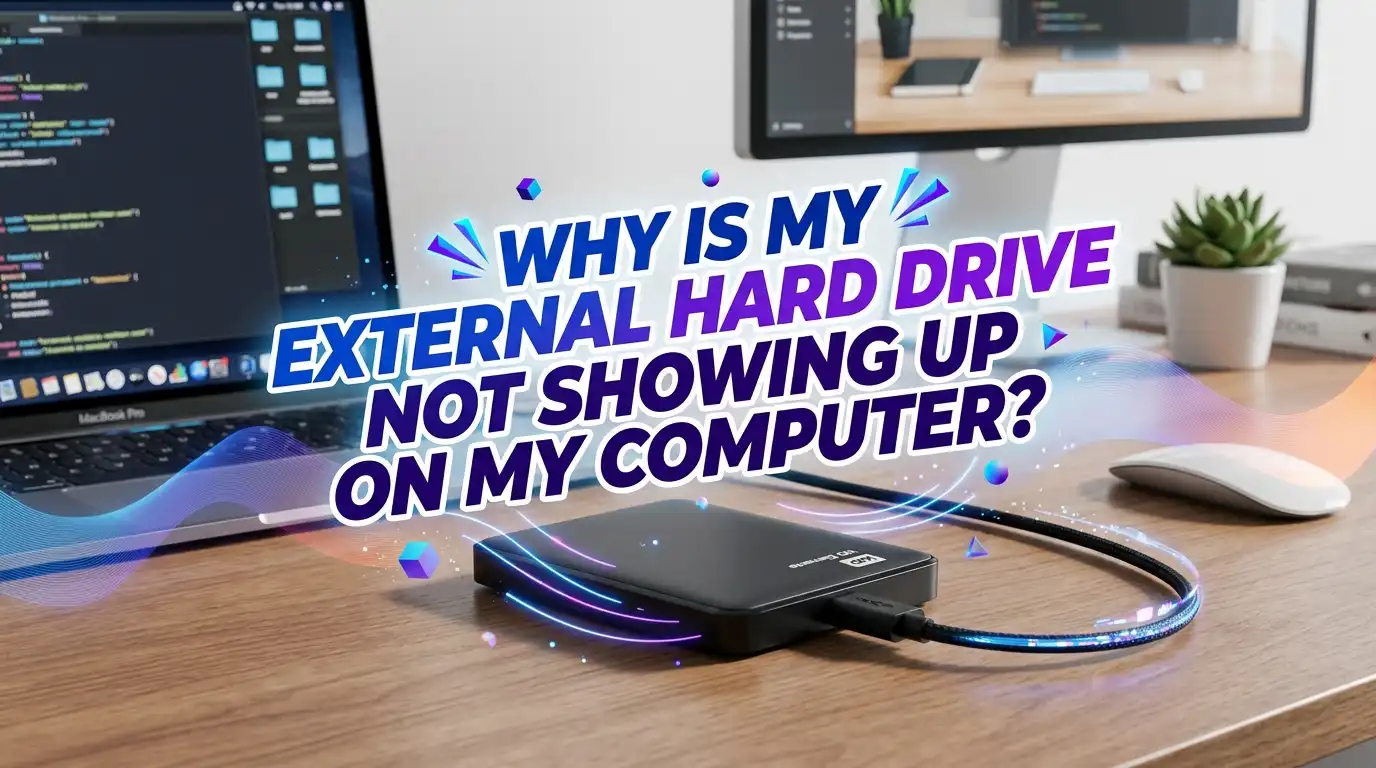
Your external hard drive holds your photos, work files, backups, and memories. So when you plug it in and nothing happens, your heart sinks fast.
The drive spins, the light blinks, but your computer acts like it does not exist. That blank screen feels scary, but the good news is simple. Most of these problems have fixes you can do yourself.
This guide walks you through every common cause and a clear solution for each one. You do not need to be a tech expert. You just need a few minutes and a little patience. We cover both Windows and Mac, from quick checks to deeper repairs. Let us bring your drive back to life.
Key Takeaways
- Start with the basics first. Loose cables, weak USB ports, and dusty connectors cause more problems than failed drives. A different cable or port often solves everything in seconds.
- Disk Management is your best friend on Windows. This built in tool shows drives that File Explorer hides. You can assign a drive letter or fix a missing one right there.
- Disk Utility does the same job on Mac. It reveals drives that the desktop and Finder do not show. The First Aid feature repairs many software errors.
- A drive can be healthy but unreadable. An uninitialized or RAW drive needs setup or repair, not replacement. Recover your data before you format anything.
- Power matters more than people think. Big desktop drives sometimes need more power than one USB port gives. A powered hub or separate adapter can fix this.
- Strange noises mean stop. Clicking or beeping points to physical damage. Turn the drive off and call a recovery pro before you lose your files for good.
Check Your Cable, Port, and Physical Connection First
The simplest fixes work most often, so always start here. A worn or cheap cable is a top reason drives go missing. Many cables carry power but not data, which fools people every time. Swap your current cable for a known good one and try again.
Next, move the drive to a different USB port on your computer. Front panel ports on desktops can be loose or underpowered. Plug straight into a rear port instead, since those connect to the motherboard directly. Avoid USB hubs during this test because they can block weak signals.
Look at the connectors too. Dust, lint, or bent pins stop a clean connection. Gently clean both ends with dry air. A simple cable change fixes a huge share of these problems.
Pros: Fast, free, and safe. Cons: It will not help if the drive itself has failed.
Restart Your Computer and Reconnect the Drive
A restart sounds too easy, but it clears many temporary glitches. Your operating system sometimes fails to load the right driver when you plug in a drive. A fresh boot forces the system to scan all devices again. This small step solves a surprising number of detection errors.
First, safely remove the drive if your computer shows it at all. Then shut the computer down completely. Wait about thirty seconds before you power it back on. This pause lets the USB controllers fully reset.
Once your desktop loads, plug the drive directly into a rear port. Give it a full minute to mount before you check again. Listen for the spin up sound and watch for the activity light. If both work, your data is likely safe.
Pros: Quick and risk free. Cons: It often only helps with minor software hiccups.
Use Disk Management to Find the Drive on Windows
Sometimes your drive works fine but File Explorer just hides it. Disk Management shows every connected drive, even hidden ones. This free Windows tool gives you a clear view of the real situation.
Right click the Start button and pick Disk Management from the menu. Wait for the list of drives to load fully. Scroll down and look for your external drive in the lower panel. A drive with no letter or with the word Unallocated needs your attention.
If you see the drive here, the hardware is almost certainly healthy. The problem is just a setting or label that you can fix. Seeing your drive in this window is great news. It means your files are probably still safe and waiting.
Pros: Reveals hidden drives clearly. Cons: Some fixes from here can erase data if done wrong.
Assign or Change the Drive Letter
A missing drive letter is one of the most common hidden causes. Windows needs a letter like E or F to show a drive in File Explorer. Without one, the drive stays invisible even though it works. Adding a letter often brings the drive back instantly.
Open Disk Management as shown above. Right click your external drive partition and choose Change Drive Letter and Paths. Click Add, then pick any free letter from the list. Confirm your choice and close the window.
Sometimes a letter conflicts with another device. If that happens, change it to a different letter instead. Pick a letter far down the alphabet to avoid clashes. Your drive should now appear in File Explorer right away.
Pros: Simple, safe, and keeps your data intact. Cons: It only works when a partition already exists on the drive.
Update or Reinstall the Drive Drivers
Drivers tell your computer how to talk to your hardware. When a driver gets corrupted or outdated, the drive stops responding. Reinstalling the driver gives your system a fresh start. This fix helps when the drive shows in Device Manager but nowhere else.
Right click Start and open Device Manager. Expand the section called Disk drives or Universal Serial Bus controllers. Find your external drive, right click it, and choose Update driver. Let Windows search automatically for the newest version.
If updating does nothing, try the next trick. Right click the drive again and pick Uninstall device. Do not panic, this only removes the driver. Unplug the drive, restart, and plug it back in so Windows installs a clean driver.
Pros: Fixes communication errors well. Cons: It takes a few steps and may need an internet connection.
Initialize a Drive That Shows as Unknown or Not Initialized
A brand new drive often arrives without setup. Windows then labels it as Not Initialized in Disk Management. An uninitialized drive cannot store or show files yet. You must initialize it first before it works.
In Disk Management, right click the unknown disk and pick Initialize Disk. Choose GPT for modern systems or MBR for very old computers. Then right click the unallocated space and select New Simple Volume. Follow the wizard to format and add a letter.
Warning, only do this on a truly new or empty drive. If your old drive suddenly shows as not initialized, stop now. That can mean data damage, and formatting will erase everything. Recover your files first before any setup.
Pros: Perfect for fresh drives. Cons: It deletes all data, so it is risky for used drives.
Fix a RAW Drive Without Losing Your Data
Sometimes Windows shows your drive as RAW instead of NTFS or FAT32. A RAW label means the file system is damaged or unreadable. Your files may still sit safely on the drive. The goal is to repair the system, not wipe it.
First, try the built in repair tool. Open Command Prompt as an administrator and type chkdsk with your drive letter and the /f switch. This scans and fixes many file system errors. Run this before you even think about formatting.
If chkdsk fails, use data recovery software to pull your files off first. Save them to a different drive for safety. Only format the RAW drive after your files are safe. Formatting rebuilds the file system and makes the drive usable again.
Pros: Can save important data. Cons: Recovery is not always complete, and formatting erases everything.
Open Disk Utility to Detect the Drive on Mac
Mac users have their own powerful tool called Disk Utility. It shows drives that the desktop and Finder refuse to display. This app reveals the true health and status of your drive.
Press Command and Space, type Disk Utility, and press Enter. Look at the left sidebar for your external drive name. Click View at the top and choose Show All Devices for a full list. A grayed out drive means it is connected but not mounted.
If you see the drive here, your hardware is likely fine. The issue is usually a mount or file system problem. Spotting your drive in this window is a strong sign your data survives. You can now move to repair steps with confidence.
Pros: Clear view of hidden Mac drives. Cons: Some repairs may need extra recovery tools.
Mount the Drive or Run First Aid on Mac
When your Mac sees the drive but does not show it, mounting helps. A drive must mount before Finder can open it. Disk Utility lets you mount it with one click. This often brings the drive straight back to your desktop.
In Disk Utility, click the grayed out drive in the sidebar. Then click the Mount button at the top. If it mounts, your drive will appear right away. This single button fixes many Mac detection problems.
If mounting fails, run First Aid instead. Select the drive and click the First Aid button. This tool scans for errors and repairs the file system. First Aid fixes many soft errors without touching your files. Let it finish fully before you unplug anything.
Pros: Repairs common Mac issues safely. Cons: It cannot fix serious physical damage.
Adjust Finder and System Settings on Mac
Your Mac might hide drives because of a simple setting. Finder controls whether external drives appear on your desktop. A turned off option makes a working drive look invisible. This fix takes only a few seconds.
Open Finder, click Finder in the top menu, then choose Settings. Click the General tab and check the box for External disks. Now go to the Sidebar tab and check External disks there too. Your drive should appear on the desktop and in the sidebar.
If it still hides, check System Information for the connection. Open it, click USB, and look for your drive in the list. If it shows here, the connection works fine. The problem then lies in mounting or formatting, not the cable.
Pros: Very easy and safe. Cons: It only helps when the drive already works at the system level.
Test the Drive on Another Computer
This step tells you whether the drive or the computer is at fault. A drive that fails everywhere likely has a real problem. A drive that works elsewhere points to a settings issue on your main machine. This simple test saves you hours of guessing.
Borrow a friend’s computer or use a second one you own. Plug the drive in with a good cable and a rear port. Give it a full minute to load and check both File Explorer and Disk Management. Try both a Windows and a Mac if you can.
If the drive shows up there, your first computer needs the fixes above. If it fails on every machine, the drive itself is the issue. This clear answer guides your next move.
Pros: Pinpoints the real cause fast. Cons: You need access to a second computer.
Solve Power Problems With Larger Drives
Big desktop drives need more power than small portable ones. One USB port sometimes cannot supply enough wattage. The drive then spins weakly or fails to start at all. This is a common and easy to miss cause.
Listen closely when you plug the drive in. A faint or struggling spin sound hints at weak power. Use a powered USB hub or the drive’s own power adapter if it has one. This gives the drive the steady energy it needs.
Also turn off power saving settings that cut USB power. In Windows, check the USB selective suspend setting under power options. Disabling it keeps your ports fully active. Steady power often wakes a drive that seemed dead.
Pros: Fixes a hidden hardware shortfall. Cons: You may need to buy a hub or adapter.
Know When to Stop and Call a Data Recovery Pro
Some sounds mean you must stop trying right away. Clicking, beeping, or grinding points to physical damage inside the drive. Every extra attempt can make the damage worse. Your files become harder to save with each spin.
Turn the drive off the moment you hear these noises. Do not open the case or try shaking tricks you find online. A dust free lab is the only safe place for physical repair. Home attempts usually destroy any chance of recovery.
Contact a trusted data recovery service and explain the symptoms. Ask for a quote before they begin any work. Professional help costs money, but your memories may be worth it. Acting fast gives you the best odds.
Pros: Offers the best chance to save important data. Cons: It can be expensive and is not guaranteed.
Frequently Asked Questions
Why does my external hard drive light turn on but it still does not show up?
A glowing light only means the drive gets power. It does not prove the data connection works. The cause is often a bad cable, a missing drive letter, or a driver problem. Check Disk Management on Windows or Disk Utility on Mac to find the drive and fix the setting.
Can I recover my files if my drive shows as RAW or not initialized?
Yes, in many cases your files are still there. A RAW or uninitialized label often means a software error, not data loss. Use data recovery software to copy your files to another drive first. Only format or initialize after your files are safe, since those steps erase everything.
Will I lose my data if I assign a new drive letter?
No, changing or adding a drive letter is completely safe. This action only changes the name your computer uses for the drive. Your files stay exactly where they are. This differs from formatting, which wipes all data, so do not confuse the two steps.
Why does my drive work on one computer but not another?
This usually means a settings or driver issue on the failing computer. The drive itself is fine if it works elsewhere. Try updating drivers, assigning a drive letter, or adjusting Finder settings on the problem machine. A different file system can also cause this between Windows and Mac.
What does clicking or beeping from my external hard drive mean?
Those sounds point to physical damage inside the drive. The read head or motor is likely failing. Turn the drive off right away and stop all attempts. Continued use can destroy your files. Contact a professional data recovery service, since home fixes almost always make the problem worse.
How do I stop this problem from happening again?
Use a good quality cable and always eject the drive safely before unplugging. Sudden removal damages the file system over time. Keep the drive cool, dry, and free from drops. Most importantly, back up your files to a second location, so one failure never costs you your memories.

Hi, I’m Lola Griffin 👩💻, the voice and creator behind ResizerBox. I’m a passionate tech enthusiast who loves exploring the latest gadgets, smart devices, and trending Amazon electronics. Through my reviews, I share honest insights, real-world testing experiences, and practical buying advice to help readers make confident tech choices.