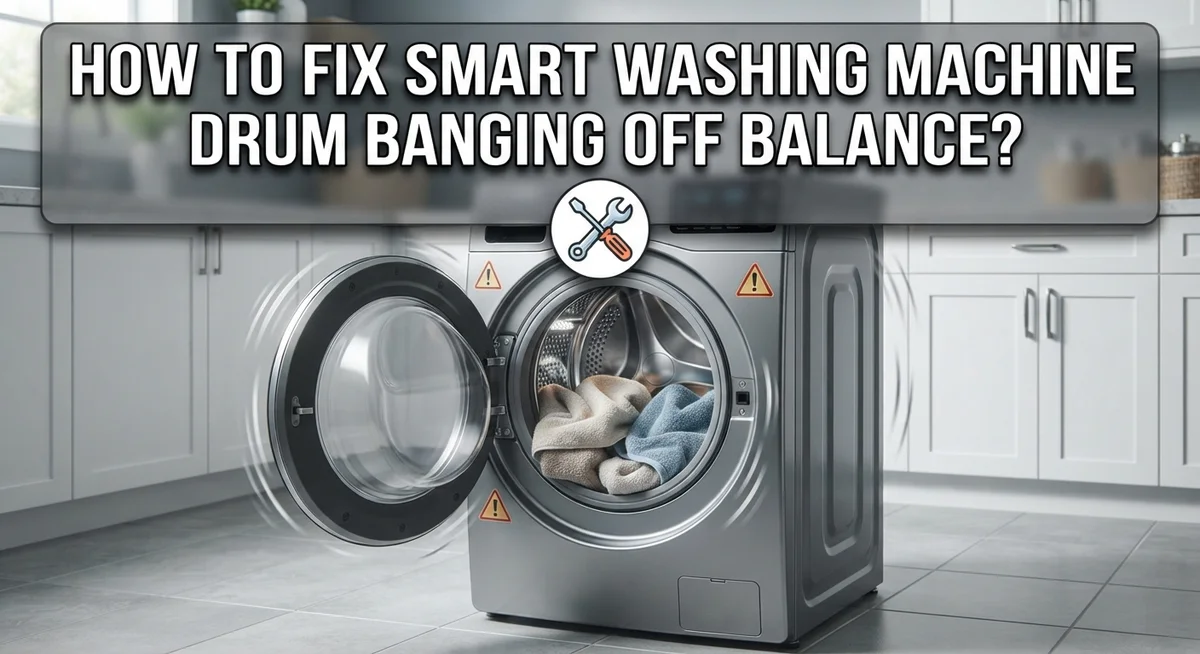
How To Fix Smart Washing Machine Drum Banging Off Balance?
Does your smart washing machine sound like a drum solo during spin cycle? You are not alone.
That loud banging noise often means your drum is off balance. It can happen even with the smartest, most advanced machines.
The good news? You can fix this problem yourself. Most of the time, it does not need a professional repair visit.
In a Nutshell
- Redistribute your laundry first. Uneven loads cause most banging noises. Spread clothes evenly around the drum before running any cycle.
- Level your washer legs next. A tilted machine shakes and bangs during spin cycles. Adjust the feet until the washer sits flat and steady.
- Check your suspension rods and shock absorbers. Worn parts let the drum swing too much. Replace them if you notice excess movement or damage.
- Inspect the counterweights inside your machine. Loose or broken weights throw off balance completely. Make sure they stay secure and intact.
- Listen for bearing noise during operation. Grinding or rattling sounds often point to worn bearings. This issue needs professional repair most times.
- Run your washer’s self calibration cycle. Many smart models offer this built in feature. It helps the machine detect and correct balance issues automatically.
Why Smart Washing Machines Bang When Off Balance
Your smart washing machine bangs during the spin cycle because the drum loses its balance. When the drum spins unevenly, it hits the outer tub repeatedly. This creates that loud, unsettling noise you hear.
Uneven load distribution is the most common culprit. Clothes bunch up on one side of the drum instead of spreading evenly. Heavy items like jeans or towels can clump together. When the drum spins fast, this imbalance causes violent shaking and banging against the machine’s walls.
Worn internal components also cause this problem. Suspension rods and shock absorbers hold the drum in place during operation. Over time, these parts wear out and lose their grip. When they fail, the drum swings freely and crashes into the tub.
Loose counterweights throw off the drum’s balance too. These weights sit inside your machine and help stabilize the spinning drum. If bolts loosen or weights crack, the drum becomes unbalanced immediately.
Damaged bearings create additional issues. Bearings allow the drum to spin smoothly. When they wear out, friction increases and the drum wobbles more during spin cycles.
Unlevel washer legs make everything worse. If your machine tilts even slightly, the drum cannot spin evenly. A sloped laundry room floor compounds this problem.
Understanding these causes helps you identify the real issue. Most banging happens because of simple problems like uneven loads or tilted legs. More serious issues involve internal parts that need inspection or replacement. Start with the easiest fixes first. Redistribute your clothes and level your machine. These two steps solve the majority of banging problems without any tools or technical knowledge.
Signs Your Drum Imbalance Needs Immediate Attention
Your smart washing machine sends clear warning signs when the drum goes off balance. Pay attention to these signals so you can fix the problem before it gets worse.
Loud banging sounds during the spin cycle are the most obvious red flag. If your machine sounds like it’s hitting metal repeatedly, your drum is definitely unbalanced. This noise usually gets louder as the spin speed increases.
Excessive vibration and shaking is another major warning sign. Your washer should sit still during operation. If the entire machine moves across the floor or vibrates so hard it rattles nearby items, something is wrong inside.
Strange grinding or squealing noises indicate worn bearings or damaged suspension components. These sounds mean internal parts are rubbing against each other or moving incorrectly. Grinding typically sounds like rough sandpaper rubbing together.
Water leaking from the bottom can signal that vibration has damaged seals or cracked the drum. Leaks combined with banging mean you need to act fast to prevent water damage to your laundry room floor.
The drum stops spinning smoothly or catches during rotation. You might notice the drum hesitates or jerks instead of spinning continuously. This suggests counterweights are loose or bearings are failing.
Burning smells during operation warn you that friction is building up inside. This happens when worn bearings or suspension parts rub excessively.
Don’t ignore these signs. Continuing to use an unbalanced washing machine can damage the drum itself, the tub, and surrounding components. The longer you wait, the more expensive repairs become. Address the problem immediately when you notice any of these warning signs.
Step-by-Step: Redistributing Laundry and Leveling the Washer
Start by stopping your washer and opening the door. Remove all clothes from the drum and check their weight. Most banging happens because clothes bunch up on one side instead of spreading evenly.
Reload your laundry properly. Place heavier items like jeans and towels on opposite sides of the drum. Add lighter clothes between them. This creates balance. Avoid stuffing everything into one spot. Leave some space so clothes can move freely during the spin cycle.
Now check if your washer sits level on the floor. Get a bubble level and place it on top of the machine. If it tilts, your legs need adjustment. Most smart washers have feet you can turn to raise or lower each corner.
Adjust the front legs first. Turn them counterclockwise to raise the machine or clockwise to lower it. The washer should tilt slightly forward, about one quarter inch. This helps water drain properly. Check the back legs too. They may have fixed feet or adjustable ones depending on your model.
After leveling, run a test cycle with a balanced load. Start with just a few items to see if the banging stops. Listen carefully during the spin phase. If noise continues, the issue might be inside.
Consider the floor itself. Some laundry rooms have sloped or uneven surfaces. Placing anti vibration pads under the washer legs can help absorb shock and reduce noise. These pads work with your leveling adjustments to create a more stable foundation.
Test again after making these changes. Most banging problems disappear once you balance the load and level the machine properly.
Inspecting and Replacing Suspension Rods, Shocks, and Counterweights
Suspension rods and shock absorbers work together to keep your drum stable during the spin cycle. When these components wear out, your machine will bang loudly and shake excessively. Here’s how to inspect and replace them safely.
First, unplug your washing machine from the electrical outlet. This is a critical safety step. Access the suspension components by removing the front or rear panel, depending on your model. Your user manual shows exactly where these parts sit.
Look for suspension rods that appear bent, cracked, or disconnected. They should attach firmly at both ends. Gently push on the drum by hand. Excessive movement means the suspension system has failed. Take photos before removing anything so you remember how components fit back together.
Shock absorbers dampen vibration during spinning. Check them for fluid leaks or visible damage. A worn shock absorber feels loose or makes a hollow sound when tapped lightly. These components must be replaced as a pair to maintain balance.
Counterweights hang from the drum and help distribute spinning forces evenly. Verify that bolts securing counterweights are tight. A loose counterweight creates significant banging. Tighten any loose fasteners with the appropriate wrench.
When replacing suspension rods or shocks, buy parts matching your exact machine model. Remove old components carefully and note their positions. Install new parts in reverse order, ensuring all bolts tighten securely. Reattach the access panel and run a test cycle with a small, balanced load.
If banging continues after replacement, examine your drum bearings next. Worn bearings require professional service on most smart models. Contact a technician if the problem persists.
Using Smart Features: Self-Calibration and Diagnostic Cycles
Modern smart washing machines include built in tools to help you fix balance problems without guessing. These features save time and pinpoint exactly what’s wrong with your drum.
Self calibration cycles run automatically on many smart washers. Your machine measures vibration levels and adjusts internal settings to compensate. Start this cycle through your washer’s app or control panel. The process typically takes 30 to 45 minutes. Let it complete without interruption for best results.
During self calibration, your washer redistributes counterweights and tests different spin speeds. It learns your specific machine’s characteristics and saves this data. This means future loads will spin more smoothly with less banging.
Diagnostic cycles are another smart feature you should use. These cycles check suspension rods, shock absorbers, and drum bearings. Your washer runs through various speeds and monitors for unusual vibrations or sounds. Many machines display error codes or send alerts to your phone when problems appear.
Access diagnostic mode through your washer’s settings menu or mobile app. Some models require you to press specific button combinations on the control panel. Check your user manual for exact instructions for your machine model.
After running diagnostics, review any error codes or reports your machine generates. These messages tell you whether suspension components need replacement or if leveling adjustments will solve the issue.
Run these smart features regularly, not just when problems occur. Monthly diagnostic checks catch wear early before banging becomes severe. Self calibration cycles after several loads keep your machine operating at peak performance.
These automated tools work best when combined with manual fixes like releveling your washer legs and redistributing laundry evenly.
Common Mistakes That Worsen Drum Imbalance
Overloading your drum is the fastest way to make banging worse. When you cram too many clothes inside, the load cannot spin evenly. Heavy items bunch together on one side. This creates an imbalanced force that pounds against the drum walls repeatedly.
Ignoring your washer’s leveling is another major mistake. Many people assume their laundry room floor is flat when it isn’t. A sloped surface tilts your machine slightly. This tilt forces the drum to work harder during spin cycles. The uneven weight distribution gets worse with each wash.
Not checking counterweight security causes serious problems too. Counterweights can loosen over time from constant vibration. A loose counterweight bangs around inside your machine. This sounds like your drum is hitting the tub. You might think you need a new drum when really you just need to tighten one bolt.
Skipping suspension rod inspections is equally risky. Worn or bent suspension rods let your drum move too freely. The drum shifts side to side instead of spinning straight. This creates the loud banging noise you hear.
Avoid running diagnostic features only when problems happen. Regular self calibration cycles keep your smart washer balanced. These built in tools catch issues before they become serious.
Finally, don’t ignore small noises hoping they disappear. A minor bang today becomes major damage tomorrow. Early action saves your machine from expensive repairs. Address balance problems immediately when you first notice them.
Troubleshooting Persistent Banging After Basic Fixes
When basic fixes don’t stop the banging, you need to dig deeper into your smart washing machine’s internal components. The problem usually sits in three main areas: suspension parts, counterweights, or drum bearings.
Start by checking your suspension rods and shock absorbers. These parts absorb vibration during the spin cycle. Unplug your machine first for safety. Look inside the drum area for rods that appear bent, cracked, or completely disconnected. Shock absorbers should feel firm when you press them. If either component looks damaged, replacement becomes necessary.
Next, inspect your counterweights carefully. These metal pieces hang from the drum to balance spinning forces. Loose counterweights cause significant banging. Check that all bolts connecting counterweights to the drum are tight. Tighten any loose bolts with the appropriate wrench. If bolts keep loosening, the counterweight itself may need replacement.
Examine your drum bearings if suspension parts look fine. Bearings support the drum’s rotation. Listen closely for grinding sounds or notice if the drum feels loose when you spin it by hand. Worn bearings create distinct metallic banging during cycles.
After inspecting these components, run your machine’s diagnostic cycle again. Smart washers often detect bearing problems automatically. Check your mobile app or machine display for error codes related to balance or drum issues.
If banging persists after checking all these areas, the drum itself may have internal damage. Contact a professional technician at this point. They have specialized tools to remove and inspect the drum properly. Most persistent banging issues resolve with suspension or counterweight repairs, but some machines need professional attention.
Preventive Maintenance to Keep the Drum Balanced Long-Term
Keeping your smart washing machine drum balanced requires consistent care. Start with load management by distributing clothes evenly every time you wash. Don’t pack the drum too full, as this is the fastest way to trigger imbalance problems.
Check your washer’s leveling regularly. Place a level tool on top of your machine to verify it sits flat. Adjust the front feet if your washer tilts forward or backward. Even small slopes cause major vibration issues during the spin cycle.
Run self calibration cycles monthly as preventive maintenance. Most smart washers include this feature in their settings or mobile app. These cycles automatically balance counterweights and test spin speeds before problems develop.
Clean your drain pump filter every three months. Lint and debris buildup restricts water flow and creates uneven weight distribution. A clean filter helps your machine spin smoothly without stress on suspension components.
Inspect suspension rods and shock absorbers twice yearly. Look for visible cracks, rust, or loose connections. These components wear down over time, so catching early damage prevents banging later.
Check counterweight bolts and fasteners quarterly. Vibration naturally loosens hardware, so tighten any loose connections you find. Secure counterweights prevent the drum from shifting during operation.
Consider anti vibration pads under your washer’s feet. These simple additions absorb excess movement and reduce stress on internal parts.
Use your machine’s diagnostic feature every six months. This generates reports about component health before failures occur. Address any warning codes immediately rather than waiting for banging to start.
Proper maintenance prevents 80 percent of drum balance issues before they happen.
Final Thoughts
Your smart washing machine drum does not have to bang and shake every time you run a load. Most balance problems come from simple causes like uneven laundry or unlevel legs.
Fixing these issues takes little time. You just need patience and a bit of regular attention.
Start with the basics first. Redistribute your clothes evenly and check that your washer sits level on the floor.
If banging continues, look deeper into your machine. Suspension rods, counterweights, and drum bearings often cause bigger problems.
Your smart washer’s built in features are helpful tools. Diagnostic cycles and self calibration catch issues before they turn into serious damage.
Don’t skip regular maintenance either. A washer that gets consistent care rarely develops severe balance problems.
Small steps make a real difference here. Cleaning your filter, checking bolts, and inspecting rods all add up over time.
Think of this as ongoing care rather than one time repair. Your washing machine works hard every single day.
Giving it proper attention keeps it running smoothly for years. This saves you money on repairs and replacements down the road.
Remember that persistent banging usually signals something specific. It rarely happens without a clear, fixable reason.
Trust the process outlined here and work through it step by step. Most homeowners solve their drum imbalance without calling a repair technician.
If you still hear loud banging after trying everything, professional help makes sense. Some internal damage requires expert tools and experience to fix properly.
Your smart washing machine can serve you well for many years. Balanced maintenance and quick action on small issues keep it running quietly and efficiently.
Frequently Asked Questions
Why does my smart washing machine drum bang during the spin cycle?
Your drum bangs during spinning when the load sits unevenly inside. Clothes bunch up on one side, causing the drum to vibrate hard. Your washer’s legs might also be uneven on the floor. Sometimes worn internal parts like suspension rods or shock absorbers cause the noise too.
How do I know if my washer legs need adjustment?
Place a level tool on top of your washer. The bubble should sit in the center. If it tilts, your legs need adjusting. Check all four corners. Uneven legs are one of the most common reasons for banging drums. Tighten or loosen the adjustable feet until your washer sits flat.
Can I fix drum banging myself, or do I need a technician?
Many fixes you can do yourself. Start by redistributing your clothes evenly. Then level your washer’s legs. These two steps solve most banging problems. If banging continues after leveling and reloading, internal parts may need inspection. At that point, a technician can check your suspension components and counterweights safely.
What does it mean if my washer has a self calibration feature?
Smart washers often include built in calibration cycles. This feature helps your machine balance loads automatically. Run this cycle monthly as part of your routine care. It trains your washer to detect and adjust for uneven loads. Check your machine’s app or manual for the exact steps.
Should I use anti vibration pads under my washer?
Yes, anti vibration pads help reduce noise and movement. They sit under each washer foot and absorb vibrations. Pads work best when combined with proper leveling. They provide extra stabilization, especially on sloped floors. This is a simple addition that makes a noticeable difference.

Hi, I’m Lola Griffin 👩💻, the voice and creator behind ResizerBox. I’m a passionate tech enthusiast who loves exploring the latest gadgets, smart devices, and trending Amazon electronics. Through my reviews, I share honest insights, real-world testing experiences, and practical buying advice to help readers make confident tech choices.