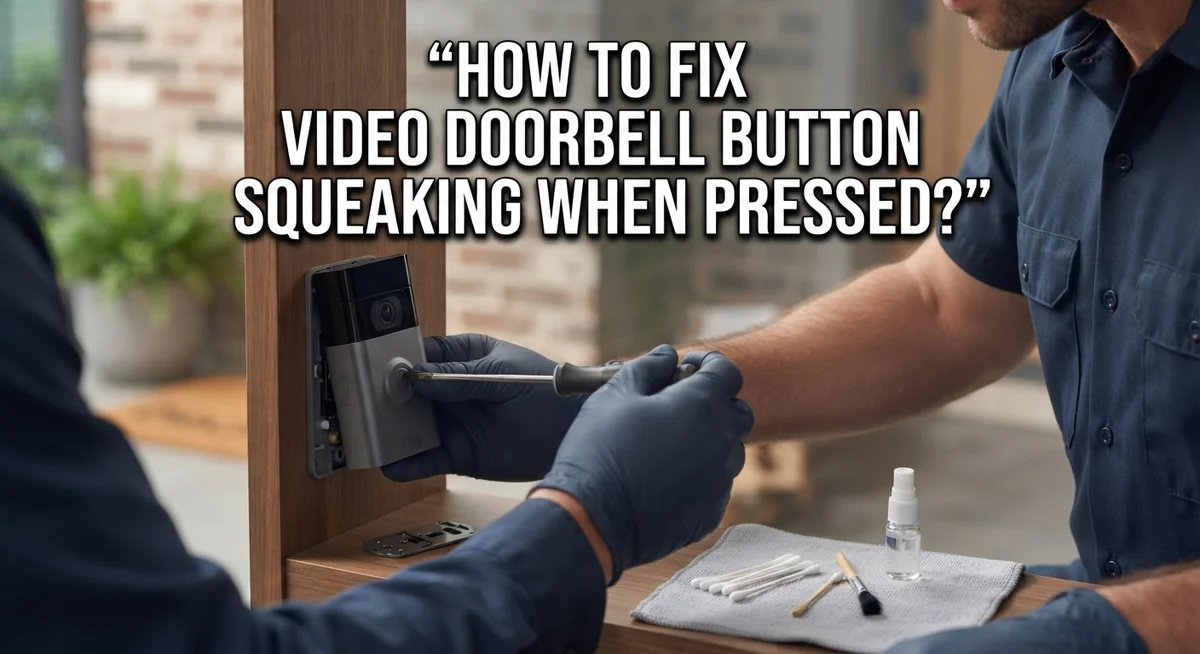
How To Fix Video Doorbell Button Squeaking When Pressed?
That annoying squeak every time someone presses your video doorbell button can drive anyone crazy. It’s a small sound, but it grabs attention fast, especially at odd hours.
The good news? This is a common problem with an easy fix. In most cases, moisture, dust, or debris gets trapped inside the button mechanism. This creates friction, and friction leads to that squeaky sound you hear.
You don’t need to call a technician or buy a whole new doorbell. A few simple steps can solve this issue in minutes.
In a Nutshell
- Turn off power at the breaker first. This keeps you safe during any maintenance work.
- Remove the button cover before doing anything else. This step exposes the mechanism underneath.
- Apply a small amount of lubricant like WD-40 to the button parts. This helps clear moisture and reduces friction.
- Use lubricant sparingly. Too much can cause more problems than it solves.
- Try a reset if squeaking continues after lubrication. Hold the setup button for 20 seconds or more to clear electronic glitches.
- Check wired models for transformer compatibility. This matters if your doorbell connects to your home’s electrical system.
- Inspect the button for cracks or damage. A broken button usually needs replacement instead of repair.
Why Video Doorbell Buttons Start Squeaking
Video doorbell buttons squeak for several straightforward reasons. Understanding what causes the noise helps you fix it faster.
Moisture is the primary culprit. Your doorbell button sits outside and gets exposed to rain, humidity, and condensation. Water seeps into the button mechanism and causes friction between moving parts. This friction creates that annoying squeaking sound when you press the button.
Debris buildup also triggers squeaking. Dust, dirt, and pollen accumulate inside the button housing over time. These particles get trapped in the mechanical parts and create resistance. When you press the button, these particles rub against metal or plastic components, producing the squeak.
Mechanical friction from wear is another common cause. Your doorbell button gets pressed hundreds of times. The internal spring and contact points gradually wear down. As they age, they move less smoothly and create noise during operation.
Lack of lubrication makes everything worse. The button mechanism needs proper lubrication to function silently. Without it, metal parts grind against each other. This grinding noise often sounds like squeaking.
Electronic issues can also produce squeaking sounds. Sometimes the problem isn’t mechanical at all. Electrical interference or a glitchy circuit board can create noise that sounds like squeaking.
The good news? Most squeaking issues are fixable at home. You don’t need expensive tools or professional help. A simple cleaning and lubrication process solves the problem in most cases. If your button is physically cracked or broken, replacement becomes necessary instead of repair. But for moisture, debris, and friction issues, the fixes are simple and affordable.
Safety Precautions Before You Begin
Before you start fixing your video doorbell button, safety comes first. Turn off the power at your home’s electrical breaker. This is the most important step. Even though doorbell systems run on low voltage, cutting power prevents any accidental electrical shock or damage to the device.
For wired doorbells, locate your transformer. Check that it matches your doorbell model’s requirements. If you’re unsure about compatibility, consult your doorbell’s manual. This prevents potential electrical issues during maintenance.
Let the device sit for a few minutes after powering down. This allows any residual charge to dissipate completely. Your safety depends on this waiting period.
Gather your tools before you begin work. You’ll need a screwdriver that fits your button cover screws. Have a soft cloth ready for cleaning. Keep a small container nearby to hold screws so you don’t lose them.
Work in good lighting. You need to see the button mechanism clearly. Poor lighting leads to mistakes and missed debris.
Wear gloves if you have sensitive skin. Some lubricants can irritate skin with prolonged contact. Gloves also give you better grip on small parts.
Check the weather before starting. Avoid working on your doorbell during rain or high humidity. Moisture in the air can interfere with lubrication application and drying time.
Never force any screws or covers. Forcing parts can cause cracks or breaks. If something feels stuck, stop and assess the situation carefully.
Keep children and pets away from your work area. Small screws and lubricants pose choking hazards. A clear workspace prevents accidents and distractions during the repair process.
Tools and Materials You Will Need
Before you start fixing your squeaky video doorbell button, gather the right tools and materials. Having everything ready makes the job faster and prevents frustration.
You’ll need a screwdriver set with multiple sizes. Most video doorbells use either Phillips or flathead screws. Check your doorbell manual to confirm which type you need.
A lubricant is essential for this fix. Common lubricants work well for displacing moisture and reducing friction. Apply it sparingly to avoid oversaturation. Less is always better when lubricating small mechanisms.
Grab a clean, dry cloth or soft brush. You’ll use this to gently remove dust and debris from the button mechanism. A microfiber cloth works great because it won’t leave lint behind.
Have a flashlight or headlamp ready. Working in good lighting helps you see inside the button housing clearly. You’ll spot debris more easily and avoid accidentally damaging internal parts.
Keep a small container nearby to hold screws while you work. Losing tiny screws is frustrating. A shallow dish or magnetic tray prevents this problem.
For wired doorbell models, locate your transformer before starting. You’ll need to know where it is to turn off power safely. Write down its location or take a photo.
Wear gloves if you have sensitive skin. This protects your hands from lubricants and sharp edges. Safety glasses are optional but helpful when working overhead.
Have your doorbell manual available. It shows you exactly where screws are located and how the button cover removes. This reference prevents confusion during the repair.
Finally, clear your work area of clutter. You need space to lay out small parts safely. A clean workspace reduces the chance of losing components or causing accidental damage to your doorbell.
Step-by-Step Guide to Fixing a Squeaky Doorbell Button
Start by turning off the power to your doorbell at the breaker. This keeps you safe during the entire repair process. Wait a few minutes after powering down to let the system discharge completely.
Next, remove the button cover carefully. Most video doorbell buttons have a cover that unscrews or pops off with gentle pressure. Take your time here and avoid forcing anything, as this can crack the plastic housing.
Once the cover is off, inspect the button mechanism closely. Look for visible dirt, debris, or moisture inside. Use a clean, dry cloth to gently wipe away any loose particles you see. A soft brush works well for stubborn dust buildup.
Now apply lubricant sparingly to the button mechanism. The key word is sparingly. A small amount goes a long way. Too much lubricant can trap moisture and make squeaking worse. Let the lubricant sit for a minute to penetrate the moving parts.
Press the button several times to work the lubricant through the mechanism. You should hear the squeaking reduce or disappear. Wipe away any excess lubricant with a clean cloth.
Replace the button cover securely. Make sure it sits flush against the doorbell housing.
Turn the power back on at the breaker. Test the button multiple times to confirm the squeaking is gone.
If squeaking returns after a few days, the problem may be electronic rather than mechanical. In this case, hold the setup button for 20 seconds or longer to reset the device. A reset can resolve electronic issues that cause squeaking sounds. If the button remains damaged or broken, replacement becomes your best option.
Resetting Your Doorbell to Resolve Electronic Squeaks
When squeaking persists after lubrication, your doorbell may have an electronic issue. A reset can help fix this problem by clearing any software glitches affecting the button mechanism.
Start by powering down your device completely. For wired models, turn off the power at your home’s breaker. For battery powered doorbells, remove the battery pack. Wait at least two minutes before proceeding. This pause allows the device to fully discharge.
Locate the setup button on your doorbell. This small button is usually found on the back or bottom of the device. You may need to remove the cover to access it. Check your manual if you’re unsure of the exact location.
Press and hold the setup button for 20 to 30 seconds without releasing. You should see lights flash or hear a sound indicating the reset has started. Keep holding even if nothing happens immediately. The reset process takes time to complete.
Release the button once the reset finishes. Your doorbell will restart automatically. This process clears any electronic errors that might cause squeaking sounds.
Wait for your device to fully boot up. This usually takes one to two minutes. You’ll see indicator lights stabilize when it’s ready.
Test the button by pressing it several times. Listen carefully for any squeaking noises. If the squeaking is gone, the electronic issue has been resolved.
If squeaking returns within a few days, the problem is likely mechanical rather than electronic. In this case, you may need to repeat the lubrication process or contact support for additional help. A cracked or damaged button mechanism might also require replacement instead of repair.
Common Mistakes to Avoid During Repair
When you fix your squeaky doorbell button, certain mistakes can make the problem worse. Understanding what to avoid saves you time and prevents damage to your device.
Over applying lubricant is the biggest mistake people make. Too much lubricant attracts dust and debris. This buildup actually increases squeaking instead of stopping it. Use only a small amount. A few drops is enough to coat the button mechanism. More lubricant does not mean better results.
Another common error is skipping the cover removal step. Some people try to spray lubricant directly through the button without removing the cover first. This approach wastes product and fails to reach the problem areas inside. Always remove the button cover before applying any lubricant.
Ignoring the reset option leads to unnecessary frustration. Many people assume squeaking is always a mechanical problem. Sometimes your doorbell’s electronics cause the noise. You skip the reset and keep trying to lubricate. A simple reset takes only minutes and solves electronic issues quickly.
Don’t forget to turn off power at your breaker before starting any work. Skipping this step is dangerous and unnecessary. Safety comes first when working with electrical devices.
Failing to inspect the button for damage is another mistake. If your button has visible cracks or breaks, lubrication won’t help. Replacement becomes necessary in these cases. Spend a moment examining the button closely before you start repairs.
Finally, avoid pressing the button repeatedly right after lubrication. Let the lubricant settle for a few minutes. This gives it time to work into the mechanism properly. Patience during the repair process prevents you from reapplying lubricant unnecessarily and keeps your doorbell functioning well.
Troubleshooting Persistent Squeaking Issues
When your video doorbell button continues to squeak despite your initial repair attempts, you need a systematic approach to identify the root cause.
Moisture buildup remains one of the most common culprits behind persistent squeaking. Your doorbell sits outside and faces rain, humidity, and temperature changes. Water can seep into the button mechanism and create friction. If you live in a humid climate or near the ocean, salt spray can corrode internal components and worsen the noise.
Start by checking if moisture is present inside the button assembly. Remove the cover again and look for any visible water droplets or discoloration around the button mechanism. If you see moisture, allow the device to dry completely in a warm, dry location for several hours before reassembling.
Debris accumulation also causes ongoing squeaking problems. Dust, pollen, and dirt can work their way into the button housing over time. Even after lubrication, particles can interfere with smooth button movement. Use a clean, dry cloth to gently wipe around the button mechanism. A soft brush can help dislodge stubborn particles without damaging delicate components.
If squeaking returns within days after your repair, consider that the problem might be electronic rather than mechanical. Your doorbell’s internal circuitry or speaker system could be malfunctioning. This is when a reset becomes necessary.
Physical damage requires different solutions. If you notice cracks, chips, or breaks in the button itself, lubrication won’t help. A damaged button needs replacement rather than repair. Inspect the button carefully under good lighting to spot any structural issues.
Document when the squeaking started and what conditions existed beforehand. This information helps you determine whether weather, installation issues, or normal wear caused the problem.
When Repair Isn’t Enough: Signs You Need a Replacement
Sometimes your squeaky doorbell button won’t stop making noise no matter what you try. This is when you need to think about replacing the button or the entire device instead of continuing repairs.
Visible damage is the clearest sign replacement is necessary. If you see cracks, chips, or breaks in the button itself, lubrication won’t help. A damaged button can’t seal properly against moisture and debris. Water will continue entering the mechanism.
Check if the button feels loose or moves side to side when you press it. A button that shifts around has internal damage you can’t fix with simple maintenance. This loose feeling means the mounting bracket has failed inside.
Test whether the squeaking happens before you even press the button. If it squeaks just from slight contact, the internal spring mechanism is likely broken. A working button should only make noise from friction during normal operation.
Listen for grinding sounds instead of squeaking. Grinding indicates the internal components are rubbing against each other in ways they shouldn’t. This type of damage requires replacement, not repair.
Consider the age of your doorbell. Devices older than five years often develop multiple mechanical failures at once. Fixing one problem might reveal another issue shortly after. At this point, a new unit makes more sense financially.
If your button failed right after installation, you likely have a manufacturing defect. Contact the manufacturer about warranty coverage. Most devices include protection against defects within the first year.
When replacement becomes necessary, remove the old button carefully. Take photos of the wiring connections before disconnecting anything. This helps you install the new button correctly and quickly.
Final Thoughts
A squeaky doorbell button feels annoying, but it’s usually simple to fix. Most squeaks come from moisture or debris stuck inside the button mechanism.
A little lubricant and patience solve the problem in most cases. You don’t need special tools or advanced skills to complete this fix.
Start by turning off power at your breaker. This step keeps you safe while you work on the device.
Remove the button cover carefully before applying any lubricant. Skipping this step often leads to poor results and wasted effort.
Apply a small amount of WD-40 to the button mechanism. Too much lubricant creates new problems, so use it sparingly.
If squeaking continues, try resetting your device. Hold the setup button for twenty seconds to clear electronic glitches.
Sometimes these steps won’t fully solve the issue. Persistent squeaking often points to deeper problems like ongoing moisture or debris buildup.
Check your button regularly, especially after storms or heavy dust. Small maintenance checks prevent bigger headaches later.
Physical damage changes everything about your approach. A cracked or broken button won’t respond to lubrication or resets.
In these cases, replacement becomes your best option. Trying to repair a damaged button often wastes time and money.
Think about your doorbell’s age and history too. Devices that fail early might have manufacturing defects worth reporting.
Fixing a squeaky button doesn’t have to feel complicated. Follow these steps in order, and most units start working quietly again.
Remember to work safely and check your progress along the way. A little care now saves you from bigger repairs later.
Your doorbell should give you years of quiet, reliable service after this fix.
Frequently Asked Questions
Why does my video doorbell button squeak when I press it?
Squeaking happens when moisture, debris, or friction builds up inside the button mechanism. Rain, humidity, and dust can all work their way into the button assembly over time. The sound occurs because internal parts rub against each other without proper lubrication.
Can I fix the squeaking myself?
Yes, most squeaking issues are fixable at home. Turn off power at your breaker first for safety. Remove the button cover carefully, then apply a small amount of lubricant sparingly to the button mechanism. This reduces friction and displaces moisture that causes the noise.
If squeaking continues after lubrication, try resetting your device by holding the setup button for 20 or more seconds. Sometimes the problem is electronic rather than mechanical.
What mistakes should I avoid?
Don’t over apply lubricant, as too much can cause other problems. Always remove the button cover before treating the mechanism. Skipping the reset step means you might miss an electronic fix that could solve everything.
When should I replace the button instead of repairing it?
Replacement becomes necessary when you see visible cracks, chips, or breaks in the button itself. If the button feels loose or moves side to side when pressed, internal damage likely occurred. A cracked button won’t respond well to lubrication alone.
How often should I check my button?
Inspect your button regularly, especially after storms or periods of heavy dust. Early detection of damage prevents bigger problems later. Clean around the button area to keep debris from entering the mechanism.

Hi, I’m Lola Griffin 👩💻, the voice and creator behind ResizerBox. I’m a passionate tech enthusiast who loves exploring the latest gadgets, smart devices, and trending Amazon electronics. Through my reviews, I share honest insights, real-world testing experiences, and practical buying advice to help readers make confident tech choices.