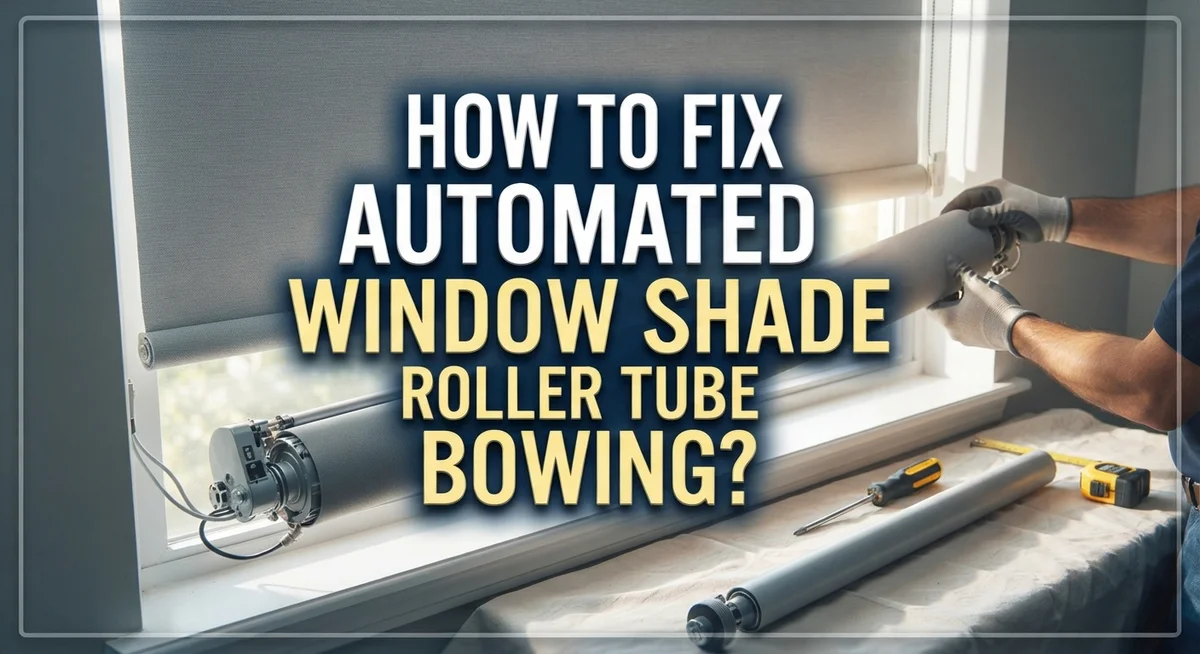
How To Fix Automated Window Shade Roller Tube Bowing?
Do your automated window shades look bent or sag in the middle? This is a common problem called roller tube bowing. It happens when the tube holding your shade fabric bends under weight.
Bowing usually shows up in wide shades. The tube cannot handle the fabric load, so it curves like a bow. This causes uneven rolling and stress on your motor system.
The good news? You can fix this problem yourself. Most fixes need simple tools and a little patience.
This guide walks you through the entire process. You will learn how to inspect your roller tube for damage. We will show you how to check spring tension the right way.
In a Nutshell
- Check the tube size first. Wide shades need thicker tubes. A thin tube cannot support long fabric spans without bending.
- Inspect spring tension. Weak or uneven tension causes the tube to sag on one side. You can recoil it using pliers on the end pin.
- Look at bracket alignment. Brackets that sit unevenly force the tube to twist. Shimming them can fix small height differences.
- Adjust the fabric position. Fabric that shifts on the tube creates uneven weight. Masking tape on the opposite side helps stop this telescoping.
- Clean the tracks and roller. Dust buildup adds strain on the system. A quick vacuum keeps everything moving smoothly.
- Test the shade after fixes. Roll it up and down a few times. This confirms the tube stays straight and the shade runs evenly.
What Is Roller Tube Bowing and Why It Happens
Roller tube bowing happens when the cylindrical tube that holds your shade fabric bends or sags. This bending typically appears as a visible curve or dip in the middle of the tube. The tube loses its straight shape and no longer rolls evenly.
Why does this happen? The main culprit is weight. When fabric hangs on the tube, gravity pulls down on it constantly. Wider shades experience more weight distribution across the tube. If the tube diameter is too small for the shade width, it cannot support the fabric properly.
Spring tension also plays a role. The spring inside the tube helps keep everything tight and balanced. When spring tension weakens over time, the tube has less support against the fabric weight. This allows bowing to develop gradually.
Mounting bracket alignment matters too. If brackets sit at different heights or angles, they pull the tube unevenly. This uneven tension causes one side to bow more than the other. Poor bracket installation is a common cause.
Dust and debris make things worse. When dirt builds up inside the roller tracks, friction increases. The tube works harder to roll, and this extra stress can accelerate bowing. Regular cleaning prevents this problem.
The result? Your shade rolls unevenly, gets stuck, or creates gaps when closed. Motorized versions may shake or struggle to operate smoothly.
The good news is that bowing is fixable. Most issues come from simple problems like weak spring tension or misaligned brackets. You don’t need to replace the entire shade. Understanding what causes bowing helps you prevent it from happening again after you fix it.
Signs Your Automated Shade Has a Bowing Problem
Your automated shade sends you clear signals when the roller tube starts to bow. Learn what to watch for so you can act fast.
Look at the shade when it’s fully extended. Does the fabric sag in the middle while the edges stay tight? This is the most obvious sign of bowing. The tube cannot support the weight evenly across its width.
Check how the shade rolls up and down. A bowing tube causes uneven rolling. One side may move faster than the other. You might hear grinding sounds or feel resistance in the motor. The shade may also stop partway through its cycle.
Inspect the closed shade for gaps. When your shade is down, do you see light peeking through at the bottom or sides? Bowing prevents the shade from sitting flat and level against your window. Gaps let in unwanted light and reduce privacy.
Watch for fabric bunching or creasing. Bowed tubes push the fabric into wrinkles instead of rolling it smoothly. These creases may become permanent over time and damage the material.
Listen for unusual noises during operation. Clicking, popping, or grinding sounds often point to spring tension problems or misaligned brackets. These issues frequently accompany bowing.
Feel the tube if you can access it safely. A bowed tube feels curved rather than perfectly straight. Run your hand along the length to confirm the bend.
Notice if the problem gets worse over time. Bowing typically worsens as dust builds up and spring tension weakens. Early detection makes repairs much easier and prevents lasting damage to your shade system.
Tools and Preparation Before You Start
Before you start fixing your automated window shade roller tube bowing, gather the right tools and prepare your workspace. This makes the job easier and prevents frustration.
You will need basic hand tools. A pair of pliers helps you adjust spring tension on the end pin. A screwdriver set lets you remove mounting brackets safely. Keep a flashlight nearby to inspect the tube and spring clearly. A measuring tape helps you check tube diameter and bracket spacing.
Prepare your work area next. Find a clean, flat surface where you can lay out your shade. Good lighting is essential for spotting damage or misalignment. Clear away clutter so you have room to work without dropping tools or parts.
Protect your shade during repairs. Lay down a soft cloth or towel on your work surface. This prevents scratches to the fabric and tube. Have masking tape available for marking problem areas and holding fabric in place temporarily.
Check your safety first. Make sure you have a stable ladder or step stool if you need to reach high mounting brackets. Wear safety glasses to protect your eyes from dust or small spring components. Work during daylight or with proper lighting to see what you are doing.
Gather inspection supplies too. A vacuum with a brush attachment removes dust from the roller and tracks. A soft cloth cleans the tube without causing damage. These items help you identify whether dirt is contributing to the bowing problem.
Taking time to prepare properly means you will complete repairs faster and avoid mistakes that could make bowing worse.
Step-by-Step Guide to Fixing Roller Tube Bowing
Start by removing your automated window shade from the mounting brackets. Most shades have a simple release mechanism. Press or slide the bracket clips to free the shade tube. Lay the shade on your clean work surface with the roller tube facing up.
Inspect the roller tube carefully for visible bends or dents. Run your hand along the entire length. A bowed tube will feel uneven. Check both end plugs to ensure they sit flush in the tube openings. Loose or damaged plugs contribute to bowing problems.
Next, examine the spring tension. Locate the end pin on one side of the tube. This pin controls the spring mechanism. Use your pliers to turn the pin slightly. A quarter turn usually adjusts tension enough to correct minor bowing. Turn clockwise to increase tension, counterclockwise to decrease it. Make small adjustments only. You can always turn it more if needed.
Reposition the fabric on the roller tube. Sometimes bowing happens because the fabric sits unevenly. Unroll the shade partially and check if the fabric wraps straight around the tube. If it telescopes or shifts to one side, gently reposition it. Use masking tape on the opposite side temporarily to hold the fabric in place while you work.
Inspect your mounting brackets next. Brackets must be level and properly aligned. Use a level tool to check. If brackets are misaligned, loosen the screws slightly and adjust them. Tighten everything securely once aligned.
Clean the roller and tracks with your vacuum brush. Dust buildup reduces smooth operation and stresses the tube. Remove debris from all crevices.
Finally, reinstall your shade into the brackets. Test the rolling action several times. The shade should roll smoothly without gaps or bunching.
Adjusting Spring Tension and Bracket Alignment
Spring tension and bracket alignment work together to keep your roller tube straight. When either one fails, your shade starts to bow. Let’s fix both issues.
Start with spring tension adjustment. Your roller tube has a spring mechanism at one end. This spring recoils the fabric and keeps it tight. Over time, springs lose power. You can recoil the spring yourself using pliers on the end pin. Grip the pin firmly and turn it clockwise several times. Test the shade after each turn. You want firm resistance when you pull the shade down, but not so tight that it won’t roll smoothly.
Check your bracket alignment next. Uneven brackets cause the tube to sit at angles. This angle creates stress on one side of the tube, leading to bowing. Remove your shade and look at where the brackets attach to your wall or window frame. Are both brackets at the same height? Use a level to verify. If one bracket sits lower, shim it up with thin spacers behind the bracket. This small adjustment often makes a huge difference.
Inspect the tube position inside the brackets. The roller tube should sit centered in both brackets. If it leans toward one side, the fabric will bunch and the tube will bow. Loosen the bracket screws slightly. Slide the shade until it centers properly. Retighten the screws.
Combine these fixes. Adjust spring tension, align your brackets, and center the tube. These three steps work together. Your shade should now roll evenly without sagging in the middle. Test it several times before considering the repair complete.
Helpful Tips for Long-Term Roller Tube Stability
Keeping your roller tube stable over time requires consistent attention and smart maintenance habits. The foundation starts with regular cleaning. Dust and debris accumulate on your roller and inside the tracks, causing friction and uneven rolling. Use a vacuum with a brush attachment every month to remove buildup from these areas.
Monitor spring tension regularly to catch problems early. Your spring loses effectiveness over time as it cycles thousands of times. Check the spring tension every few months by gently rotating the tube by hand. It should feel smooth and consistent throughout the rotation. If you notice resistance or hesitation, the spring may need adjustment.
Inspect your mounting brackets at least twice yearly. Brackets can shift slightly due to vibration and temperature changes in your home. Verify that both brackets sit at the same height and angle. Use a level tool to confirm they remain perfectly aligned. Even small shifts cause the tube to bow under fabric weight.
Keep your fabric centered on the tube. Over time, fabric can creep toward one side, creating uneven weight distribution. Check the fabric position quarterly and reposition it if needed to maintain balance.
Store your shade properly if you remove it for cleaning or maintenance. Lay it flat on a soft surface rather than standing it upright. This prevents stress on the tube when it sits unused.
Environmental factors matter too. Extreme temperature swings and humidity changes affect tube materials. Maintain consistent indoor conditions when possible. These simple habits prevent bowing from returning and extend your shade’s lifespan significantly.
Common Mistakes That Cause or Worsen Bowing
Bowing problems often start with mistakes you can avoid. Understanding these errors helps you prevent damage before it happens.
Using tubes that are too small is the most common mistake. Wide blinds need larger diameter tubes to support fabric weight. A tube that’s too narrow will bend under pressure. Always match your tube size to your blind width. Wider shades demand thicker, stronger tubes.
Neglecting spring maintenance causes serious bowing issues. The spring inside your roller tube loses tension over time. When tension drops, the tube cannot support the fabric properly. You should check your spring tension every few months. A weak spring will not keep your tube straight.
Improper bracket installation creates uneven pressure on the tube. Brackets must be level and parallel to each other. If one bracket sits higher or lower, the tube bends toward the weaker side. Always use a level when installing brackets. Misaligned brackets force the tube to work harder than it should.
Ignoring dust buildup speeds up bowing problems. Dirt and debris collect on the roller and inside tracks. This buildup adds weight to your system. Extra weight pushes down on the tube, causing it to sag. Clean your shade regularly with a vacuum brush attachment.
Positioning fabric unevenly on the tube creates stress points. The fabric should wrap around the tube in a straight line. Bunched or twisted fabric pulls the tube in different directions. Always center your fabric when installing or reinstalling your shade.
Skipping regular inspections means you miss early warning signs. Small bends get worse quickly if you ignore them. Check your roller tube monthly for any visible changes. Early detection prevents complete failure.
Troubleshooting Persistent or Recurring Issues
When bowing persists despite your initial fixes, you need a deeper investigation. Recurring bowing signals that the underlying cause wasn’t fully addressed. Start by checking whether you adjusted the spring tension correctly.
The spring mechanism at your tube’s end controls how tightly the fabric wraps. If tension remains too loose, the fabric sags and pulls the tube downward. Use pliers to turn the end pin clockwise for more tension. Make small quarter turn adjustments and test the shade between each attempt.
Next, examine whether your mounting brackets sit perfectly level. Even slight misalignment causes the tube to bend gradually over weeks. Use a level tool to verify both brackets are at identical heights. If one bracket sits lower, the tube angles and bows toward that side.
Dust and debris accumulation accelerates bowing problems. Particles trapped in the roller mechanism create friction and uneven rolling. Vacuum the entire track system and wipe the tube with a dry cloth. Pay special attention to the areas where the tube meets each bracket.
Check if your fabric has shifted position on the tube. When fabric slides to one side, weight distributes unevenly. Reposition it so it sits centered and wraps smoothly around the tube’s circumference.
If bowing returns after these steps, your tube may have permanent damage. Dents or cracks weaken the structural integrity. In this case, tube replacement becomes necessary. Many systems allow you to remove and replace the roller tube without replacing the entire shade assembly. Contact your shade manufacturer for replacement tube availability and installation guidance.
Final Thoughts
Fixing a bowed roller tube does not need to feel hard. Most problems come from simple causes. Loose spring tension, uneven brackets, or dust buildup often start the trouble.
Small fixes make a big difference. You do not need special tools or advanced skills. A few careful checks can restore your shade to smooth working order.
Start with the basics first. Check spring tension. Look at your brackets. Confirm the tube sits centered. These three checks solve most bowing issues quickly.
If problems continue, look deeper. Your tube diameter might not match your blind width. Wide shades need thicker tubes for proper support. This mismatch causes ongoing bowing that simple adjustments cannot fix.
Regular maintenance prevents future headaches. Clean your tracks often. Inspect brackets twice a year. Watch your fabric position on the tube. These habits catch small issues before they grow.
Remember that patience matters here. Rushing through repairs often causes new problems. Take your time with each adjustment step.
Test your shade after every fix. Roll it up and down several times. Watch for smooth movement without shaking or sticking. This confirms your repair actually worked.
Some tubes suffer permanent damage over time. If bowing returns again and again despite your best efforts, tube replacement becomes your best option. This saves you from repeating the same fixes.
Your roller shade should work smoothly for years with proper care. Simple checks and quick action keep bowing problems away. Trust these steps, and your window shades will roll smoothly again.
Frequently Asked Questions
Why does my roller tube bow in the first place?
Roller tubes bend when fabric weight presses down unevenly on the tube. The wider your shade, the more stress it puts on the tube. If your tube diameter is too small for the width, bowing happens faster. Spring tension that weakens over time also allows bowing to develop. Dust buildup inside the roller mechanism creates extra friction and pressure points.
How do I know if my spring tension needs adjustment?
Your shade should roll up and down smoothly without jerking or stalling. If the fabric feels loose or droops when partially raised, your spring needs tightening. A shade that snaps up too quickly or feels overly tight also signals spring issues. You can test this by manually rolling the shade up partway and releasing it. It should stay in place without rolling down on its own.
Can I fix bowing without removing the entire shade?
Yes, you can make some fixes while the shade stays mounted. Use masking tape on the opposite side of where bowing occurs to help correct telescoping. Gently adjust the fabric position to center it better on the tube. For minor height differences, you can shim your mounting brackets slightly. However, serious bowing usually requires removing the shade to recoil the spring properly.
What should I do if bowing comes back after I fix it?
Recurring bowing points to deeper issues. Check your mounting brackets for proper level alignment. Inspect the tube itself for permanent dents or damage. Clean out dust and debris from the roller mechanism completely. If problems persist, your tube may need replacement, as permanent deformation cannot be reversed.

Hi, I’m Lola Griffin 👩💻, the voice and creator behind ResizerBox. I’m a passionate tech enthusiast who loves exploring the latest gadgets, smart devices, and trending Amazon electronics. Through my reviews, I share honest insights, real-world testing experiences, and practical buying advice to help readers make confident tech choices.