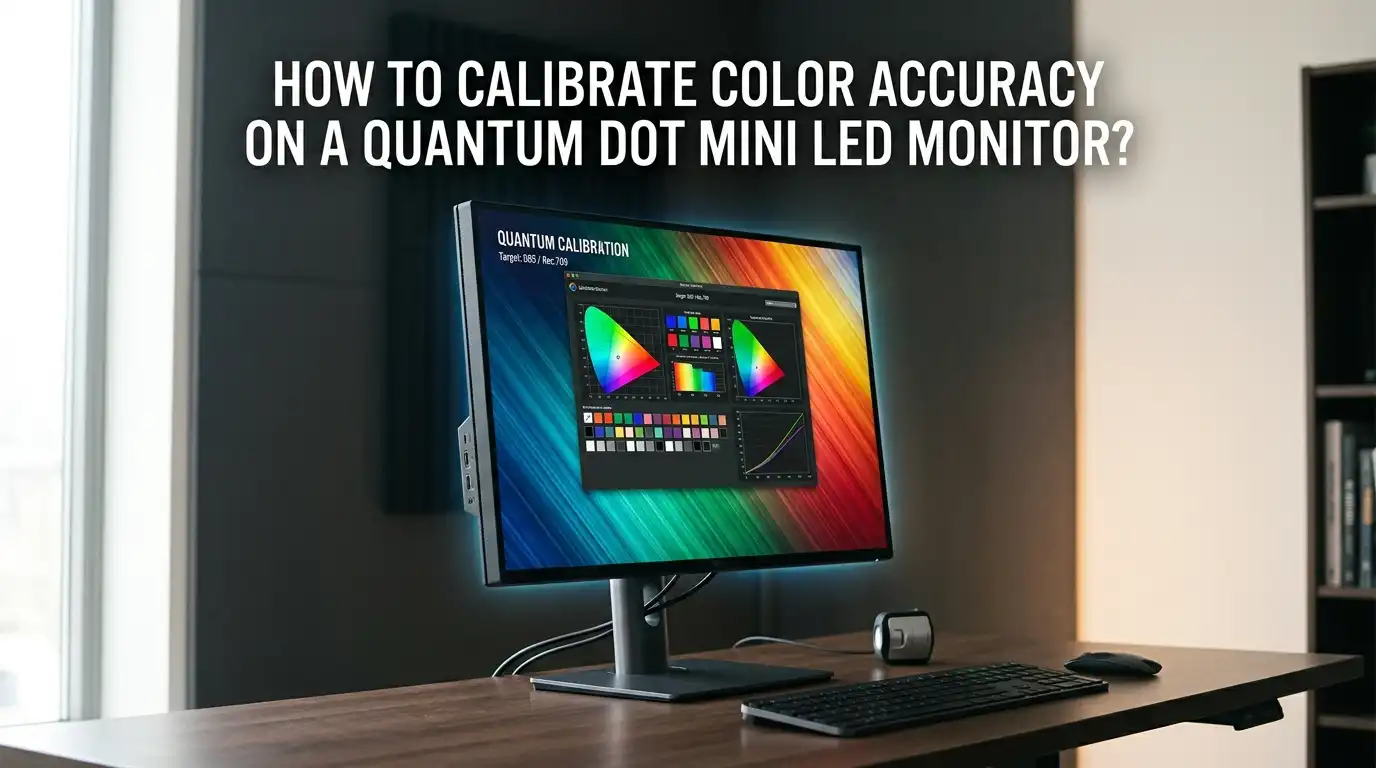
How To Calibrate Color Accuracy On A Quantum Dot Mini LED Monitor?
You just spent good money on a quantum dot mini LED monitor. The colors look bright, the HDR content looks amazing, and the screen feels like a real upgrade. But something feels off. Skin tones look too warm.
Greens appear overly saturated. Reds seem pushed beyond what looks natural. This happens because most quantum dot mini LED monitors ship with a wide color gamut that overshoots the sRGB standard.
Your content was not made for that extra color range, so everything looks exaggerated. The good news is you can fix this. Color calibration brings your monitor back to accurate, true to life output.
In A Nutshell
- Quantum dot mini LED monitors need calibration because their wide color gamut often oversaturates sRGB content out of the box. Factory settings prioritize visual punch over accuracy, so greens, reds, and blues can all appear more vivid than intended.
- You can calibrate using built in monitor settings, software tools, or a dedicated hardware colorimeter for the best results. Each method has a different level of accuracy and effort. A hardware colorimeter paired with calibration software gives you the most precise outcome.
- Local dimming zones on mini LED panels create unique calibration challenges that standard LED monitors do not have. The backlight shifts brightness across different screen regions, which can affect perceived color accuracy.
- Setting the correct color space target is critical for accurate results. Most everyday content uses sRGB. Video production work often requires DCI P3 or Rec. 709. Choosing the wrong target means your calibration will be off from the start, regardless of how good your tools are.
Why Quantum Dot Mini LED Monitors Need Special Calibration
Quantum dot mini LED monitors combine two display technologies into one panel. The mini LED backlight provides hundreds or thousands of local dimming zones for deep blacks and bright highlights. The quantum dot film converts blue LED light into purer red and green wavelengths, producing a much wider color gamut than standard monitors.
This combination creates a display that can cover over 95% of the DCI P3 color space and sometimes reach beyond it. That is impressive on paper. But most desktop content, web pages, photos, and games are still created for the sRGB color space.
When you display sRGB content on a wide gamut screen without correction, everything looks oversaturated. Skin tones shift orange, grass turns neon green, and blue skies look electric.
Standard LED monitors do not have this problem to the same degree. Their narrower gamut closely matches sRGB by default. Quantum dot panels need extra attention because their color output extends well beyond what most content expects.
Understanding Color Spaces and Why They Matter
A color space defines the range of colors a display can reproduce. The three most common standards are sRGB, DCI P3, and Adobe RGB. Each one covers a different portion of the visible spectrum.
sRGB is the default standard for web content, most games, and general computing. DCI P3 is the cinema standard used in film production and HDR content. Adobe RGB serves print professionals who need accurate reproduction of cyan and green tones.
Your calibration target should match the content you work with most. If you edit photos for the web, sRGB is the correct target. If you grade video footage, DCI P3 or Rec. 709 is better. Setting the wrong target color space will make your calibration inaccurate even if you use expensive hardware.
Many quantum dot mini LED monitors let you switch between color space presets in the OSD menu. These presets are a starting point, but they rarely deliver precise accuracy on their own.
Preparing Your Monitor and Room Before Calibration
Preparation makes a real difference in calibration quality. Let your monitor warm up for at least 30 minutes before starting. Display panels shift in color and brightness during the first half hour of use. Calibrating a cold screen will give you results that drift once the panel reaches its stable operating temperature.
Control your room lighting as much as possible. Bright lights, sunlight hitting the screen, or colorful objects reflecting off the display will all interfere with your colorimeter readings. A dim room with neutral colored walls gives you the most accurate conditions. Close curtains, turn off desk lamps, and remove any colored light sources nearby.
Reset your monitor to its factory default settings before you begin. Clear any custom picture modes, color adjustments, or gamma tweaks you may have applied.
Start with a clean slate. Set the brightness between 80 and 160 nits for standard desktop work. Set the white point to 6500K (D65) and the gamma to 2.2, which are the most widely accepted standards.
Adjusting Monitor OSD Settings For A Strong Baseline
Your monitor’s On Screen Display menu contains essential controls that affect calibration. Start by selecting the correct picture mode. Many quantum dot mini LED monitors offer modes like sRGB, DCI P3, Custom, or Creator.
If your monitor has a dedicated sRGB mode, this can clamp the wide gamut down to sRGB range. However, many sRGB modes lock out brightness and other controls, which limits your flexibility.
If the sRGB mode restricts settings, use a Custom or User mode instead. This gives you full access to brightness, contrast, RGB gain controls, and gamma settings.
Set contrast to its default or slightly below maximum. Pushing contrast too high clips white details. Adjust individual RGB color channels if your whites appear too warm (reduce red) or too cool (reduce blue).
For local dimming, choose a medium setting during calibration. Turning local dimming off removes the contrast benefit of your mini LED backlight. Setting it to maximum can cause brightness fluctuations that confuse your colorimeter. A middle ground keeps the panel behavior stable while still providing good black levels.
Pros of OSD adjustment: Free, immediate, and works across all connected sources.
Cons of OSD adjustment: Limited precision, no ICC profile generated, and results depend on your visual judgment.
Using Free Software Tools For Basic Calibration
Several free tools can help you calibrate without buying hardware. Windows built in Display Calibration tool walks you through gamma, brightness, contrast, and color balance adjustments using visual test patterns. Access it by searching “Calibrate display color” in Windows settings. This method relies entirely on your eyes, so results vary by person.
For better precision, try DisplayCAL, an open source calibration application that works with hardware colorimeters but also offers useful test patterns for visual assessment. Another free option is Lagom LCD Monitor Test Pages, a web based tool that displays standardized test images for checking gamma, contrast, and color gradients.
On macOS, the Display Calibrator Assistant is built into System Preferences under Displays. It guides you through white point and gamma settings. This tool is basic but effective for getting a reasonable starting point.
Pros of free software tools: No cost, easy to access, and educational for beginners.
Cons of free software tools: No objective measurements, accuracy depends on your vision, and no true ICC profile from most tools.
Hardware Calibration With A Colorimeter For Best Results
A hardware colorimeter is the single best investment for accurate color. Devices like the Calibrite Display Plus HL, X Rite i1Display Pro, and Datacolor SpyderX measure the actual light output from your screen and compare it to known reference values. The software then builds corrections and generates a custom ICC profile for your specific panel.
Every individual monitor panel has slight manufacturing differences. Even two monitors of the same brand and model can display colors differently. A colorimeter measures what your exact unit produces and corrects for its unique quirks. This level of precision is not possible with visual judgment alone.
To calibrate, attach the colorimeter to your screen using its suction cup or weighted mount. Launch the calibration software, set your target white point to 6500K, gamma to 2.2, and luminance to your preferred brightness. The software will display color patches while the colorimeter reads each one. The process takes about 5 to 15 minutes.
Pros of hardware calibration: Objective, repeatable, and produces a precise ICC profile.
Cons of hardware calibration: Costs money (colorimeters range from $100 to $300), and requires recalibration over time.
Software Calibration Versus Hardware Calibration
These two approaches store correction data in different places, and this difference matters. Software calibration saves corrections in your operating system or GPU lookup table.
The computer adjusts the video signal before it reaches the monitor. Hardware calibration stores corrections inside the monitor itself using an internal lookup table chip.
Software calibration is the more accessible option. Any colorimeter and software combination can produce a software profile. However, software calibration reduces your effective color depth. The corrections squeeze adjusted 8 bit or 10 bit values through the same pipeline, which can introduce subtle banding in smooth gradients.
Hardware calibration preserves the full color depth of your panel. The monitor receives the original unmodified signal and applies corrections internally using a higher bit depth lookup table.
This method also works regardless of which source you connect. A hardware calibrated monitor looks correct whether connected to a PC, laptop, or Mac.
Not all monitors support hardware calibration. You need a model with a built in hardware LUT and compatible software, such as monitors from BenQ with Palette Master, or certain LG and Dell models with their own calibration utilities.
Handling Local Dimming Challenges During Calibration
Local dimming is one of the defining features of mini LED monitors, but it introduces specific calibration issues.
When a dimming zone brightens or dims based on content, the perceived color in that region can shift. A calibration patch displayed on a dark background may be measured differently than the same color on a bright background because the backlight intensity changes.
For the most stable calibration, consider setting local dimming to a low or medium level. High dimming aggression causes the backlight to change rapidly between test patches, which can confuse the colorimeter.
Some professionals turn local dimming off entirely for calibration and then re enable it for daily use, accepting a small trade off in dark room contrast.
Another issue is blooming, where light from a bright zone leaks into a dark zone. This can affect uniformity measurements. If your monitor has 500 or more dimming zones, this effect is smaller but still present. Monitors with fewer zones show more visible blooming.
Test your calibration results with both local dimming on and off to see if the profile holds up. If colors shift noticeably with dimming active, you may need to recalibrate with dimming enabled at your preferred setting.
Creating And Installing An ICC Profile
An ICC profile is a small file that maps your monitor’s measured output to the correct color standard. Calibration software generates this file automatically after completing a measurement session. The profile contains correction data for gamma, white point, color primaries, and tonal response.
On Windows, you can install an ICC profile by right clicking the file and selecting Install Profile. You can also copy it to the system color profile folder manually. After installation, go to Color Management in the Control Panel, select your monitor, and set the new profile as the default.
On Windows 11, the Auto Color Management (ACM) feature can apply gamut corrections universally. This means even applications that are not color aware will receive corrected color output.
ACM reads the profile data and clamps the gamut for sRGB content across your entire desktop. This is a significant improvement over older Windows versions where only color managed applications used the ICC profile.
On macOS, the system automatically applies the active color profile to all applications through its built in color management system. Simply select your calibrated profile under System Preferences, Displays, Color.
Taming The Wide Gamut For sRGB Content
Most quantum dot mini LED monitors display a gamut much wider than sRGB. If you primarily view sRGB content, you need a way to clamp the gamut so colors are not oversaturated. There are several ways to do this beyond using the monitor’s sRGB preset.
AMD GPU users can enable sRGB emulation through the Radeon Software driver. Open the Gaming or Display section, enable Custom Color, and set Color Temperature Control to Disabled. This reads your monitor’s EDID data and applies a universal gamut clamp that works in all applications, including games.
Nvidia GPU users can use a free tool called novideo_srgb. This small application applies a gamut clamp at the driver level, similar to AMD’s approach. It supports sRGB, DCI P3, Adobe RGB, and Rec. 2020 targets. For the best accuracy, load your custom ICC profile into the tool so it reads your specific panel’s measured gamut.
These GPU level methods apply corrections universally, including in games and other applications that ignore ICC profiles. This makes them more effective than relying on ICC profiles alone, which only work in color managed applications.
Verifying Your Calibration Results
After calibration, you should verify that your corrections actually improved accuracy. Run a validation pass using your colorimeter and calibration software. Most tools offer a verification mode that measures a set of color patches and reports the Delta E (dE) values for each one.
A Delta E below 2.0 means the color difference is barely visible to the human eye. Professional monitors target Delta E below 1.0. A well calibrated quantum dot mini LED monitor should achieve average Delta E below 2.0 with most patches under 1.5. If some patches show Delta E above 3.0, your profile may need adjustment or your monitor’s OSD settings need fine tuning.
Use real world content to check your calibration visually as well. Open reference photos with known accurate colors, such as skin tone test images or Macbeth ColorChecker charts.
View them in a color managed application like Adobe Photoshop or Lightroom. If skin tones look natural and neutrals appear free of color casts, your calibration is working.
Check gradient test images for banding. If you see visible steps in smooth gradients, your software calibration may be clipping color depth. Switching to hardware calibration or reducing the aggressiveness of your correction can help.
How Often Should You Recalibrate Your Monitor
Monitor color output changes over time. Panel aging, temperature variations, and component drift all contribute to gradual shifts in color accuracy. A calibration done today will slowly become less accurate over the following weeks and months.
For professional color critical work, recalibrate every four to six weeks. Photographers, video editors, and graphic designers who depend on color accuracy should treat recalibration as routine maintenance. The process takes only 10 to 15 minutes with a hardware colorimeter and is well worth the time.
Casual users and gamers can recalibrate every two to three months. Your eyes adapt to slow color drift, so you may not notice the change. But running a quick recalibration session keeps your display honest and consistent.
Temperature changes in your room can also affect panel behavior. If your workspace gets significantly warmer or cooler with the seasons, more frequent calibration helps maintain accuracy.
Some high end monitors include built in calibration scheduling that reminds you when your next session is due. A few models even support auto calibration with an integrated sensor, though these are rare and typically found in broadcast reference monitors.
Common Calibration Mistakes And How To Avoid Them
Several common errors can undermine your calibration effort. Calibrating on a cold monitor is one of the most frequent mistakes. Always let your display warm up for 30 minutes first. The color output stabilizes as the panel and backlight reach operating temperature.
Do not calibrate in a bright room or with colored lighting. Ambient light affects both your perception and your colorimeter’s readings. A neutral, dim environment gives you the most reliable results. Even a red desk lamp or a brightly colored wall can introduce measurement errors.
Avoid stacking multiple corrections. If you apply an sRGB mode in the OSD and also load an ICC profile, you may double correct the gamut, resulting in washed out, undersaturated colors. Use one correction method at a time. Either use the monitor’s sRGB clamp or an ICC profile, not both simultaneously.
Do not forget to disable Night Light, f.lux, or blue light filters before calibrating. These features alter the white point and color temperature, which will be baked into your calibration if left active. Turn them off for the calibration session and re enable them afterward if you use them.
FAQs
Can I calibrate a quantum dot mini LED monitor without a colorimeter?
Yes, you can use free software tools and built in operating system calibration utilities to make visual adjustments. These methods rely on your eyes, so they are less precise than a hardware colorimeter. They can still improve color accuracy noticeably, especially if your monitor ships with an aggressive, oversaturated preset. For professional work, a colorimeter is strongly recommended.
Does local dimming affect my calibration accuracy?
Local dimming can influence calibration because it changes the backlight brightness in different screen regions. This can cause your colorimeter to read different values depending on the surrounding content. Set local dimming to a low or medium level during calibration for the most stable results. You can increase it afterward for daily use.
How do I know which color space target to choose?
Choose sRGB if you work with web content, general photos, or standard games. Choose DCI P3 if you edit video for cinema or HDR delivery. Choose Adobe RGB if you work in print with a color managed workflow. Most people should start with sRGB because it matches the majority of content available today.
Why do my colors still look oversaturated after calibration?
This usually happens because the application you are viewing content in is not color managed. Games, many video players, and the Windows desktop itself may ignore your ICC profile. Use a GPU level gamut clamp from AMD’s driver or the novideo_srgb tool for Nvidia to apply corrections universally across all applications.
How long does a typical calibration session take?
A hardware calibration with a colorimeter takes about 5 to 15 minutes, depending on the number of color patches measured. Manual calibration using visual tools can take 20 to 30 minutes. Validation adds another 5 to 10 minutes. The entire process from setup to verified results usually fits within 30 to 45 minutes.
Is hardware calibration better than software calibration?
Hardware calibration preserves your monitor’s full color depth and works independently of your computer. Software calibration is more accessible and works with any monitor, but it can reduce color depth and introduce subtle banding. If your monitor supports hardware calibration with a built in LUT, that method delivers superior results for professional work.

Hi, I’m Lola Griffin 👩💻, the voice and creator behind ResizerBox. I’m a passionate tech enthusiast who loves exploring the latest gadgets, smart devices, and trending Amazon electronics. Through my reviews, I share honest insights, real-world testing experiences, and practical buying advice to help readers make confident tech choices.