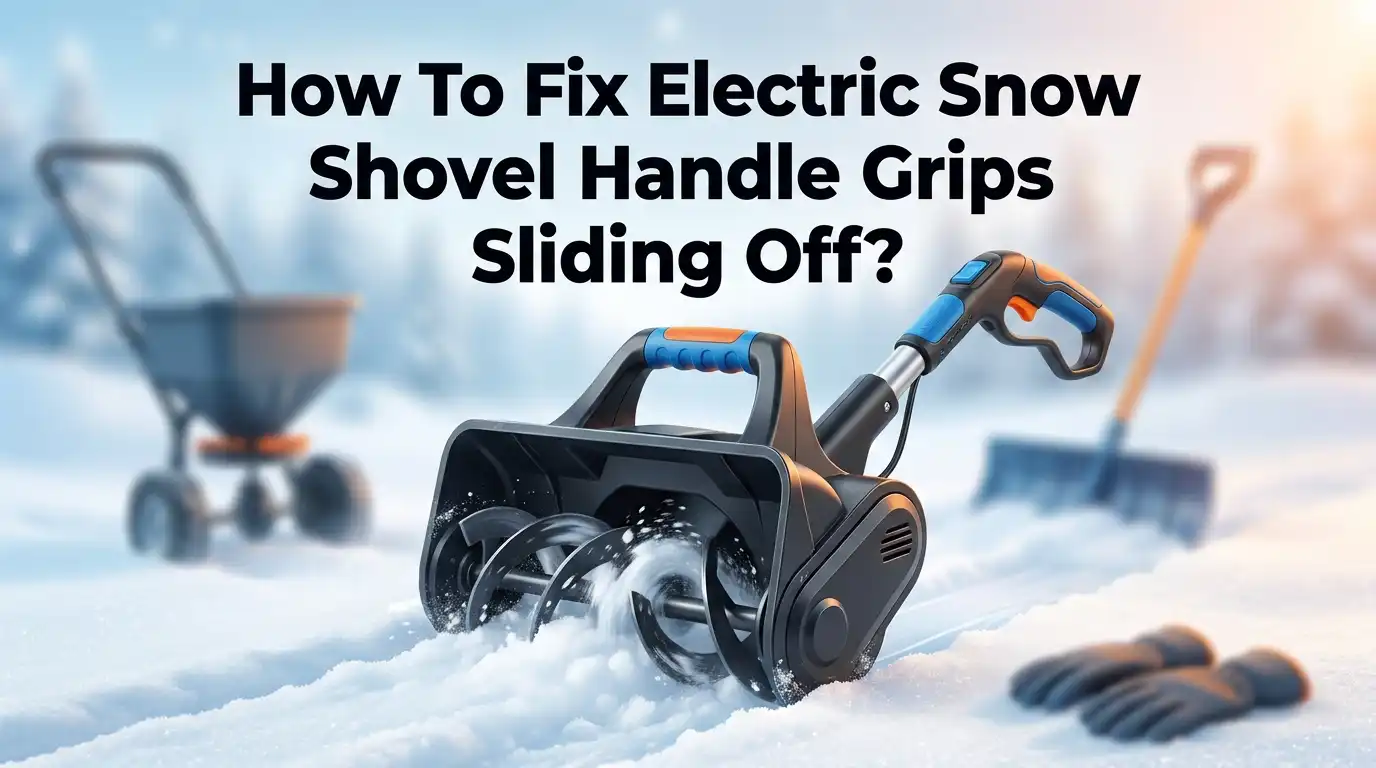
How To Fix Electric Snow Shovel Handle Grips Sliding Off?
Winter storms hit hard. You grab your electric snow shovel, ready to clear the driveway fast. Then it happens. The handle grip twists in your hands or slides off completely.
This problem is more common than you think. Loose fasteners, worn rivets, and poor quality wood all cause this annoying slip. It can turn a quick job into a frustrating struggle.
A sliding handle is not just annoying. It can also be unsafe. You need a firm grip to control the shovel and avoid strain on your wrists or back.
The good news? You can fix this problem yourself. You do not need to buy a brand new shovel or call a repair shop.
This guide walks you through simple, practical steps. We will show you how to secure loose grips, replace worn fasteners, and pick better handle materials.
You will also learn easy prevention tips. These tips keep your handle tight all season long.
By the end, your electric snow shovel will feel steady and reliable again. Let’s get that grip locked in for good.
In a Nutshell
Here is a quick summary if you are short on time.
-
Loose fasteners cause most sliding grips. Rivets and screws wear out or loosen over time. This makes the handle shift during use.
-
Clamp the shovel head first. A vice keeps everything steady while you work. This step makes removal and repair much easier.
-
Remove old rivets carefully. Use a chisel, angle grinder, or hacksaw. Take your time to avoid damaging the handle shaft.
-
Sand the handle for a snug fit. Power sanding helps wood grip tightly again. A tight fit stops future sliding problems.
-
Choose screw lock designs for easy fixes. Two screw mechanisms let you tighten grips fast. This also makes future adjustments simple.
-
Check handles often to catch problems early. Regular inspection saves you from bigger repairs later. Replace worn grips before they slip during use.
Following these points keeps your shovel safe and steady. Small fixes now prevent bigger headaches later.
Why Handle Grips Slide Off Electric Snow Shovels
Handle grips slide off electric snow shovels for several clear reasons. Understanding these causes helps you prevent the problem before it starts.
Loose fasteners are the main culprit. Most electric snow shovels use rivets or screws to attach grips to the handle shaft. Over time, these fasteners vibrate loose from the constant motion of snow shoveling. The vibration shakes the connection apart gradually until the grip slides around freely.
Worn attachment points also cause slippage. The holes where fasteners go can expand or become damaged. Once holes enlarge, fasteners no longer hold tight. Metal fatigue weakens the connection point itself. This is especially common on older shovels or ones used heavily every winter season.
Poor grip material quality matters too. Low quality wood or plastic grips compress under hand pressure. Compressed material creates gaps between the grip and handle shaft. Moisture can also cause wood grips to swell unevenly. This uneven swelling creates loose spots where the grip can rotate.
Inadequate initial fastening contributes to the problem. If grips were not installed tightly from the factory, they start loose. A grip that was never tight will slide off faster than one properly secured.
Handle misalignment creates additional stress. If the handle shaft is bent or warped, grips sit unevenly. Uneven contact means some areas grip tightly while others remain loose. This uneven pressure causes the grip to shift during use.
Understanding these causes puts you in control. You can identify which issue affects your shovel and take the right fix. Regular inspection catches loose grips before they become safety hazards during winter storms.
Tools and Materials You’ll Need Before Starting
Before you start fixing your electric snow shovel handle grips, gather the right tools and materials. Having everything ready makes the job faster and safer.
You will need a vice or clamp to hold the shovel head steady while you work. This prevents the shovel from moving around and keeps your hands safe. A vice is essential because you cannot repair something that keeps shifting.
Get a chisel or small pry tool to remove old rivets or fasteners. You may also want an angle grinder or hacksaw as backup options. These tools help you safely disconnect the grip from the handle without damaging the shovel itself.
Grab some sandpaper or a power sander to smooth the handle surface. Medium grit sandpaper works well for most jobs. Sanding helps the new grip fit snugly and prevents future slipping.
You will need replacement fasteners like screws, bolts, or rivets. Screw lock mechanisms with two screws are ideal because you can tighten them easily later. Keep extra fasteners on hand in case you need them.
Bring a drill or screwdriver to install new fasteners. Make sure your drill has the right bit size for your chosen fasteners. A power drill saves time and effort compared to hand tools.
Have some wood filler or epoxy available if the grip holes are damaged or enlarged. These materials help create a tight seal around fasteners.
Finally, wear safety glasses and work gloves throughout the repair. Flying debris from cutting or sanding can hurt your eyes, and gloves protect your hands from sharp edges and splinters. Keep a clean workspace nearby to organize your tools and materials.
Step-by-Step Guide to Removing the Old Grip and Fasteners
Start by securing your electric snow shovel so it won’t move during repair work. Place the shovel head firmly in a vice or clamp. This keeps everything stable while you remove old fasteners.
Examine the current grip attachment closely. Most electric snow shovels use rivets, screws, or bolts to hold grips in place. Look for all fastening points along the handle shaft.
Remove rivets using a chisel and hammer. Position the chisel tip against the rivet head. Tap gently but firmly until the rivet breaks free. Work slowly to avoid damaging the handle underneath. If rivets are stubborn, use a hacksaw to cut them through. An angle grinder also works well for this task, though it requires careful handling.
For screws or bolts, simply use the appropriate screwdriver or wrench. Turn counterclockwise until fasteners come out completely. Save any reusable fasteners in a safe container.
Once fasteners are removed, carefully slide the old grip off the handle. You may need to wiggle it gently side to side. Some grips stick due to dirt or corrosion, so patience helps here.
Inspect the handle shaft for damage. Look for enlarged holes, cracks, or warping. If holes are slightly enlarged, you can fill them with wood filler or epoxy before installing new grips.
Clean the entire handle surface thoroughly. Remove dirt, rust, and old grip material. Use a wire brush or cloth to wipe everything down.
Sand the handle shaft with medium grit sandpaper. This removes any remaining debris and rough spots. A smooth surface helps new grips fit tightly and securely. Power sanding works faster for larger areas.
Your handle is now ready for new grip installation.
How to Prepare and Fit a New Handle for a Snug Grip
When you’re ready to fit a new handle, preparation is everything. Start by measuring your handle shaft diameter carefully. You need an accurate measurement to select a grip that fits snugly without gaps.
Sand the handle shaft thoroughly before installing anything new. Use medium grit sandpaper first, then finish with fine grit. This removes old adhesive, dirt, and rough spots. A smooth surface helps the grip sit tight and prevents future slipping.
Check that the handle grain runs straight along the length. Twisted or warped wood causes uneven pressure on grips. If your handle shows warping, you may need to replace it entirely. Straight grain handles grip much better and last longer.
Choose lightweight wood for your replacement handle. Dense, heavy woods are harder to work with and can cause hand fatigue. Quality wood resists warping and maintains its shape through wet and cold conditions.
Before sliding the new grip on, apply a thin layer of adhesive to the handle shaft if your fastening method allows. This adds friction and prevents rotation. Let it dry according to manufacturer instructions.
Slide the new grip onto the handle slowly and evenly. Push it all the way down until it contacts the shoulder or stop point. Don’t force it or you risk splitting the grip material.
Align the grip holes with the handle mounting points before tightening anything. Misalignment creates stress and causes early failure. Use clamps to hold the grip in perfect position while you install fasteners.
Tighten all fasteners firmly but don’t over tighten. Over tightening cracks plastic grips or strips screw threads. Test the grip with firm hand pressure. It should not move or rotate at all.
Securing the Handle: Fastening Methods That Actually Hold
When you’re ready to secure your handle grips permanently, choosing the right fastening method makes all the difference. Screw lock mechanisms work best for electric snow shovels because you can tighten them repeatedly without damage.
Two screw designs offer superior holding power compared to single fasteners. The dual screw setup distributes pressure evenly across the grip, preventing rotation and slippage. Space your screws at least two inches apart for maximum stability.
Verify that all screw locks are fully engaged before using your shovel. Hand tighten first, then use a wrench to snug them down firmly. Check your fasteners weekly during heavy snow season since vibration can loosen connections over time.
If your shovel uses rivets, consider replacing them with removable screws. Rivets cannot be retightened once installed, which causes recurring slippage problems. Screws give you the flexibility to adjust tension as the handle settles into place.
For wooden handles, ensure the grain runs straight along the entire length. Grain direction affects how tightly the grip sits on the shaft. Crooked grain allows the grip to shift sideways despite tight fasteners.
Apply even pressure when tightening to avoid stripping the fastener holes. Over tightening damages wood and plastic materials, creating larger gaps that invite future slipping. Your goal is firm contact without excessive force.
Test the grip by hand before operating your shovel. Grab it firmly and try rotating it. The grip should not move at all. If you feel any give, tighten your fasteners another quarter turn.
Inspect attachment points after your first use. Vibration from the shovel motor sometimes causes initial settling. A quick tightening session after that first outing prevents most slippage issues down the road.
Common Mistakes That Cause Grips to Loosen Again
Even after you fix your electric snow shovel handle grips, mistakes can cause them to loosen again quickly. Understanding these errors helps you avoid repeating them.
Loose initial fastening is the most common problem. Many people tighten fasteners just enough to feel snug, but this isn’t secure enough for the vibration and stress a snow shovel experiences. You need to apply firm, consistent pressure when tightening screws or bolts. Test the grip by pulling it hard with your hand before using the shovel.
Poor quality handle material causes grips to slip over time. Warped or low grade wood compresses under pressure, creating gaps between the handle and grip. Always inspect your replacement handle before installation. The wood grain should run straight down the entire length without twists or bends.
Inadequate clamping during repair leads to misalignment that loosens fasteners later. When you reinstall grips, the handle must stay perfectly still. Clamp the shovel head firmly in a vice so nothing shifts while you work. Even small movements create uneven pressure on fasteners.
Skipping the sanding step also causes problems. A rough handle surface doesn’t grip properly. Sand your handle shaft with medium grit sandpaper until it feels smooth to touch. This creates better contact between the grip and handle.
Forgetting to check screw locks regularly allows fasteners to gradually loosen from vibration. After your first few uses, inspect all attachment points. Tighten any fasteners that have shifted. Make this a monthly habit during snow season to catch loosening before it becomes a real problem.
Preventive Maintenance to Keep Grips Tight All Season
Keeping your electric snow shovel grips tight throughout the entire season requires simple, consistent care. The best prevention starts with regular inspection of all attachment points before winter arrives and after each major snowfall.
Check your handle fasteners every two weeks during active use. Look for any visible movement or looseness where the grip meets the handle shaft. Tighten all screws firmly but avoid over tightening, which can strip the holes and create bigger problems later.
Apply a protective coating to your handle wood if it’s exposed to moisture. Snow and ice melt can cause wood to swell and contract, which loosens fasteners over time. A simple water resistant finish helps minimize this movement.
Store your shovel indoors during off season months. Temperature changes in unheated garages or sheds cause wood to expand and contract, gradually loosening your grips. Keep it in a climate controlled space when not in use.
Replace worn or damaged grips immediately rather than waiting until they fall off completely. Damaged grips lose their grip strength and slip more easily during operation.
Keep fastener holes clean and free of debris. Dirt and snow buildup around screws prevents them from seating properly. Wipe these areas dry before each tightening check.
Consider applying a thin layer of grip enhancing material to your handle shaft before installing grips. This creates additional friction and prevents slippage caused by vibration during use.
Test your grip security by hand before each snow removal session. A quick tug on the handle reveals any looseness you might have missed during storage. This five second check prevents frustrating mid job failures and keeps you safe while operating your electric shovel.
Troubleshooting Persistent Slipping After Repair
When your electric snow shovel grips keep sliding off even after you’ve repaired them, the problem usually runs deeper than the initial fix. Persistent slipping means something in your repair process didn’t work as planned.
The most common cause is that your fasteners aren’t tight enough. Vibration from the shovel’s motor gradually loosens screws over time. Check every fastener with a wrench or screwdriver. Turn each one a quarter turn tighter. Don’t over tighten, as this can strip the holes and make things worse.
Your handle material might be the real culprit. If you installed grips on a warped or low quality handle, they’ll never stay put. Remove the grips and inspect the handle shaft carefully. Look for bends, cracks, or soft spots. A handle with poor grain structure won’t hold fasteners securely. If the wood is damaged, you may need to replace the entire handle.
Another issue is improper clamping during your original repair. If the handle wasn’t held perfectly straight when you fastened the grips, misalignment causes slipping. Reinstall everything with the handle clamped in a vice to ensure perfect alignment.
Check if your fastener holes have become enlarged or damaged. Repeated tightening can wear holes out. If this happened, drill new holes slightly higher or lower on the handle and reinstall your fasteners there.
Finally, verify you’re using the correct fastening method for your shovel model. Some handles work better with screws, while others need bolts. Match your fastening method to your handle type for best results.
If slipping continues after these checks, your handle may be permanently compromised and replacement is your best option.
Final Thoughts
Fixing sliding grips on your electric snow shovel is simple once you know the right steps. Loose fasteners and worn handle material cause most slipping problems. A little patience and the right tools solve this quickly.
Start by clamping your shovel head firmly. This keeps everything stable while you work. Skipping this step often leads to repeat problems later.
Remove old rivets or screws carefully. Check your handle wood for straight grain. Warped or low quality wood will slip again, even after repair.
Sand the handle until it fits snugly inside the grip. This single step makes a big difference in how long your fix lasts. A tight fit means less movement and less wear over time.
When reattaching, choose a secure fastening method. Screw lock designs work well because they let you tighten grips whenever needed. This gives you more control than permanent rivets.
Regular checks matter just as much as the repair itself. Look at your fasteners every few weeks during snow season. Catching a loose screw early saves you from a bigger fix later.
Remember that prevention beats repeated repairs. Good maintenance habits keep your shovel ready when you need it most.
If your grips still slip after trying these fixes, the handle material may be too far gone. Replacing it is often faster and safer than repeated patch jobs.
Overall, fixing slipping grips comes down to three things: tight fasteners, quality wood, and careful clamping. Follow these steps and your electric snow shovel will feel steady and reliable all winter long.
Frequently Asked Questions
Why do electric snow shovel grips slide off in the first place?
Grips slip when fasteners loosen or wear out over time. The attachment points become weak. Moisture can also cause wood handles to swell and shrink, which changes how tight the grip sits. Poor quality handle material makes slipping worse because it doesn’t hold fasteners as well.
Can I fix sliding grips without removing the old ones?
Sometimes yes, sometimes no. If the grip just needs tightening, you can check the screw locks first. Make sure they are fully engaged and tight. If the grip has already shifted position, you will need to remove it completely. This lets you sand the handle and reposition everything correctly.
What’s the best fastening method for reattachment?
Screw lock mechanisms work better than rivets for electric snow shovels. A two screw design gives you more holding power. Screws also let you make adjustments later if needed. When you reinstall, clamp the shovel head firmly in a vice so nothing moves during the process.
How often should I check my handle fasteners?
Check them every two weeks during active snow removal seasons. Look for any signs of looseness or movement. Verify that screw locks are completely engaged before each use. This simple habit stops problems before your grips slide off completely.
When should I replace the handle instead of repairing it?
If your handle is warped or cracked, replacement makes sense. Wood that’s too soft won’t hold fasteners securely. If grips keep slipping even after you’ve tightened everything multiple times, your handle material is probably compromised. A new handle costs less than repeated repair attempts.

Hi, I’m Lola Griffin 👩💻, the voice and creator behind ResizerBox. I’m a passionate tech enthusiast who loves exploring the latest gadgets, smart devices, and trending Amazon electronics. Through my reviews, I share honest insights, real-world testing experiences, and practical buying advice to help readers make confident tech choices.