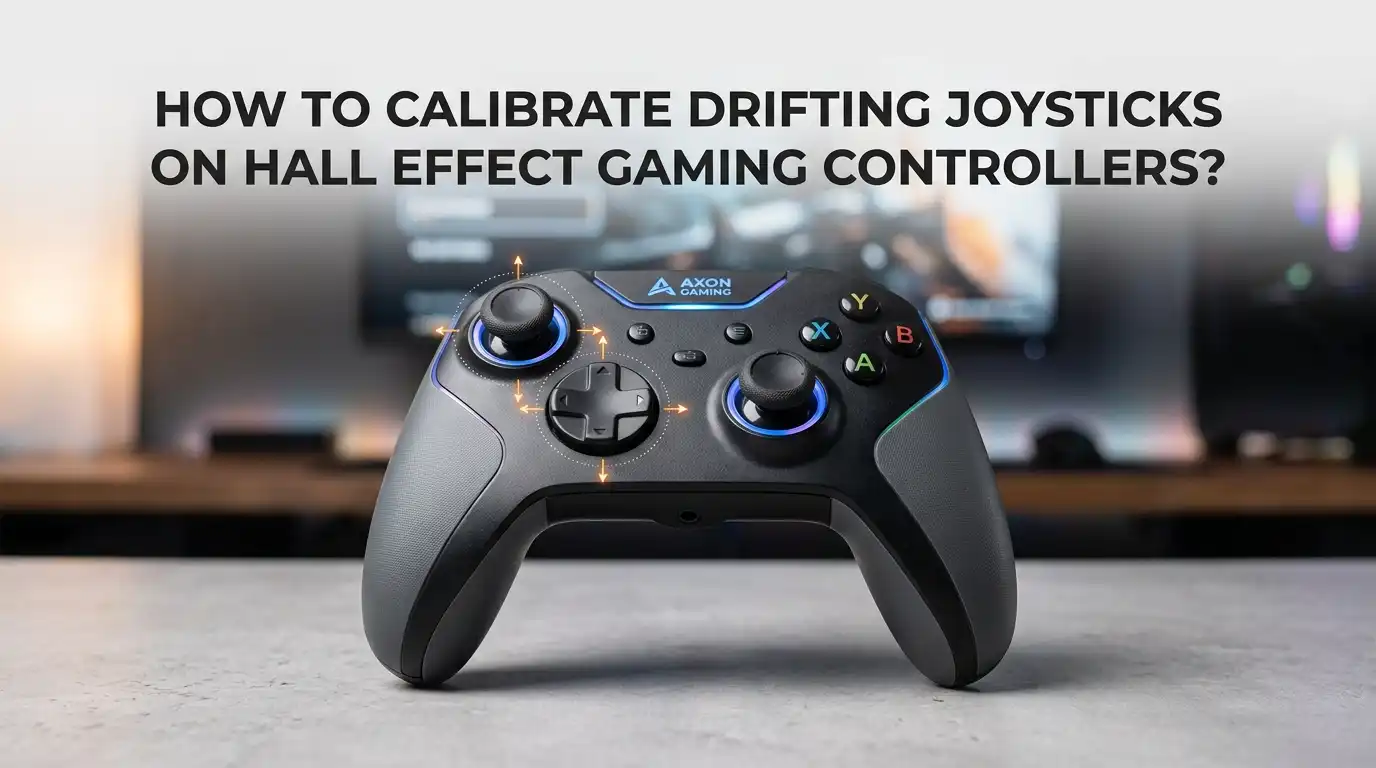
How To Calibrate Drifting Joysticks On Hall Effect Gaming Controllers?
You just bought a Hall Effect controller because you were tired of stick drift ruining your aim. You unbox it, plug it in, and fire up your favorite shooter. Then it happens again. Your character inches forward on screen.
Your crosshair pulls slightly to the left. You stare at the controller in disbelief. Hall Effect sticks are not supposed to drift, right? Do not panic. What you are seeing is not the same kind of drift that kills traditional potentiometer sticks.
This guide walks you through every method, tool, and trick you need to bring those sticks back to dead center accuracy. No fancy repair shop required.
Key Takeaways
- Hall Effect drift is rarely a hardware failure. Most drifting issues on magnetic sticks come from centering errors, weak spring tension, or external magnetic interference. You can fix these problems with software calibration tools before you ever open the controller.
- You need a PC or laptop for proper calibration. Console settings alone will not reset the center point of a Hall Effect module. Connecting the controller to a computer via USB and using a gamepad tester website is the most reliable way to recenter your sticks.
- Different brands use different calibration triggers. GuliKit controllers often require you to hold a specific stick direction while plugging in the USB cable. AIM and Hex controllers use button combinations. Always check the manual for your specific model before attempting any calibration sequence.
- Firmware updates can break your calibration. Always recalibrate your Hall Effect sticks immediately after updating the controller firmware. A new firmware version can reset stored stick values and make a perfectly centered controller drift again.
- Avoid magnets near your gaming setup. Hall Effect sensors read magnetic fields to determine stick position. Placing your controller near speakers, wireless chargers, tablet covers with magnetic clasps, or even a magnetic screwdriver can throw off the calibration completely.
- A small deadzone is normal and expected. Even perfectly calibrated Hall Effect sticks will show tiny centering errors because the thumbstick mechanism does not return to the exact same spot each time. Setting an in-game deadzone of 3 to 5 percent eliminates these micro deviations without hurting your aim.
Why Hall Effect Sticks Drift Even Without Physical Wear
Many gamers believe Hall Effect technology makes stick drift impossible. That is only half true. The magnetic sensors inside these controllers eliminate the number one cause of drift in traditional controllers.
A standard potentiometer stick has a carbon track and a metal wiper that physically rubs against each other. Over weeks and months of gaming, that friction scrapes away tiny bits of conductive material.
The dust and worn tracks create false electrical signals, and your game reads those signals as unintended stick movement. Hall Effect sticks replace all that physical contact with a magnet and a sensor chip.
The magnet moves near the chip as you tilt the stick, and the chip reads changes in the magnetic field without anything touching anything else. So why do Hall Effect sticks still drift sometimes? The answer lies in centering error.
How To Diagnose The Real Cause Of The Drift
Before you run any calibration tool, you need to know what you are actually fixing. Open a gamepad tester website on your PC or laptop. The two most popular and reliable options are Hardware Tester Gamepad and Gamepad Test.
Connect your controller via USB cable. Wireless Bluetooth connections can add input lag and reporting errors, so always use a wired connection for diagnosis. Look at the axis readings on screen. Axis 0 usually represents left and right movement on the left stick.
Axis 1 represents up and down. With your thumb completely off the stick, the values should read as close to zero as possible. An ideal reading sits between 0.00392 and 0.01176 for most Hall Effect modules. If your stick reads 0.05 or higher at rest, you have a centering issue.
Now slowly rotate the stick in a full circle. The “test circularity” or “circularity error” readout tells you how perfectly circular your stick movement is. A circularity error under 10 percent is excellent. Between 10 and 15 percent is acceptable for most games.
Method One: The Hardware Tester Recentering Technique
This is the most common calibration method used by AIM Controllers, Hex Gaming, and many custom Hall Effect builds. You need a PC or laptop, a USB cable, and the Hardware Tester Gamepad website open in your browser. Start with the controller completely unplugged and powered off.
Push the left thumbstick all the way forward or upward and hold it in that position. While keeping the stick forward, plug the USB cable into your computer. This button combination puts the controller into recentering mode. Look at the axis dot on the gamepad tester.
In recentering mode, you can only move the dot up, down, left, or right. You cannot move diagonally. Gently nudge the stick until the dot sits perfectly in the center of the axis display. The target values are 0.00392 or 0.01176 on both Axis 0 and Axis 1.
Pros: Works on most aftermarket Hall Effect modules without extra software. Calibration is stored on the controller hardware and persists across different devices and consoles. No special drivers or installation required.
Cons: The button trigger sequence varies by brand. Some controllers use a different stick direction or button combination to enter recentering mode. The process can be fiddly and may take several attempts to get the dot perfectly centered.
Method Two: The DualShock Tools Browser Calibrator
The DualShock Tools calibration website has become an essential resource for PlayStation controller owners. This free browser based tool works on DualSense, DualShock 4, and now even the DualSense Edge as of early 2025. Connect your controller to the PC via USB.
The site automatically detects your controller model and walks you through a guided calibration wizard. The process has four clear steps. First it reads your current stick center positions. Then it asks you to let the sticks rest at neutral.
Next you rotate each stick slowly in a full circle so the tool can measure the full range of motion. Finally you click save and the tool writes the new calibration values directly to the controller memory. The DualShock Tools site also supports permanent stick range calibration.
Pros: Guided step by step wizard makes the process easy even for beginners. Permanent calibration writes directly to controller firmware. Supports advanced features like stick range adjustment and deadzone fine tuning.
Cons: Only works with PlayStation controllers. The DualSense Edge requires a physical hardware mod involving soldering a wire between test points to disable write protection. Not compatible with Xbox or Switch controllers.
Method Three: The GuliKit Online Calibration Tool
GuliKit is one of the most popular Hall Effect joystick manufacturers, and they provide their own dedicated calibration platform. Navigate to the GuliKit Test and Calibration website on your PC. Connect your GuliKit controller or any controller with GuliKit Hall Effect modules via USB.
The site gives you a live readout of your stick positions and offers guided calibration routines. GuliKit sticks also have a physical calibration button. If you open the controller shell, you will find a tiny SMD button on the back of each stick module PCB.
Pressing this button while the controller is powered on triggers a hardware level recalibration of the sensor. This can fix issues that software calibration alone cannot resolve. The GuliKit site also supports gyroscope calibration for controllers that include motion sensors.
Pros: Purpose built for GuliKit hardware so compatibility is guaranteed. Physical calibration button provides a deeper hardware level reset that software tools cannot match. Also calibrates gyroscopes for motion control users.
Cons: Requires opening the controller to access the physical calibration button, which voids warranty on some models. Limited to GuliKit branded products. The browser tool interface is less polished than DualShock Tools.
Method Four: Xbox Accessories App And Windows Calibration
Xbox controller owners have fewer third party software options but can still calibrate Hall Effect sticks using built in tools. Open the Xbox Accessories app on your Windows PC. Connect your Xbox Series or Xbox One controller via USB. The app provides basic stick testing and configuration.
You cannot reset the hardware center point through this app alone, but you can configure deadzones and sensitivity curves that compensate for minor drift. For a deeper calibration on Windows, open the Control Panel and search for “Set up USB game controllers.”
Select your controller from the list and click Properties. The Settings tab includes a Calibrate button that launches the Windows calibration wizard. Follow the on screen instructions to recenter the sticks and define the axis ranges.
This method writes calibration data to the Windows driver level rather than the controller hardware. The fix works on the PC where you performed it but will not carry over to a console.
Pros: Uses built in Windows tools with no extra downloads. Xbox Accessories app provides an official first party interface for basic stick configuration. Good enough for PC only gamers who do not need cross platform calibration.
Cons: Calibration only applies at the operating system level and does not transfer to console use. Cannot reset the hardware center point of the Hall Effect sensor. Limited effectiveness for severe centering errors or uneven axis ranges.
Method Five: Firmware Updates And Factory Resets
Sometimes your Hall Effect controller drifts because the firmware has a bug or corrupted calibration data. Before you spend an hour tweaking stick values, check if the manufacturer has released a firmware update.
Brands like GuliKit, 8BitDo, Flydigi, and GameSir all provide firmware updater tools on their support websites. Download the correct updater for your model, connect the controller via USB, and run the update process.
After the firmware finishes installing, always recalibrate your sticks immediately. The new firmware likely wiped the stored calibration and replaced it with generic factory values. A factory reset is another powerful troubleshooting step.
Most Hall Effect controllers have a reset pinhole on the back or a button combination that restores all settings to default. Check your manual for the exact procedure. A full reset clears any bad calibration data and gives you a clean slate to work from.
Pros: Fixes software bugs that no amount of manual calibration can solve. Factory reset provides a clean baseline. Firmware updates sometimes add new calibration features and improve sensor compatibility.
Cons: New firmware can introduce fresh problems or break compatibility with third party Hall Effect modules. Rolling back firmware is not always officially supported and may require community sourced files. Takes time and requires careful following of instructions to avoid bricking the controller.
In Game Deadzone And Sensitivity Settings
Even after perfect calibration, your Hall Effect sticks may show tiny movements at rest on the tester. This is completely normal and expected. The centering spring mechanism inside every thumbstick, Hall Effect or not, has microscopic positional variance.
The stick simply does not land at the exact same neutral spot every time you let go. A well calibrated stick should rest between 0.003 and 0.015 on the axis readout. That tiny value may trigger movement in games with zero deadzone settings.
The solution is simple. Go into your game settings and find the controller deadzone option. Start at zero and increase the value by one step at a time until the unintended movement stops. For most Hall Effect controllers, a deadzone between 3 and 5 percent is the sweet spot.
It eliminates micro jitter while preserving the responsive feel that magnetic sticks are known for. You also need to adjust your sensitivity. Hall Effect sensors are more responsive than potentiometers.
Pros: No extra tools or PC required. Adjustable from within any game menu. Deadzone and sensitivity tweaks directly solve the gameplay problem even if the hardware calibration is not perfect.
Cons: Only fixes the symptom in that specific game. You have to configure deadzones separately for every game you play. Too large a deadzone makes the stick feel sluggish and unresponsive.
Cleaning And Physical Inspection Of The Controller
Dirt and debris around the thumbstick base can physically block the stick from returning to true center. Even though the Hall Effect sensor has no contact wear, the plastic stem and the controller shell can accumulate dust.
Use a can of compressed air to blow out the gap around the base of each thumbstick. Tilt the stick in all directions while spraying to dislodge any trapped particles. A cotton swab lightly dampened with isopropyl alcohol can clean the plastic ring where the stick rubs against the shell.
Let the alcohol dry completely before testing the controller. If you installed aftermarket Hall Effect sticks yourself, open the controller and inspect your solder joints. A cold or cracked solder joint can cause intermittent signals that look exactly like drift.
Check the three main pins on each potentiometer position. The output pin solder should be smooth and shiny, not balled up or dull. A magnifying glass or a phone camera zoom helps you spot small cracks.
Pros: Fixes physical problems that software calibration cannot solve. Basic cleaning is free and takes only minutes. Visual inspection of solder joints catches installation errors early.
Cons: Requires opening the controller, which may void warranty. Soldering inspection needs some experience to diagnose correctly. Cleaning alone rarely fixes drift on Hall Effect sticks unless debris is the sole cause.
When To Replace The Hall Effect Module
Not every drifting Hall Effect stick is fixable with calibration or cleaning. Sometimes the sensor itself is defective. If one axis reads permanently stuck at maximum or jumps erratically regardless of calibration attempts, the sensor chip has likely failed.
This can happen with cheaper aftermarket modules from lesser known brands. Even reputable GuliKit and Ginfull modules have a small defect rate. If you have exhausted every calibration method in this guide and the stick still drifts, it is time to consider a replacement.
Before ordering a new module, test the controller on a different PC and with a different USB cable. A faulty cable can cause data corruption that mimics sensor failure. Also make absolutely sure no strong magnets are near your gaming desk.
Speakers, subwoofers, wireless chargers, magnetic phone mounts, and even some laptop lids contain magnets strong enough to permanently shift the magnetic field reading of a Hall Effect sensor. Remove all such items and recalibrate.
Pros: A fresh module guarantees a working sensor with no hidden defects. Newer module versions often have better circularity and lower error rates than early releases.
Cons: Requires soldering skills and the right equipment. Costs money and takes time. Not all replacement modules are cross compatible between controller models and brands.
Preventing Future Drift On Hall Effect Controllers
Prevention is always easier than repair. Store your Hall Effect controller in a hard case or drawer when not in use. Dust accumulation around the stick base can physically prevent the stick from centering, and the sensors are sensitive to environmental conditions.
Keep all magnetic objects at least 12 inches away from your controller at all times. This includes phone cases with magnetic clasps, tablet stands, laptop speakers, wireless earbud charging cases, and magnetic screwdrivers on your workbench. Be gentle with your sticks.
Hard flicks and aggressive snapping do not wear out the sensor, but they can stretch the centering spring over time. A loose spring means the stick returns to a slightly different position each time, which creates centering error.
Clean your controller regularly with a dry microfiber cloth and use compressed air on the stick bases once a month. When traveling, put the controller in a dedicated case rather than tossing it loose in a backpack where pressure from other items can bend the stick mechanism.
Pros: Simple habits cost nothing and significantly extend the life of your controller. Proper storage and cleaning reduce the need for recalibration. Gentle stick handling preserves spring tension.
Cons: Requires consistent discipline. Carrying a separate case for travel might feel inconvenient. Some environments like shared desks or compact gaming setups make magnet avoidance difficult.
Hall Effect Calibration Compared To Traditional Potentiometer Sticks
Understanding the difference between calibrating these two technologies helps you appreciate why Hall Effect sticks are worth the effort. Traditional potentiometer sticks develop drift because their carbon tracks physically wear down. No amount of calibration can restore a worn track.
You can spray electrical contact cleaner into the module and hope it dissolves conductive dust, but that is a temporary fix at best. Once the carbon is gone, the stick is dead. Hall Effect sticks have no consumable parts in the sensing mechanism.
The magnet and the chip do not degrade from normal use. Calibration on a Hall Effect stick is about resetting the software reference point, not compensating for physical damage. This is why a calibrated Hall Effect stick stays accurate for years while a cleaned potentiometer stick drifts again within weeks.
The calibration process is also faster and more reliable on Hall Effect modules. Potentiometer calibration often requires adjusting tiny variable resistors on the board with a screwdriver, a tedious and imprecise process.
Pros: Hall Effect calibration is digital, precise, and repeatable. No physical wear means calibration stays accurate for years. No need for contact cleaner sprays or physical potentiometer adjustments.
Cons: Initial purchase price is higher than standard controllers. Calibration requires a PC and internet access. Some budget Hall Effect modules have higher circularity error than premium potentiometer sticks.
FAQ
Can I calibrate Hall Effect sticks without a PC
Most Hall Effect calibration methods require a PC or laptop with a USB connection. Console settings alone cannot reset the hardware center point. Some controllers have built in calibration button combinations that work without a computer, but these are rare. If you own a console and want Hall Effect sticks, you should still have access to a PC for occasional calibration checks.
Will calibrating my Hall Effect sticks void the warranty
Software calibration using browser tools like Hardware Tester or DualShock Tools does not void your warranty. These tools send standard HID commands that the controller firmware is designed to accept. Opening the controller shell to press a physical calibration button or to inspect solder joints will void most manufacturer warranties. Check your specific brand policy before opening anything.
My Hall Effect controller drifts only in one specific game
This is almost always a deadzone or sensitivity setting issue within that particular game. Check the game controller settings and set the deadzone to a small value like 3 to 5 percent. Also try lowering the stick sensitivity by 30 to 50 percent compared to what you used with a traditional controller. Some games have a minimum deadzone that cannot be fully disabled. If the controller shows normal values on a gamepad tester website, the problem is the game, not your hardware.
How often should I recalibrate my Hall Effect sticks
Recalibrate after every firmware update without exception. Outside of firmware updates, monthly checks are a good habit for competitive players. Open a gamepad tester, check your resting axis values, and run a quick calibration if any reading drifts above 0.02 at rest. Casual players can recalibrate every three to six months or whenever they notice drift in game.
Do all Hall Effect controllers use the same calibration method
No. Different brands use different trigger sequences to enter calibration mode. GuliKit uses a stick direction hold while plugging in. AIM Controllers uses pressing the stick down while plugging in. Hex Gaming has their own calibration board and software. Always look up the official calibration guide for your specific controller model. Using the wrong sequence can put the controller into a different mode without fixing the drift.
Can strong magnets permanently damage Hall Effect sticks
Rarely, but it is possible. A very strong neodymium magnet held directly against the sensor can permanently shift its magnetic bias. Most everyday magnets like phone cases, wireless chargers, and small speakers are not strong enough to cause permanent damage. However, they can temporarily throw off calibration. Simply move the magnet away and recalibrate to fix the problem.

Hi, I’m Lola Griffin 👩💻, the voice and creator behind ResizerBox. I’m a passionate tech enthusiast who loves exploring the latest gadgets, smart devices, and trending Amazon electronics. Through my reviews, I share honest insights, real-world testing experiences, and practical buying advice to help readers make confident tech choices.