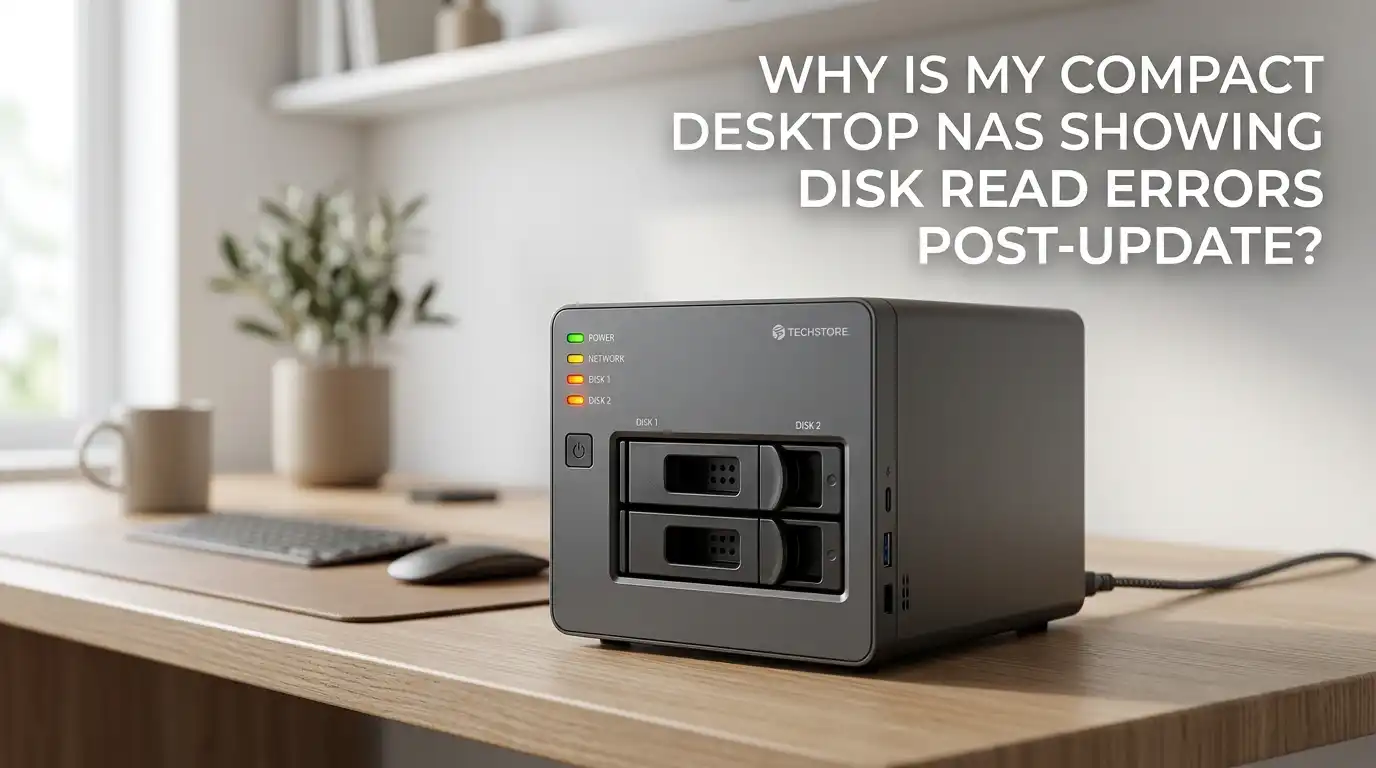
Why Is My Compact Desktop NAS Showing Disk Read Errors Post-Update?
Your compact desktop NAS worked fine yesterday. Today, after installing that firmware update, the dashboard glows red with disk read errors. Your heart sinks. Are your photos safe? Is the drive dying? Did the update break something?
Take a breath. Disk read errors after a NAS update are common, and most cases are fixable without losing a single file. The errors often point to software conflicts, cable seating issues, or firmware bugs rather than dying hardware.
This guide walks you through every step, from quick checks to deeper recovery actions, so you can restore your NAS to a healthy state.
Key Takeaways
- Do not panic and do not run a RAID rebuild immediately. A rushed rebuild on a stressed drive can turn a small read error into permanent data loss. Always back up first if possible.
- Read errors after an update often come from software bugs, driver mismatches, or loose SATA connections, not from a failed drive. Hardware failure is just one of several possible causes.
- SMART test results are your best friend. Run a short SMART test first, then an extended one. The output tells you if the drive is truly failing or simply misreported.
- Firmware rollback is a valid option on most NAS brands like Synology, QNAP, Asustor, TerraMaster, and Ugreen, especially when the new version is known to have bugs.
- Always verify your backup before doing destructive actions like reformatting, rebuilding, or removing a disk. Healthy backups give you room to experiment safely.
- Keep a notes file of every action you take during recovery. This helps support teams diagnose faster if you need to escalate.
What Disk Read Errors Actually Mean on a NAS
A disk read error is a message from the NAS saying it tried to read a block of data and failed. The error can come from the drive itself, the SATA controller, the cable, or the software layer that talks to the disk. Each layer can cause the same red warning.
After a firmware update, the software layer is usually the prime suspect. Updates change drivers, kernel modules, and storage management code. If a bug slips in, the system may misread sectors that are actually fine. So the error is real, but the cause may be the new code, not the hardware.
Why Updates Trigger Read Errors More Often Than You Think
Firmware updates touch deep parts of the NAS operating system. They often update the disk scheduler, RAID driver, and SMART monitoring service. A small mismatch between these components and your drive model can flag false read errors.
Sometimes the update changes the timeout values for slow drives. Older or larger HDDs may take longer to respond, and the new code marks them as unresponsive. Other times, the update tightens SMART thresholds. A drive that passed checks last week now fails because the bar moved. This explains why the same disk can suddenly look sick right after an update without any real physical change.
Step 1: Do Not Reboot or Rebuild Yet
The first instinct is to reboot the NAS or click the rebuild button. Resist that urge. A reboot can interrupt background scrubs and make a soft error harder to diagnose. A rebuild forces the system to read every sector at full speed, which can stress a wobbly drive into a full failure.
Instead, open the NAS dashboard and write down the exact error code, the affected drive bay, and the timestamp. Check the log section and copy the messages. This information is gold for later steps. If your NAS supports a read only mode or maintenance mode, switch to that to stop further writes while you investigate.
Pros of pausing: you protect existing data and gain clarity. Cons: services like media streaming or backups stay offline until you act.
Step 2: Run a Full SMART Test on the Affected Drive
SMART, short for Self Monitoring Analysis and Reporting Technology, is built into every modern hard drive. Your NAS can ask the drive to run a self test and report its true health. This is the fastest way to tell hardware failure apart from a software glitch.
Start with the short SMART test, which takes about two minutes. If it passes, run the extended SMART test. The extended test scans every sector and can take several hours on large drives. Look closely at the Reallocated Sectors Count, Pending Sectors, and Uncorrectable Errors fields.
A clean SMART report with read errors on the dashboard strongly points to a software bug. A failing SMART report means the drive itself needs attention.
Step 3: Check Cables, Trays, and Drive Seating
Compact desktop NAS units are small, and the drive trays sit close together. Vibration during shipping, cleaning, or even a firmware update reboot can loosen a SATA backplane connection by a hair. That tiny gap creates intermittent read errors that look identical to disk failure.
Power down the NAS fully. Unplug it from the wall. Slide the affected drive tray out, then push it back in firmly until it clicks. If your NAS uses screws, check that they are tight but not over tightened. Inspect the backplane pins for dust or bent contacts.
A simple reseat fixes a surprising number of post update errors. It costs nothing and takes five minutes, so always try this before deeper fixes.
Step 4: Review the Update Release Notes and Known Bugs
NAS vendors publish release notes for every firmware version. After an update causes problems, head to the vendor support page and read the notes for the version you just installed. Look for phrases like known issue, hotfix pending, or affects certain drive models.
Vendor forums and subreddits often light up within hours of a buggy release. A quick search for your NAS model plus the firmware version plus the phrase disk read error usually surfaces other users with the same problem. If many people report the same issue, your hardware is almost certainly fine.
Pros of this step: you save hours of guesswork. Cons: vendors sometimes delay acknowledging bugs, so absence of notes does not prove absence of issues.
Step 5: Roll Back the Firmware to the Previous Version
If the release notes or community posts confirm a buggy update, rolling back is often the cleanest fix. Most NAS brands allow you to install an older firmware file manually through the control panel. Synology, QNAP, Asustor, TerraMaster, and Ugreen all support this on most models.
Download the previous stable firmware from the vendor archive. In the dashboard, choose manual update, select the older file, and confirm. The NAS will reboot and restore the prior code. Your data on the drives stays untouched during a firmware change.
Pros of rollback: it directly removes the buggy code and often clears errors instantly. Cons: you lose any new features and security patches from the latest version, and some models block downgrades.
Step 6: Run a File System Check and Data Scrub
If the drive passes SMART and the firmware looks clean, the next step is a file system check. This scans the file system metadata for inconsistencies that the update may have introduced. Most NAS systems run ext4 or Btrfs, and both support online checks.
Open the storage manager and find the option labeled file system check or data scrubbing. A scrub reads every block and compares it against checksums when Btrfs or ZFS is in use. This process can repair silent corruption without erasing your data.
Pros: it finds and often fixes hidden problems. Cons: it can take many hours on large pools, and the NAS performance drops during the scan. Run it overnight if possible.
Step 7: Update the Drive Firmware Itself
Many people forget that hard drives and SSDs have their own firmware, separate from the NAS firmware. Sometimes a NAS update changes how it talks to drives, and only a matching drive firmware update can restore smooth communication.
Visit the drive manufacturer page, look up your exact model, and check for firmware updates. Brands like Seagate, Western Digital, Toshiba, and Samsung all publish drive firmware tools. Some NAS units allow drive firmware updates directly through the dashboard.
Always back up before flashing drive firmware. A failed flash can brick the drive. Pros: a perfect match between NAS and drive firmware often eliminates read errors completely. Cons: drive firmware updates carry a small risk and may require a Windows PC for the flashing tool.
Step 8: Test the Drive in Another Bay or External Dock
Swapping the drive into a different bay helps you isolate the problem. If the read errors follow the drive, the drive itself is the suspect. If the errors stay tied to the original bay, the backplane, cable, or controller is at fault.
Power down, move the drive to an empty bay, and boot up. Watch the dashboard for the same errors. You can also pull the drive and connect it to a PC using a USB to SATA dock. Run a tool like CrystalDiskInfo or smartctl to confirm SMART data outside the NAS context.
Pros: clear isolation of the fault. Cons: moving drives in a RAID set must be done carefully to avoid breaking the array. Always check your vendor guide first.
Step 9: Restore From Backup if Errors Persist
If SMART, cabling, firmware rollback, and file system checks all fail to clear the errors, the drive may have a genuine fault that the update simply exposed. In that case, your backup is your safety net. A NAS is not a backup by itself. It is a storage box that needs its own backup elsewhere.
Restore from your cloud backup, external drive, or secondary NAS. Replace the failing drive with a new one of the same or larger size. Then rebuild the array fresh and copy the data back.
Pros: you end with a clean, healthy system. Cons: restores take time, and if your backup was incomplete, you face data loss. This is why backup hygiene matters every single day.
Step 10: Contact Vendor Support With a Full Log Bundle
When you reach the limit of your own troubleshooting, vendor support can help. Every major NAS brand offers a way to export a log bundle or system report. This file contains all the details engineers need to diagnose deep issues.
Open a support ticket, describe the timeline clearly, and attach the log bundle. Mention the firmware version before and after the update, the drive model, and every step you already tried. Clear notes save days of back and forth.
Pros: you get expert eyes on the problem and possibly an unreleased hotfix. Cons: response times vary, and out of warranty units may face fees. Still, this step often unlocks fixes that no forum post offers.
How to Prevent Read Errors After Future Updates
Prevention beats recovery. Before any firmware update, take a snapshot or a full backup of important shares. Read the release notes first, and wait a week or two after release for early reports to surface. Stable users often skip the first version of any major release.
Keep your NAS in a cool, dust free spot with a small UPS for power protection. Power dips during updates are a leading cause of post update problems. Schedule monthly SMART tests and quarterly scrubs to catch problems early.
Healthy habits make NAS updates boring, and boring is exactly what you want from storage. A boring NAS is a NAS that just works while you sleep.
Frequently Asked Questions
Are disk read errors after a NAS update always a sign of drive failure?
No. Many post update errors come from software bugs, tighter SMART thresholds, or driver mismatches. Run a SMART test before assuming the drive is dead. A clean SMART report with dashboard errors usually points to firmware, not hardware.
Can I keep using my NAS while troubleshooting read errors?
You can, but it is safer to pause heavy writes. Read errors mean the NAS is already struggling with one drive. Adding more load can stress the array. Switch to read only mode if your model supports it, or pause backups and downloads until you finish testing.
Will rolling back NAS firmware delete my data?
No. Firmware rollback changes only the operating system of the NAS, not the data on the drives. Your files, shares, and user accounts stay intact. Still, take a backup first as a safety net before any major system change.
How long should an extended SMART test take on a NAS drive?
It depends on the drive size. A 4TB drive takes around six to eight hours. A 16TB drive can take more than a day. Run it overnight or over a weekend. Do not interrupt the test, as that can leave incomplete results.
Should I replace a drive that shows read errors but passes SMART?
Not right away. First, try reseating, scrubbing, and rolling back firmware. If errors return after all fixes, then replacement makes sense. A drive that keeps throwing errors despite a clean SMART report is still untrustworthy for critical data.
Is it safe to update NAS firmware on day one of release?
It is safer to wait one to two weeks. Early adopters catch the bugs, and vendors often release a quick hotfix soon after. Waiting gives you a smoother experience and avoids being the first to find a serious issue.

Hi, I’m Lola Griffin 👩💻, the voice and creator behind ResizerBox. I’m a passionate tech enthusiast who loves exploring the latest gadgets, smart devices, and trending Amazon electronics. Through my reviews, I share honest insights, real-world testing experiences, and practical buying advice to help readers make confident tech choices.