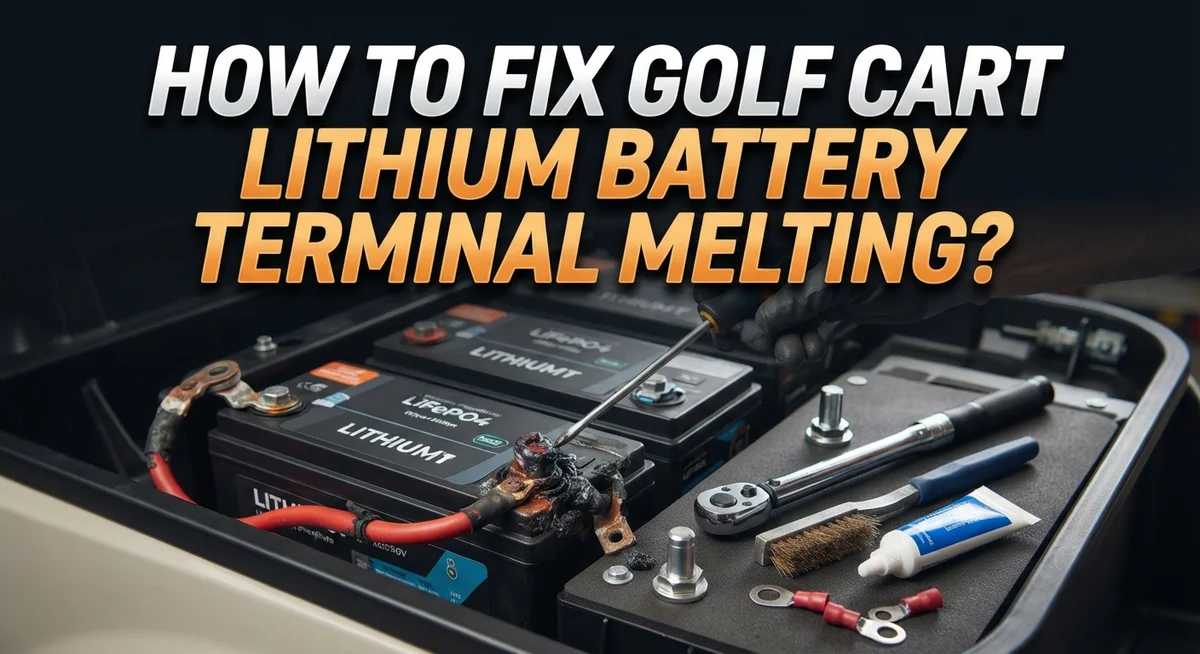
How To Fix Golf Cart Lithium Battery Terminal Melting?
A melted battery terminal can scare any golf cart owner. You go to charge your cart and notice a strange smell. Then you see it, a warped, discolored, or melted terminal on your lithium battery.
This problem is more common than you think. It usually happens because of loose connections, corroded terminals, or cable issues. Sometimes, it points to a bigger problem with your charger.
The good news is that you can fix this issue yourself. You do not need to be an expert to handle this repair.
In a Nutshell
- Loose or corroded connections cause high resistance. This heat buildup melts terminals over time.
- Worn battery cables often trigger this problem. Check cables regularly for cracks or damage.
- Charger voltage mismatch can overheat your battery system. Always match charger output to your battery specs.
- Simple fixes include installing a self tapper or bolt into the terminal’s flat side. You can also drill a hole and add a new threaded post.
- Cleaning terminals with baking soda and water removes corrosion buildup. This simple step prevents many future problems.
- Replace damaged cables completely if they show wear. Don’t try to patch a bad cable.
- Multiple melted terminals point to a bigger issue. This usually means your charger or cable system needs checking, not just one battery.
Why Golf Cart Battery Terminals Melt: Common Causes
Golf cart lithium battery terminals melt due to several specific causes. Understanding these reasons helps you prevent future damage and fix the problem correctly.
High resistance connections create excessive heat at terminals. When connections are loose or corroded, electrical current faces more resistance. This resistance converts to heat, which can melt plastic terminal components and damage metal connectors.
Defective battery cables rank among the top culprits. Worn cables develop internal breaks or damaged insulation. These damaged sections force electricity to travel through smaller areas, generating intense heat that transfers directly to terminals.
Terminal corrosion buildup reduces electrical flow. Corrosion acts like a barrier between the battery and cable. Your system works harder to push electricity through this buildup, causing temperatures to rise dramatically at connection points.
Charger output voltage mismatch creates systemic problems. If your charger outputs voltage higher than your battery specifications allow, it forces excessive current through the system. This overcharging condition generates heat throughout your battery terminals and cables.
Short circuits happen when internal battery components fail. A short circuit allows electricity to take an unintended path with very low resistance. This causes massive current flow in a split second, melting terminals almost instantly.
Multiple melted terminals indicate a bigger issue. If you find several terminals damaged simultaneously, look for charger problems or defective cables affecting your entire system. Single terminal melting might suggest isolated corrosion, but widespread damage points to charger voltage problems or damaged main cables.
Identifying which cause affects your cart matters greatly. Different causes require different repair approaches. Start by inspecting your cables for wear, checking terminal corrosion, and verifying your charger output matches battery specifications.
Safety Precautions Before You Begin Repairs
Before you start fixing a melted battery terminal, your safety must come first. Lithium batteries store enormous amounts of electrical energy. Handling them incorrectly can cause fires, explosions, or severe burns.
Disconnect the battery system completely before touching anything. Turn off your golf cart and remove the key. Wait at least five minutes to allow residual electrical charge to dissipate safely.
Wear appropriate protective equipment at all times. Safety glasses protect your eyes from sparks or debris. Heavy duty gloves shield your hands from sharp metal edges and electrical contact. Consider wearing a long sleeved shirt made of natural fiber material.
Never work near open flames or sparks. Lithium batteries can ignite if exposed to high heat sources. Keep your work area away from cigarettes, welding equipment, or grinding tools. Have a fire extinguisher rated for electrical fires nearby just in case.
Inspect the entire battery terminal area before starting repairs. Look for signs of burning, discoloration, or visible damage. Check if multiple terminals show melting signs. This pattern tells you whether the problem is isolated or systemic.
Test your charger output voltage against your battery specifications. A voltage mismatch often causes terminal overheating across multiple batteries. This check prevents the same problem from recurring after repairs.
Work in a well ventilated space with good lighting. Poor visibility leads to mistakes that compromise safety. Ensure someone else knows what you are doing and where you are working.
Take your time and do not rush through any step. Battery repair requires patience and careful attention. If you feel uncomfortable at any point, stop work immediately and consult a professional technician who specializes in lithium battery systems.
Tools and Materials You’ll Need
Before you start fixing a melted battery terminal, gather the right tools and materials. Having everything ready makes the job faster and safer.
You will need basic hand tools to complete this repair. A wrench set helps you remove and install terminals securely. A drill with metal bits allows you to create holes for new threaded posts if needed. A socket set gives you better leverage on tight connections. Keep a flashlight nearby so you can see inside the battery compartment clearly.
Materials are equally important for success. Get a self tapping screw or large bolt if you plan to reinstall the existing terminal. Baking soda and white vinegar work well for cleaning corrosion from terminals and cable ends. Have clean rags or paper towels available to wipe away debris and corrosion residue. You may need replacement battery cables if the originals show damage or melting signs.
Safety equipment protects you during repairs. Wear insulated gloves to prevent electrical shock and burns. Safety glasses shield your eyes from corrosion particles and metal shavings. A dust mask helps if you’re drilling or grinding corroded material.
Testing equipment matters too. A multimeter lets you check voltage from your charger against your battery specifications. This simple test reveals if voltage mismatch caused the melting problem.
Store all materials in an organized location before you begin work. This prevents delays and keeps you focused on the task. Check that your tools are in good condition and work properly. A well prepared workspace reduces accidents and helps you fix the problem correctly the first time.
Step-by-Step: Repairing a Melted Battery Terminal
Now that you have gathered your tools and safety equipment, you’re ready to start the actual repair work. The process depends on the damage severity and what caused the melting in the first place.
Start by disconnecting the battery completely. Remove the negative terminal first, then the positive terminal. Wait a few minutes to ensure all electrical charge dissipates safely. This step prevents accidental short circuits during your repair work.
Inspect the melted terminal closely. If the damage is minor, you may be able to salvage the existing terminal post. Install a self-tapper or large bolt directly into the flat side of the terminal. This creates a new connection point for your battery cable. Tighten it firmly but do not over tighten, as this can crack the terminal.
For more severe melting, drilling a hole into the lead and installing a new threaded post works well. Drill carefully to avoid damaging the internal battery structure. Use a threaded post that matches your battery cable connector size.
Replace the battery cable if it shows any damage. Worn or corroded cables caused the melting in the first place. A new cable ensures proper electrical flow and prevents future overheating. Attach the new cable securely to your repaired or new terminal.
Before reconnecting the battery, test your charger output voltage against your battery specifications. A voltage mismatch often causes terminal melting. If the charger output does not match, you may need to address this separately.
Reconnect the positive terminal first, then the negative terminal. Start your golf cart and monitor the terminals for heat. They should remain cool during normal operation.
How To Clean Corroded Terminals Properly
Corrosion on battery terminals happens when moisture and minerals build up over time. This white, blue, or green crusty layer reduces electrical connection and causes resistance. Cleaning corroded terminals properly prevents future melting and keeps your golf cart running smoothly.
Start by disconnecting your battery completely. Remove the negative terminal first, then the positive terminal. This keeps you safe while you work.
Mix baking soda with water to create a paste. You want a consistency that sticks to the terminal without dripping off. This solution neutralizes the corrosion safely without harsh chemicals.
Use an old toothbrush or soft wire brush to scrub the corroded areas gently. Work in circular motions and apply steady pressure. The corrosion should loosen and come off easily. Rinse with clean water and dry thoroughly with a clean cloth.
For stubborn corrosion, let the baking soda paste sit on the terminal for 10 to 15 minutes before scrubbing. This extra time helps break down heavy buildup.
Inspect the terminal closely after cleaning. Look for pitting, cracks, or damage to the metal surface. Damaged terminals may need replacement even after cleaning.
Check your battery cables too. Corroded cables often cause terminal corrosion. If cables show green or white buildup, clean them the same way.
Dry everything completely before reconnecting. Moisture left behind creates new corrosion quickly.
Reconnect the positive terminal first, then the negative terminal. Tighten connections firmly but do not overtighten, which can strip threads.
Clean your terminals every 6 months or when you notice corrosion starting. Regular cleaning prevents bigger problems and keeps electrical connections strong and efficient.
When To Replace Cables Instead of Repairing Terminals
Your battery cables carry electrical current to and from your lithium battery terminals. When cables wear out or corrode badly, they create resistance. This resistance causes heat buildup that melts the terminals.
Damaged cables are often the root cause of terminal melting, not the terminals themselves. If you repair a melted terminal but leave a bad cable in place, the problem will happen again. You’ll waste time and money on repeated repairs.
Look for these cable warning signs. Check if the cable insulation is cracked, peeling, or missing in spots. Feel the cable along its entire length for soft or mushy areas. These indicate internal corrosion. Discolored or darkened sections show heat damage. Frayed wire strands at the ends mean the cable is breaking down.
Test your cables for continuity using a multimeter. A good cable shows low resistance. High resistance readings tell you the cable needs replacement. If multiple batteries are melting at the same time, your cables are almost certainly the problem, not the terminals.
Replace cables when they fail these checks: visible damage to insulation, corrosion inside the cable, high resistance readings, or heat discoloration. New cables cost less than repeatedly fixing melted terminals.
When replacing cables, match the gauge and length of your original cables exactly. Undersized cables create more resistance and heat. Oversized cables waste money and space. Get the specifications from your golf cart manual or your battery documentation.
Cable replacement prevents future terminal melting. It stops the problem at its source. This is always better than fixing terminals over and over again.
Diagnosing Systemic Issues When Multiple Batteries Are Affected
When multiple batteries in your golf cart show melted terminals, the problem usually isn’t with individual batteries. Instead, you’re dealing with a systemic issue that affects your entire system.
Start by checking your charger first. A charger that outputs voltage higher than your battery specifications will damage every battery it connects to. Measure the charger output with a multimeter and compare it to your battery manual. If the voltage is too high, your charger is the culprit, not your batteries.
Next, inspect all your battery cables throughout the cart. Look for corrosion, cracks, or worn insulation on every cable connection. Defective cables create high resistance, which generates heat that melts terminals across multiple batteries. Pay special attention to cables that carry current between battery banks.
Test each cable with a multimeter set to resistance mode. High resistance readings indicate the cable needs replacement. Even small amounts of internal corrosion cause problems when you have multiple batteries working together.
Check every terminal connection point in your system. Loose connections force current through smaller contact areas, creating heat spots that melt terminals. Tighten all connections firmly, but don’t overtighten and damage the terminals.
Document which batteries are affected and where they sit in your cart. If melting happens in batteries positioned close together, heat transfer between units might be contributing. Ensure proper airflow around your battery bank.
Once you identify the root cause, replace or repair it across your entire system. If it’s the charger, replace the charger. If it’s cables, replace all damaged cables. If it’s loose connections, tighten every connection point. Fixing only one battery while leaving the systemic problem means the melting will happen again.
Preventing Future Terminal Melting
Terminal melting happens because of electrical resistance building up at connection points. The best way to stop this problem is to prevent the conditions that cause it in the first place.
Start by checking your charger output voltage regularly. Your charger must match your battery’s voltage specifications exactly. A charger that outputs too much voltage creates excessive heat at the terminals. Verify these numbers match before every charging session. Keep a record of your charger’s output to spot changes over time.
Inspect your battery cables every month for signs of wear. Look for cracked insulation, exposed copper wires, or areas where the cable feels soft or mushy. Cables with damage allow current to leak, which creates heat and resistance. Replace any cable showing these warning signs immediately.
Keep your terminals clean and dry at all times. Moisture combined with corrosion creates resistance that generates heat. Wipe down your terminals after each use, especially if your golf cart sits outside. Store your cart in a dry location when possible.
Check all terminal connections for tightness once a week. Loose connections increase resistance dramatically. Use the correct tool to tighten each terminal firmly without over tightening, which can damage the post.
Monitor your battery temperature during charging. Terminals that feel hot to the touch indicate a problem developing. Stop charging immediately and investigate the cause.
Keep spare cables and terminal hardware on hand for quick repairs. This allows you to replace damaged parts before melting occurs. Regular maintenance prevents expensive damage and keeps your golf cart running safely and reliably for years.
Final Thoughts
Melted terminals on your golf cart lithium battery are fixable. You now know the tools and steps needed to get your cart running again.
Safety comes first in every repair. Always disconnect your charger and wear protective gloves before touching any terminal.
Remember the core causes we covered. High resistance, worn cables, corrosion, and charger mismatches all lead to melting.
Fixing one melted terminal is straightforward. But if you spot melting on multiple batteries, dig deeper into your cable system and charger settings.
Small problems become big ones if you ignore them. A slightly warm terminal today could mean a bigger failure tomorrow.
Take time to inspect your entire electrical system. Don’t just fix the terminal you see melting right now.
Your cables, connections, and charger all work together. A weak link anywhere in this chain can cause repeated terminal damage.
Regular maintenance saves you money and hassle. Checking connections monthly takes just a few minutes of your time.
Keep basic repair supplies on hand. Having bolts, cable ends, and cleaning supplies ready means faster fixes when problems appear.
Trust your observations. If something looks off or feels different during charging, investigate right away.
Golf cart batteries represent a real investment. Taking care of terminals and cables protects that investment for years to come.
Don’t rush repairs just to get back on the course faster. A careful fix today prevents a bigger repair tomorrow.
With the right approach, you can handle terminal melting confidently. You have the knowledge now to diagnose, repair, and prevent this common issue.
Stay proactive with inspections. Your golf cart battery system will reward you with reliable performance for many rounds ahead.
Frequently Asked Questions
Why do golf cart lithium battery terminals melt in the first place?
Terminal melting happens when electrical resistance builds up at connection points. This resistance generates heat that melts the terminal material. High resistance usually comes from corroded terminals, worn cables, or loose connections.
Sometimes a short circuit causes sudden, intense heat. Other times, your charger output voltage doesn’t match your battery specs, creating ongoing stress on the terminals.
Can I repair a melted terminal myself or do I need professional help?
You can repair many melted terminals at home. One simple method involves installing a self-tapper or large bolt into the flat side of the terminal. Another option is drilling a hole in the lead and installing a new threaded post.
If the damage is severe or you feel unsure, professional help is worth the investment. Terminal repair requires basic tools and electrical knowledge, but safety matters most.
What should I check if multiple batteries show melted terminals?
When several batteries are affected, the problem usually isn’t with individual batteries. Check your charger first to verify the output voltage matches your battery specifications.
Next, inspect all battery cables throughout your cart for wear or corrosion signs. Test each cable with a multimeter set to resistance mode. Document which batteries are affected and their locations. Once you identify the root cause, you can fix it across your entire system instead of treating symptoms one battery at a time.
How do I prevent terminal melting from happening again?
Inspect your battery cables every month for damage or corrosion. Keep terminals clean and dry. Check all terminal connections for tightness once a week.
Monitor your battery temperature during charging. Keep spare cables and terminal hardware on hand for quick repairs. Regular maintenance stops small problems from becoming expensive failures.

Hi, I’m Lola Griffin 👩💻, the voice and creator behind ResizerBox. I’m a passionate tech enthusiast who loves exploring the latest gadgets, smart devices, and trending Amazon electronics. Through my reviews, I share honest insights, real-world testing experiences, and practical buying advice to help readers make confident tech choices.