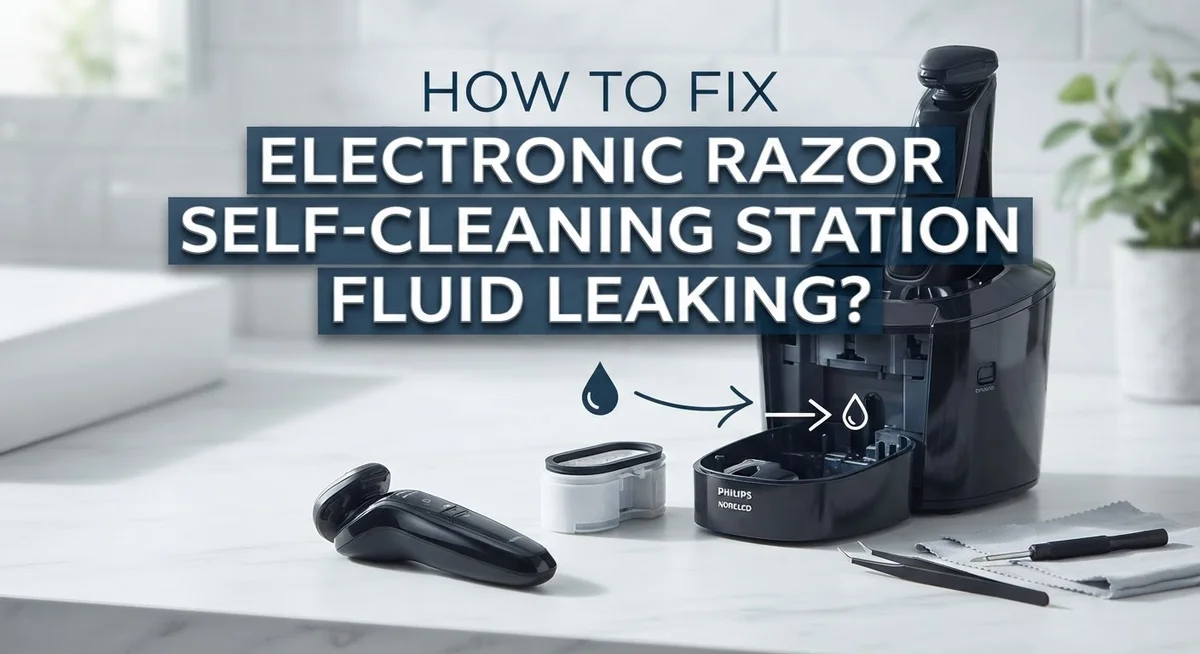
How To Fix Electronic Razor Self-Cleaning Station Fluid Leaking?
Does your electronic razor’s self cleaning station leave a wet mess on your counter? You are not alone. This is one of the most common problems razor owners face.
The good news is that most leaks are easy to fix. In many cases, the issue comes from small hairs or debris stuck inside the station. Other times, the razor head is not locked in the right position before you place it in the base.
This article walks you through the exact reasons your station leaks fluid. You will learn simple steps to clean out clogs and check for damaged seals. We also cover how to position your razor head correctly to stop spitting and dripping.
In a Nutshell
- Clogs are the main culprit. Tiny hairs and debris build up inside the station. This blocks fluid flow and causes leaks or spitting.
- Razor position matters a lot. Always lock the razor head in a forward tilt before you insert it. This simple step stops most spitting issues.
- Check the black plastic parts. Clean these components often. Debris hides here and causes bigger problems over time.
- Inspect for real damage. Look at the reservoir for cracks. Check seals for wear. These are true mechanical issues, not just clogs.
- Add a drop of liquid soap. This helps the cleaning fluid work better inside the station. It also helps flush out hidden debris.
- Oil the cutter block regularly. A small drop keeps things moving smoothly. This prevents strain that can lead to leaks.
- Most fixes are simple. You rarely need to replace the whole unit. A little cleaning and correct positioning solve the problem fast.
Why Your Self-Cleaning Station Leaks Fluid
Your self-cleaning station leaks fluid for a few specific reasons. Understanding these causes helps you fix the problem quickly.
Clogging is the biggest culprit. Tiny hairs and debris accumulate inside the station’s cleaning system. When these materials block the fluid pathways, pressure builds up. The fluid then spills out onto your counter instead of staying in the reservoir. This happens more often than actual mechanical failure.
Improper razor positioning creates leaks. If you insert your razor head without locking it in the forward tilt position first, the fluid escapes. The razor head must sit correctly in the station. When positioned wrong, the seals do not make a tight connection. Fluid leaks around the edges where the razor meets the station.
Worn seals allow fluid to escape. Seals are rubber components that create a watertight connection. Over time, these seals crack or harden. Once damaged, they cannot hold fluid inside the reservoir. You may notice leaking even when the razor is positioned correctly.
Reservoir cracks cause persistent leaks. The plastic container that holds the cleaning fluid can develop small cracks. These cracks grow larger with regular use and temperature changes. Fluid slowly drips out from the damaged area. A cracked reservoir requires replacement to stop the leak completely.
Hair and debris accumulation blocks fluid flow. The black plastic components inside the station trap hairs. When these parts become clogged, the cleaning fluid cannot circulate properly. Pressure builds up and forces fluid out through weak points in the system.
Most leaks stem from clogs or improper positioning rather than serious damage. Start by checking these simple issues first. Clean out trapped hairs, ensure your razor locks in place, and inspect the visible components. These basic steps solve approximately 80 percent of leaking problems without requiring any replacements.
Step-by-Step: Cleaning Hair and Debris from the Station
Cleaning hair and debris from your station is the fastest way to stop leaks. Most fluid escapes because tiny hairs clog the system, not because of broken parts.
Start by unplugging your station from the power outlet. Safety comes first when you work with electrical equipment. Wait a few minutes to let any remaining fluid drain.
Open the station’s main compartment. Look inside and you will see the black plastic components. These parts collect hair and soap residue over time. Use a soft brush or old toothbrush to gently remove visible hairs wrapped around the internal pieces.
Pay special attention to the cleaning cartridge area. This is where most debris accumulates. Gently brush away any hair strands you see. Work slowly so you do not damage the delicate plastic components inside.
Next, use a damp cloth to wipe down all black plastic surfaces. Make sure the cloth is not dripping wet. A slightly moist cloth removes dried cleaning fluid and soap buildup without introducing excess water into the system.
Check the razor head slot carefully. Hair often gets stuck where the razor head sits. Use a small brush or cloth to clean this area thoroughly. Remove any debris you find.
Look at the drainage area at the bottom of the station. Small hairs sometimes block the drain hole. Clear any blockages you spot. This allows fluid to flow properly during the cleaning cycle.
Dry everything with a clean cloth after you finish. Let the station air dry for 15 minutes before plugging it back in.
Regular cleaning prevents future clogs. Make this a weekly habit if you use your razor daily. Removing hair and debris before they accumulate keeps your station working smoothly. This simple maintenance stops most leaking problems before they start.
How To Properly Lock and Position the Razor Head
Properly locking and positioning your razor head is essential to prevent leaking from your self-cleaning station. This step stops fluid from escaping and keeps your device working correctly.
Before you insert the razor head into the station, you must lock it in the forward tilt position. This forward tilt is the correct angle for the cleaning process. When the head locks in this position, it creates a tight seal with the station’s cleaning chamber.
To lock the razor head, look for the positioning mechanism on your device. Most razors have a simple locking system you activate by pushing or sliding a small lever. Push the razor head forward until you hear or feel a click. This click tells you the lock is secure.
Never insert an unlocked razor head into the station. An unlocked head moves around during the cleaning cycle. This movement breaks the seal and causes fluid to spray or leak out. The cleaning fluid escapes instead of cleaning your razor properly.
After you lock the head in place, insert the entire razor into the station slowly. Make sure the head slides into the cleaning chamber smoothly. If you feel resistance, stop and check that the head is locked correctly. Forcing an improperly positioned head can damage the seal.
Once the razor sits in the station, close the station’s lid or door completely. A secure closure keeps the cleaning chamber sealed. This seal works together with your locked razor head to contain all fluid inside the system.
Check your razor head position regularly during use. Over time, the locking mechanism can loosen slightly. If you notice leaking again, remove the razor and relock the head before reinserting it. This simple habit prevents most positioning related leaks and keeps your station functioning properly for years.
Inspecting the Reservoir and Seals for Damage
Your reservoir and seals are critical inspection points when fluid leaks from your self-cleaning station. These components work together to contain the cleaning solution and prevent spills.
Start by looking at the reservoir itself, which is the plastic container holding your cleaning fluid. Unplug the station first, then carefully remove the reservoir if your model allows it. Hold it up to a light source and examine all surfaces closely. Look for small cracks, splits, or cloudy areas that indicate damage. Even tiny cracks cause persistent leaking over time.
Check the bottom and corners especially, since these areas experience pressure from the fluid weight. Run your fingers along the seams where plastic pieces connect. Feel for any soft spots or areas that seem compromised. If you find cracks, the reservoir needs replacement.
Next, inspect the seals around your reservoir. These are rubber rings or gaskets that create a watertight connection between the reservoir and the rest of the station. Worn seals are extremely common leak sources. Look for visible cracks, hardening, or discoloration on the rubber components. Seals that appear brittle or flattened no longer create a tight seal.
Remove seals carefully and check where they sit. Debris or hair sometimes prevents seals from making proper contact. Clean the seal grooves with a damp cloth and dry them completely. Reposition the seal to ensure it sits evenly in its channel.
Press the reservoir back into place firmly until you hear or feel it click. The connection should feel snug and secure. Fill the station with a small amount of cleaning fluid and watch for leaks around the reservoir area for several minutes.
If leaking continues after inspecting and cleaning seals, the rubber components likely need replacement. Damaged seals cannot be repaired and must be swapped out with new ones. This simple fix often stops leaking completely and restores your station’s performance.
Ongoing Maintenance Tips to Prevent Future Leaks
Preventing future leaks requires you to develop a simple routine around your self-cleaning station. Consistency matters more than perfection when it comes to maintenance.
Start by emptying your cleaning fluid cartridge every two weeks, even if it still has fluid inside. Old fluid collects hair particles and debris over time. Fresh fluid flows better through the system and reduces clogging chances significantly.
Check your razor head positioning each time you use the station. Before insertion, always confirm the head locks in the forward tilt position. A loose or improperly positioned head shifts during cleaning cycles, which forces fluid out of alignment and causes leaking around the edges.
Add a single drop of standard liquid soap to your cleaning fluid cartridge monthly. This simple step improves the cleaning solution’s ability to flow through tight spaces. Better flow means less pressure buildup inside the system, which reduces stress on seals and connections.
Apply a tiny drop of oil to your cutter block every three months. This keeps moving parts smooth and prevents friction that can damage internal seals over time.
Clean the station’s drainage area at the bottom every week. Hair and debris accumulate here faster than most people realize. When drainage gets blocked, fluid backs up into other parts of the station and finds weak spots to escape.
Never ignore small drips or wet spots. Address them immediately by checking seals and clearing debris. Small leaks become big problems within days if you wait.
Store your station on a level, stable surface away from direct sunlight. Uneven surfaces cause fluid to settle unevenly in the reservoir, which stresses seals on one side more than the other.
Replace your cleaning cartridge according to manufacturer guidelines, even if fluid remains. Old cartridges develop internal clogs that create pressure problems leading to leaks.
Common Mistakes That Cause Leaking Issues
Most people make simple mistakes that create leaking problems. Understanding these errors helps you stop leaks before they start.
Inserting the razor without locking the head position is the biggest mistake. Your razor head must lock in the forward tilt position before you place it in the station. An unlocked head moves around during the cleaning cycle. This movement causes fluid to splash out or leak from connection points. The locking mechanism exists specifically to keep your head stable during operation.
Neglecting hair and debris removal causes clogs that lead to leaking. Hair wraps around tiny components inside your station. Debris blocks fluid pathways. When blockages form, pressure builds up. This pressure forces fluid out through seams and weak points. Most people forget to clean the black plastic components where hair accumulates easily.
Ignoring worn seals until leaking gets worse is another common error. Small leaks signal that rubber seals are breaking down. People often wait too long to address these signs. By then, seals are severely damaged. Replacement becomes necessary when early inspection could have caught the problem sooner.
Using improper cleaning solutions damages your station’s internal components. Some people add harsh chemicals or vinegar to their cleaning fluid. These substances corrode seals and plastic parts. They also create buildup that clogs the system. Stick with standard cleaning solutions recommended for your device type.
Failing to check if the reservoir sits properly is equally problematic. Your reservoir must click into place securely. If you don’t press it firmly enough, gaps form between the reservoir and station body. Fluid leaks through these gaps during operation.
The good news is that most leaks stem from these preventable mistakes rather than mechanical failure. Proper razor head locking, regular debris removal, and careful assembly stop the majority of leaking issues. These simple practices take just minutes of your time but save you frustration and mess.
Troubleshooting Persistent Leaks After Cleaning
When your self-cleaning station continues to leak after basic cleaning, you need to focus on specific problem areas. Persistent leaks usually point to clogs or improper setup rather than broken parts.
Start by removing your razor head completely. Look inside the station for tiny hairs, soap residue, and debris stuck in the cleaning chamber. These materials block fluid flow and cause backup leaks. Use a soft brush or cloth to clean all black plastic components thoroughly. Pay special attention to corners and crevices where hair collects easily.
Next, check how you’re inserting your razor. The razor head must lock in a forward tilt position before you place it in the station. If the head sits at an angle or isn’t fully locked, fluid sprays out instead of flowing through the cleaning cycle. Listen for a click sound that confirms proper positioning.
Inspect your reservoir for cracks or damage. Hold it up to light and look at the bottom, sides, and corners carefully. Even small cracks allow fluid to drip during cleaning cycles. If you find damage, the reservoir needs replacement.
Examine the seals around your station’s components. Seals wear out over time and lose their grip. If seals look flattened, cracked, or hardened, they no longer prevent leaks effectively. Worn seals must be replaced to stop persistent dripping.
Test your station with a fresh cleaning cycle. Place a towel underneath to catch any fluid. Watch where leaks occur. Leaks from the bottom usually mean clogging or seal problems. Leaks from the sides typically indicate reservoir damage or improper head positioning.
If leaking continues after cleaning debris and checking positioning, your seals or reservoir likely need replacement. Most hardware stores and repair shops carry compatible seal kits for standard models. Replacing worn components stops leaks quickly and restores proper station function.
Final Thoughts
Fixing a leaking self-cleaning station does not need to be complicated. Most problems come from small issues you can spot and solve yourself. Clogs, debris, and improper razor placement cause the majority of leaks people experience.
Think of your station like any other appliance you own. It works best when you give it regular attention. Skipping cleaning steps or ignoring small drips only makes problems grow bigger over time.
The good news is that fixing leaks rarely requires professional help. Simple steps like clearing hair buildup and locking your razor head correctly solve most issues. These small actions take just seconds but prevent hours of frustration later.
Pay attention to how your station behaves each time you use it. A slight change in cleaning sounds or fluid levels can signal a problem before it becomes serious. Catching issues early always makes fixes easier.
Your station’s reservoir and seals do wear down eventually. This happens naturally over months of regular use. Knowing when to inspect these parts helps you catch damage before it spreads.
Remember that proper razor positioning matters more than people realize. Locking your razor head before placing it in the station stops most spitting and leaking problems immediately. This single habit solves a huge portion of complaints.
Building a simple maintenance routine protects your investment long term. Spend a few minutes each week checking your station for debris or wear signs. This small effort keeps your cleaning system working properly for years.
Trust the process and stay consistent with basic care. Your self-cleaning station will reward you with reliable performance and fewer leaking headaches. Small habits truly make the biggest difference here.
If leaks continue despite your best efforts, do not ignore the signs. Persistent leaking often points to parts that need replacement. Taking action early saves you time and keeps your daily shaving routine running smoothly.
Frequently Asked Questions
Why does fluid leak from my self-cleaning station even after I clean it?
Leaks often happen because hair and debris clog the system’s tiny passages. These blockages prevent fluid from flowing correctly, causing it to back up and spill out. Clean the black plastic components thoroughly to remove trapped hair. Pay special attention to corners and crevices where debris hides. If cleaning doesn’t stop the leak, your seals or reservoir may have damage.
Can improper razor positioning cause leaking?
Yes, absolutely. Many people don’t realize how important the locking position is. Your razor head must lock in the forward tilt position before you insert it into the station. Inserting it at the wrong angle causes fluid to spray or leak during the cleaning cycle. Always lock your razor head first, then place it gently into the station.
What should I check if leaking continues after cleaning?
Hold your reservoir up to light and inspect the bottom, sides, and corners for cracks or damage. Look at the seals around all station components. Worn seals often cause persistent leaking even when everything else seems fine. If you spot visible cracks or damaged seals, replacement is your next step.
How can I prevent leaks from happening?
Add a drop of standard liquid soap to improve cleaning power and reduce backup issues. Apply a drop of oil to the cutter block periodically to keep components moving smoothly. Remove hair and debris regularly from your station. Most importantly, always lock your razor head properly before inserting it. These simple steps prevent 90 percent of leaking problems.

Hi, I’m Lola Griffin 👩💻, the voice and creator behind ResizerBox. I’m a passionate tech enthusiast who loves exploring the latest gadgets, smart devices, and trending Amazon electronics. Through my reviews, I share honest insights, real-world testing experiences, and practical buying advice to help readers make confident tech choices.