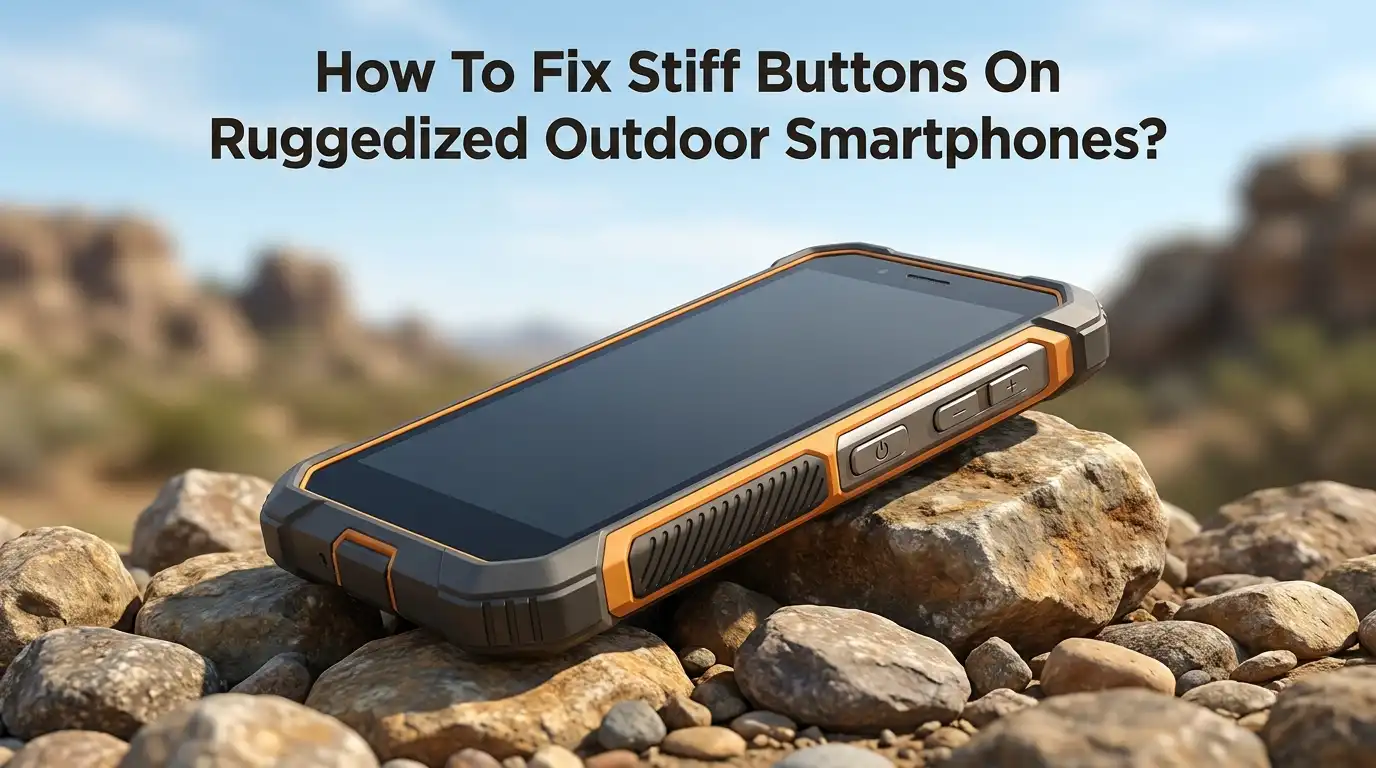
How To Fix Stiff Buttons On Ruggedized Outdoor Smartphones?
Your rugged phone lives a hard life. It goes hiking, camping, fishing, and to work on dusty job sites. That tough build is the whole point. But one day you press the power button and it fights back.
It feels stiff, sticky, or almost stuck. The volume keys click with a mushy delay. This is one of the most common problems owners face, and the good news is simple. You can usually fix it yourself at home.
Stiff buttons rarely mean your phone is broken. Most of the time, dirt, sand, sweat, and dried grime have packed into the tiny gaps around the button. That gunk blocks smooth movement.
Key Takeaways
- Dirt is the usual culprit. Sand, dust, pocket lint, sweat, and dried mud pack into the button gaps and stop smooth movement. A good cleaning fixes most stiff button problems on rugged phones.
- Start gentle, then go deeper. Try a soft brush and compressed air first. Move to isopropyl alcohol on a cotton swab only if the button is still stiff. Never skip straight to liquids.
- Turn the phone off and face it down. Powering off protects the internals. Holding the phone upside down lets gravity keep any liquid out of the device.
- Use 90 percent or higher isopropyl alcohol. It cleans grease fast and dries quickly. Apply it to a swab, never pour it directly onto the phone or into ports.
- Rugged phones hide extra dirt traps. Thick gaskets, rubber seals, and raised bezels catch more grime than slim phones, so cleaning takes a little more patience.
- Know when to stop. If cleaning fails and the button still resists, the internal spring or dome may be worn. That is a repair shop job, not a DIY fix.
Why Rugged Phone Buttons Get Stiff In The First Place
Understanding the cause helps you pick the right fix. Rugged phones use physical buttons sealed against water and dust. These seals are the strength and the weakness.
Tiny rubber gaskets sit under each button to keep water out. Over time, dirt slips into the narrow gap around the button edge and packs down tight.
Outdoor use makes this worse fast. Sand grinds into the seals. Sweat dries and leaves salt crystals. Mud hardens like cement inside the crevices. Each layer adds resistance until the button feels stiff or sticky.
Wear also plays a role. The internal spring or metal dome under the button loses some snap after thousands of presses. Humidity and moisture can cause light corrosion on the contacts too. Most cases are dirt, but knowing the full list helps you plan your repair.
Gather The Right Tools Before You Start
A clean job needs the right supplies. You do not need a repair kit. Most items sit in your home already. Getting everything ready first saves time and prevents mistakes halfway through.
Here is what works best for rugged phone buttons:
- Isopropyl alcohol, 90 percent or higher. It dissolves grease and dries fast without leaving residue. Lower percentages hold more water and dry slower.
- Cotton swabs. Q tips reach into tight gaps around the button edge.
- A soft bristle brush. An old toothbrush or a small paintbrush loosens surface dirt.
- Canned air or a compressed air duster. It blows debris out of the crevices.
- A microfiber or lint free cloth. It wipes away loosened dirt without shedding fibers.
Avoid sharp metal tools like pins or knives. They scratch the seals and can tear the rubber gasket. That damage lets water in and ruins the waterproof rating. Stick to soft materials that clean without cutting.
Method 1: Dry Cleaning With A Brush And Compressed Air
Always start here. This is the safest method and it fixes many stiff buttons on its own. Dry cleaning carries zero risk of liquid getting inside your phone. That matters most with rugged models that you rely on outdoors.
First, power off the phone. Hold it with the stiff button facing down. Take your soft brush and scrub gently around the button edge. Work the bristles into the gap. Press the button a few times as you brush to shake loose packed dirt.
Next, grab the canned air. Hold the nozzle parallel to the button, not pointed straight down into it. Give two or three short bursts. This pushes debris outward instead of deeper inside.
Pros: No liquid risk, fast, and safe for any rugged phone. Cons: It struggles with sticky grime like dried sweat or grease. If the button is still stiff after this, move to the next method.
Method 2: Deep Cleaning With Isopropyl Alcohol
When dry cleaning fails, alcohol is your best next step. It breaks down grease and sticky residue that a brush cannot. The trick is control. You want the alcohol on the swab, never on the phone directly.
Turn the phone off. Dip a cotton swab into the isopropyl alcohol. Shake off the extra so it is damp, not dripping. Hold the phone upside down so gravity keeps liquid from seeping in.
Rub the damp swab firmly around the button edges. Work it into the gap as far as it goes. Click the button several times to spread the alcohol and free the grime. Repeat with a fresh swab until the button moves smoothly.
Alcohol dries in seconds, which is why it beats water. Never spray or pour it near the screen, ports, or speaker. Doing so risks damage to internal parts.
Pros: Cuts through grease and sticky buildup, dries fast, works most of the time. Cons: Slight risk if you use too much liquid. Overuse near seals can harm some models.
Method 3: Clean The Frame While Pressing The Button
Sometimes the dirt hides where you cannot reach. The button fills its own slot, so grime tucks in behind it. This method exposes those hidden spots by shifting the button as you clean. It is a pro trick that makes a real difference.
Press and hold one side of the button down firmly. This tilts it and opens a gap on the opposite side. Now run your alcohol dampened swab into that newly exposed area. You will often pull out surprising amounts of dark grime.
Release the button, then press the other side down. Clean the area your finger was blocking before. Working both sides clears the full frame around the button.
Finish with a short burst of canned air to blow out anything you loosened. This method pairs well with Method 2 for stubborn cases.
Pros: Reaches deep hidden dirt, very effective on sticky rugged buttons. Cons: Takes patience, needs a steady hand, and works best combined with alcohol cleaning.
Method 4: The Gentle Water Flush For Sealed Buttons
This method suits waterproof rugged phones only. If your phone carries an IP67 or IP68 rating, a light water flush can loosen dirt that alcohol cannot budge. Only try this if you trust your phone’s seals are intact. Never do it if the phone has any cracks.
Set a tap to a slow trickle, not full blast. Hold the phone so the water dribbles over the stiff button. Press and click the button many times under the light stream. The water works into the gap and floats out packed dirt.
Dry the phone right away with a lint free cloth. Then let it sit powered off for a few hours so any trapped moisture escapes.
Pros: Frees packed sand and grit, safe for sealed rugged models. Cons: Only for waterproof phones in good condition. A damaged seal makes this method dangerous, so skip it if you have any doubt.
Method 5: Check For A Screen Protector Or Case Causing Pressure
Not every stiff button comes from dirt. Sometimes the problem sits outside the phone. A thick case or a poorly cut screen protector can press against the button and block its travel. This is common with rugged cases that add heavy padding.
Take the case off and test the button bare. If it clicks fine without the case, the case is your problem. Check the button cutouts. Some cheap cases mold rubber covers over the buttons that stiffen in cold weather or wear out over time.
Screen protectors can also creep over button edges. Peel back the corner near the button and test again.
Reseat the case carefully or switch to one with better cutouts. Pros: Costs nothing and takes seconds to check. Cons: Only helps when the case is the cause, so it will not fix internal dirt or wear.
Method 6: Restart Or Update The Phone Software
Here is a fix people forget. A stiff feeling sometimes hides a software glitch. The button moves fine, but the phone fails to register the press, so it feels dead or laggy. A restart often clears this instantly.
Hold the power button and restart the device. This refreshes the system and resets any frozen input process. Test the button again after it boots.
If the lag stays, check for a software update. Open your settings, find the system update section, and install anything available. Makers often patch button response bugs in updates.
For lasting glitches, a full system restore can help, but back up your data first. Pros: Free, quick, and fixes response issues that cleaning cannot touch. Cons: It does nothing for physical stiffness caused by dirt or a worn spring, so use it only when the button moves but does not respond.
Method 7: Use Button Assistive Features As A Backup
While you work on the fix, you still need to use your phone. Most phones offer on screen controls that replace physical buttons. These features let you power off, adjust volume, or take screenshots without pressing the stiff key. They act as a helpful stopgap.
On Android, look for accessibility settings that add a floating menu or on screen buttons. iPhones offer AssistiveTouch, which puts a soft button on your screen for the same tasks.
Turn these on so a stiff power or volume key never leaves you stuck. This matters most outdoors, when a dead button could strand you without a working phone.
Pros: Keeps your phone usable during repair, easy to set up, and works on almost every model. Cons: It is a workaround, not a repair. The physical button stays stiff, so you still need to clean or fix it for a real solution.
How To Deal With Corrosion And Moisture Damage
Rugged phones face rain, rivers, and humidity. Even sealed phones can trap moisture that corrodes button contacts over time. Corrosion adds resistance and can make a button feel gritty or unresponsive. This is trickier than plain dirt.
If your button turned stiff right after water exposure, dry the phone fully. Power it off and leave it in a warm dry spot for a day. Silica gel packets help pull moisture out faster than rice.
Light surface corrosion sometimes clears with careful alcohol cleaning around the button, since alcohol displaces water. Deep corrosion inside the phone needs a technician.
Signs of real trouble include a button that stays dead, visible rust, or a phone that acts strange after getting wet. Pros of drying and alcohol: cheap and worth trying first. Cons: Internal corrosion often needs professional repair, and DIY cleaning cannot reach the sealed contacts.
When The Internal Spring Or Dome Is Worn Out
Sometimes cleaning changes nothing. The button still resists no matter what you do. This points to a worn spring or metal dome inside the phone. These parts give the button its snap, and thousands of presses wear them down.
You cannot fix this from the outside. The repair means opening the phone, removing the seals, and swapping the button assembly or dome. On rugged phones this is harder because the waterproof gaskets must reseal perfectly afterward.
Trying this yourself risks breaking the water resistance. One misplaced gasket lets moisture in and defeats the whole purpose of a rugged phone.
Take it to a qualified repair shop instead. Ask them to confirm the seal is restored after the fix. Pros of pro repair: correct parts, proper resealing, and a warranty. Cons: It costs money and takes time, but it beats ruining your phone with a botched DIY attempt.
How To Stop Buttons From Getting Stiff Again
Prevention beats repair every time. A few simple habits keep your rugged phone buttons clicking for years. Regular light cleaning stops dirt from packing down into hard blockages. This is the single best thing you can do.
Wipe your phone with a soft dry cloth after dusty or muddy trips. Once a week, run a soft brush around each button to clear loose grit before it settles.
Rinse the phone under a slow tap after beach days or sweaty workouts, but only if it is waterproof. Salt and sand are the worst enemies of button seals.
Store the phone in a clean pocket or pouch, away from loose sand and lint. Avoid pressing buttons with dirty fingers when you can. These small steps add up. A little care each week saves you from stiff buttons and repair bills down the road.
Frequently Asked Questions
Why do my rugged phone buttons feel stiffer than a normal phone?
Rugged phones use thick rubber gaskets and raised bezels to seal out water and dust. These features create more gaps where dirt collects. Sand, sweat, and mud pack into these deeper crevices faster than on a slim phone. That extra buildup makes the buttons feel stiffer over time.
Is it safe to use isopropyl alcohol on my rugged phone?
Yes, when you use it carefully. Apply 90 percent or higher alcohol to a cotton swab, never directly onto the phone. Hold the phone upside down so liquid stays out. Alcohol dries in seconds and cleans grease well. Just avoid soaking the swab or letting it drip near ports and the screen.
Can I put my waterproof phone under running water to clean the buttons?
Only if the phone is rated IP67 or IP68 and has no cracks. Use a slow trickle, not strong pressure. Click the button under the water to flush out dirt, then dry the phone right away. Never try this with a damaged seal or a phone that is not rated waterproof.
How often should I clean my outdoor phone buttons?
A quick dry wipe after every dusty or muddy trip works well. Do a light brush cleaning around the buttons once a week. This stops dirt from packing down into a hard blockage. Regular small cleanings prevent the stiff button problem before it ever starts.
What if none of these methods fix my stiff button?
If cleaning and drying do not help, the internal spring or dome is likely worn or corroded. This needs a repair shop. A technician can open the phone, replace the part, and reseal the gaskets so your phone stays waterproof. Do not attempt this yourself, since a broken seal ruins the rugged rating.
Could a software problem make my button feel stiff?
Sometimes the button moves fine but the phone fails to register the press. This feels like stiffness but is actually a software glitch. Restart the phone first. If that fails, install any available system update. A software issue will not respond to cleaning, so rule it out early.

Hi, I’m Lola Griffin 👩💻, the voice and creator behind ResizerBox. I’m a passionate tech enthusiast who loves exploring the latest gadgets, smart devices, and trending Amazon electronics. Through my reviews, I share honest insights, real-world testing experiences, and practical buying advice to help readers make confident tech choices.