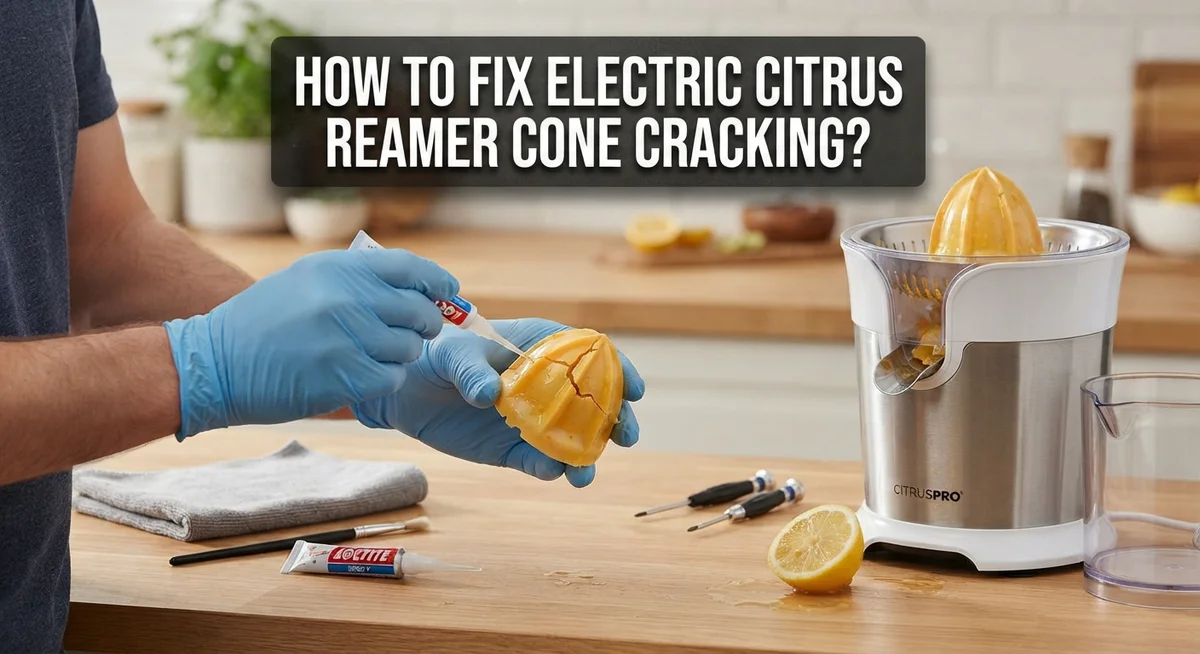
How To Fix Electric Citrus Juicer Reamer Cone Cracking?
Your electric citrus juicer makes fresh orange juice a breeze. Then one day, you spot a crack in the reamer cone. This small plastic piece does a big job, and cracks can ruin your morning routine fast.
Reamer cone cracking happens more often than you think. The main cause? Uneven drying and moisture buildup, especially around the bottom ring of the cone.
Many people dry their juicer cone the wrong way. They flip it right-side up after washing. This traps water at the bottom, and that trapped moisture weakens the plastic over time.
In a Nutshell
- Moisture is the main culprit. Water gets trapped at the bottom ring of the cone. This leads to cracks over time.
- Drying technique matters most. Always dry your cone bottom up. This lets water drain away instead of sitting in the ring.
- Never force a stuck reamer. Pulling hard can crack or snap the cone instantly.
- Soak before you pry. Warm water with a bit of dish soap loosens grime in 10 minutes. This makes removal gentle and safe.
- Unplug first, always. Safety comes before any repair step. Never touch a stuck reamer while the juicer is plugged in.
- Consistency prevents damage. Small daily habits like proper drying keep your cone crack free for much longer.
Why Reamer Cones Crack: Understanding the Root Cause
Reamer cones crack because of how moisture behaves inside the plastic material. Water doesn’t evaporate evenly from all parts of the cone. The bottom ring area holds onto moisture longer than other sections.
When you dry your cone right side up, water pools at the bottom. This trapped moisture creates uneven drying stress. One part of the cone dries faster than another. The plastic shrinks unevenly. This uneven shrinking causes cracks to form over time.
The bottom ring is especially vulnerable. This area has a thicker design and a sealed structure. Moisture gets trapped here easily. If you repeatedly dry your cone this way, small cracks eventually appear. These cracks start small but grow larger with each use.
Heat also plays a role. Some people place wet cones near heat sources to speed up drying. Direct heat makes the problem worse. The outer surface dries quickly while moisture stays inside. This temperature difference creates stress in the plastic material.
Repeated stress from daily use adds up. Each time you juice citrus, the cone flexes slightly. If moisture is already inside causing weak spots, the cone cracks more easily. A cone that’s properly dried handles this stress without problems.
Understanding this helps you prevent damage. The solution isn’t complicated. You simply need to change your drying method. Dry your cone bottom up instead of right side up. This lets gravity help water drain away from the critical bottom ring area.
Air circulation matters too. Place your cone in a well ventilated space. Avoid direct sunlight or heat sources. Let the cone dry slowly and evenly. This simple change in your routine stops most cracking problems before they start.
Signs Your Reamer Cone Is Cracking or About to Fail
Your reamer cone sends clear warning signs before it completely fails. Catching these early helps you avoid a broken juicer mid squeeze.
Listen for unusual sounds during operation. A grinding noise or rattling means something is wrong inside. The cone may have small cracks that are starting to spread. Stop using the juicer immediately when you hear these noises.
Look for visible cracks on the cone surface. Start by inspecting the bottom ring area closely. This section cracks first because it holds the most moisture. Run your finger along the cone carefully to feel for rough spots or hairline fractures.
Check for leaking juice during use. If liquid drips from the motor housing instead of flowing normally, cracks have likely formed. Water seeps through damaged areas and reaches internal parts.
Watch for sticky or jammed motion. The reamer cone may feel stiff when you press fruit down. This happens when moisture accumulates in cracks and causes swelling. The cone expands slightly and binds against the housing.
Notice discoloration or cloudiness on the plastic. White spots or hazy patches show where moisture has penetrated deep into the material. These areas are weak and prone to cracking.
Feel for soft spots when you handle the cone. Press gently on different areas. A soft or spongy feeling means water damage has weakened that section.
Pay attention to performance changes. Your juicer may extract less juice than before. The damaged cone surface doesn’t grip fruit as effectively.
Smell for musty odors. A damp or moldy scent indicates moisture trapped inside the cone. This moisture accelerates crack formation.
Don’t ignore these signs. Small problems become expensive repairs quickly. Act as soon as you notice any of these warning signals.
Step-by-Step: Freeing a Stuck or Jammed Reamer Cone
Start by unplugging your juicer from the wall outlet. This safety step protects you from electric shock while you work on the stuck reamer cone.
Next, fill a bowl or sink with warm water. Add a small squirt of dish soap to the water and stir it gently.
Place the entire reamer cone assembly into the soapy water. Let it soak for about 10 minutes. The warm water softens dried juice and loosens buildup around the stuck cone.
While soaking, the moisture penetrates dried residue that glues the cone in place. This waiting period is crucial and saves you from forcing the cone and causing cracks.
After 10 minutes, remove the assembly from the water. Hold the cone over the sink or bowl to catch drips.
Gently twist the stuck reamer cone back and forth. Use slow, steady motions rather than quick jerks. The soaking action combined with gentle rotation usually frees the cone within seconds.
If the cone still feels stuck, apply a tiny amount of additional warm soapy water directly around the base where it connects. Wait another 2 to 3 minutes.
Try twisting again with the same gentle pressure. Never yank or force the cone hard, as this snaps the plastic instantly.
Once the cone moves freely, remove it completely from the juicer body. Rinse both pieces under running water to remove all soap residue.
Dry the cone assembly completely before reassembling. Remember to dry it bottom up to prevent moisture from pooling at the bottom ring. Place it upside down on a clean cloth or drying rack.
This soaking method works because it dissolves the sticky substances holding the cone in place. You avoid damage while restoring full function to your juicer.
The Correct Way to Dry Your Cone Assembly
Drying your cone assembly correctly is the single most important step to prevent cracks. Most people make one critical mistake: they dry the cone right side up. This traps moisture at the bottom, where the ring is thickest and most vulnerable to splitting.
Instead, flip your cone upside down immediately after washing. Position it with the pointed end facing down and the ring opening facing up. This simple change lets gravity pull water away from the problem area. Air can reach all surfaces evenly, and moisture escapes instead of pooling.
Here’s the practical process. After you remove the cone from the juicer, rinse it thoroughly under warm water. Use a soft brush or cloth to gently remove any pulp or residue from the ridges. Never use abrasive scrubbers that scratch the plastic surface.
Pat the cone dry with a clean towel. Don’t leave it dripping wet. Then place it upside down on a drying rack or clean towel in a well ventilated area. Make sure air can flow underneath and around it. Avoid placing it near direct heat sources like radiators or sunny windows, as extreme temperature changes cause stress cracks.
Leave the cone in this position for at least 2 to 3 hours before reassembling your juicer. If you’re in a humid climate, give it even more time. You want the cone completely dry, not just surface dry.
This bottom up drying method prevents moisture from collecting in the sealed ring area. The bottom ring stays dry and stable, which means less stress on the plastic material over time.
Make this your daily habit after every use. Consistency prevents damage and extends your juicer’s lifespan significantly. Your cone will remain strong and crack free when you respect how moisture moves through the plastic material.
Daily and Weekly Maintenance Habits to Prevent Cracking
Your daily and weekly habits make the biggest difference in keeping your reamer cone healthy. Start with a simple rule: dry your cone upside down every single time you use it. This one habit stops most cracking problems before they start.
Right after juicing, rinse the cone under warm water immediately. Don’t let juice dry on the surface. Use a soft cloth or sponge to wipe away any sticky residue. This takes just 30 seconds but prevents buildup that traps moisture later.
Pat the cone dry with a clean towel while it’s still warm. Then flip it upside down on a clean, dry surface. Let it sit for at least two to three hours in this position. The bottom ring area (where most cracks happen) needs this extra air exposure to dry completely.
Check your cone twice a week for any signs of trouble. Look for small white stress marks, cloudiness, or soft spots on the plastic. These are early warning signs that moisture is building up inside.
Once a week, soak your entire cone assembly in warm soapy water for 10 minutes. This deep clean removes hidden juice particles that regular rinsing misses. After soaking, dry it the same way: upside down for several hours.
Store your juicer in a dry location away from steam or humidity. Kitchens near windows or steamy areas cause extra moisture problems. If you live in a very humid climate, consider storing the cone in a sealed container with a small packet of silica gel.
Never stack anything on top of your cone while it dries. Weight and pressure during the drying phase can create stress points that crack later. Give your cone plenty of open space to dry evenly on all sides.
These simple habits keep your juicer working smoothly for years.
Common Mistakes That Lead to Cone Damage
Many people damage their reamer cone without realizing it. The mistakes are simple to make but easy to avoid once you know what to watch for.
The biggest error is drying your cone right side up. When you leave the cone in this position, water gets trapped inside the bottom ring area. This moisture sits there and causes uneven drying. Over time, the stress from this moisture imbalance creates cracks that spread through the plastic.
Forcing a stuck reamer is another common mistake. Some people grab the cone and twist hard without preparing it first. This sudden pressure breaks the plastic, especially if dried residue has glued it in place. The cone cannot handle rough force. It needs gentle treatment.
Ignoring moisture buildup in the ring areas is equally damaging. The bottom ring of your cone assembly holds water longer than other parts. If you do not dry it properly, this moisture becomes a crack factory. Check the ring weekly for any signs of wetness or discoloration.
Many users also skip the soaking step before removing stuck cones. They think they can just pull it out. This approach almost always leads to cracks. The warm soapy water softens the dried juice and breaks the seal naturally.
Stacking items on top of your drying cone creates pressure cracks too. The weight pushes down unevenly and stresses the plastic. Your cone needs space and air circulation while it dries.
Finally, people store their juicers in humid locations like bathrooms or kitchens near the sink. Steam and moisture in the air prevent proper drying even after you think the cone is dry. Find a cool, dry spot for storage.
These mistakes are preventable. Once you understand why each one causes damage, you can build better habits. Your reamer cone will last much longer when you avoid these common errors.
Troubleshooting Persistent Cracking or Recurring Jams
When your reamer cone keeps cracking despite your best efforts, the problem usually stems from moisture that stays trapped in specific areas. The bottom ring of your cone assembly holds water longer than other parts, even after you think it’s dry.
Here’s what happens. Moisture sits in the sealed ring area and freezes or expands during temperature changes. This pressure creates tiny cracks that grow bigger over time. You might notice the cracks appear suddenly, but they actually develop slowly from repeated moisture exposure.
To fix persistent cracking, start by examining where the cracks appear. Most cracks form around the bottom ring or near the seams. If you see cracks forming in the same spot repeatedly, moisture is definitely your culprit.
Increase your drying time significantly. Instead of waiting 2 to 3 hours, leave your cone upside down for 24 hours before using your juicer again. This extra time lets moisture completely evaporate from deep within the ring structure.
Use a soft cloth to wipe the bottom ring area every few hours during the drying process. Gently press the cloth into the grooves to absorb hidden moisture. Don’t force anything or apply pressure that might create new cracks.
Consider storing your cone in a warm, dry area between uses. Avoid placing it in your refrigerator or near air conditioning vents, as temperature swings cause expansion and contraction that leads to cracking.
If cracks keep returning in the same location, the cone assembly may have reached the end of its useful life. Repeated cracking in identical spots means the material has weakened permanently. At this point, replacement becomes more practical than continued repairs, as new cracks will continue forming regardless of your maintenance efforts.
Final Thoughts
Fixing a cracked reamer cone comes down to one simple habit. Dry your cone bottom up, not right side up. This small change stops moisture from pooling in the bottom ring where most cracks start.
Think about what happens when water sits in that ring area. It slowly weakens the plastic. Over time, this pressure creates cracks that spread and get worse.
The good news is that prevention is easy once you know the trick. You do not need special tools or expensive products. You just need to flip your drying routine.
When your reamer does get stuck, do not panic. Unplug your juicer first. Then soak the cone assembly in warm water with a bit of dish soap for ten minutes.
This soak loosens whatever is causing the jam. After soaking, gently wiggle the reamer free. Never force it, since forcing often leads to cracks or breaks.
Small steps make a big difference here. Soaking before removing, drying bottom up, and checking your cone regularly all work together. These habits protect your juicer for the long run.
If you already have cracks, these steps will not repair the plastic itself. But they will stop new cracks from forming. They also slow down damage to cracks you already have.
Your juicer works best when you treat it gently. Skip the shortcuts, especially when it comes to drying and unclogging. A few extra minutes now saves you from bigger problems later.
Remember, the bottom ring is the weak point on almost every reamer cone. Give that area extra attention. Wipe it, dry it properly, and check it often.
With the right care, your citrus juicer can serve you well for a long time. Fixing cracking issues is not complicated. It just takes consistency and a little patience.
Frequently Asked Questions
Why does my reamer cone crack even though I take good care of it?
Moisture gets trapped inside the cone, especially at the bottom ring area. When you dry your cone right side up, water pools at the base instead of draining away. This uneven drying creates stress on the plastic. Over time, the material becomes brittle and cracks appear.
The fix is simple. Dry your cone upside down so water naturally flows away from the vulnerable ring area. This one change prevents most cracking problems.
What should I do if my reamer gets stuck in the juicer?
First, unplug the machine right away. Never force a stuck reamer because twisting hard can crack the cone instantly.
Instead, soak the entire cone assembly in warm water mixed with dish soap. Let it sit for about 10 minutes. The warm water softens any dried pulp or residue holding the reamer in place. After soaking, gently wiggle and remove the cone. The moisture does the hard work for you.
How long should I actually dry my cone between uses?
Two to three hours is the bare minimum, but 24 hours is ideal for complete drying. If you notice moisture still clinging to the bottom ring area, wait longer before storing.
Wipe the ring area with a soft cloth every few hours during drying. This removes excess water and speeds up the process.
Can I fix a cone that already has visible cracks?
Unfortunately, cracks in the plastic itself cannot be repaired. Once the material splits, the cone has reached the end of its life. However, preventing future cracks is completely within your control.
Focus on proper drying, gentle handling, and regular soaking when needed. These habits keep your next cone crack free.

Hi, I’m Lola Griffin 👩💻, the voice and creator behind ResizerBox. I’m a passionate tech enthusiast who loves exploring the latest gadgets, smart devices, and trending Amazon electronics. Through my reviews, I share honest insights, real-world testing experiences, and practical buying advice to help readers make confident tech choices.