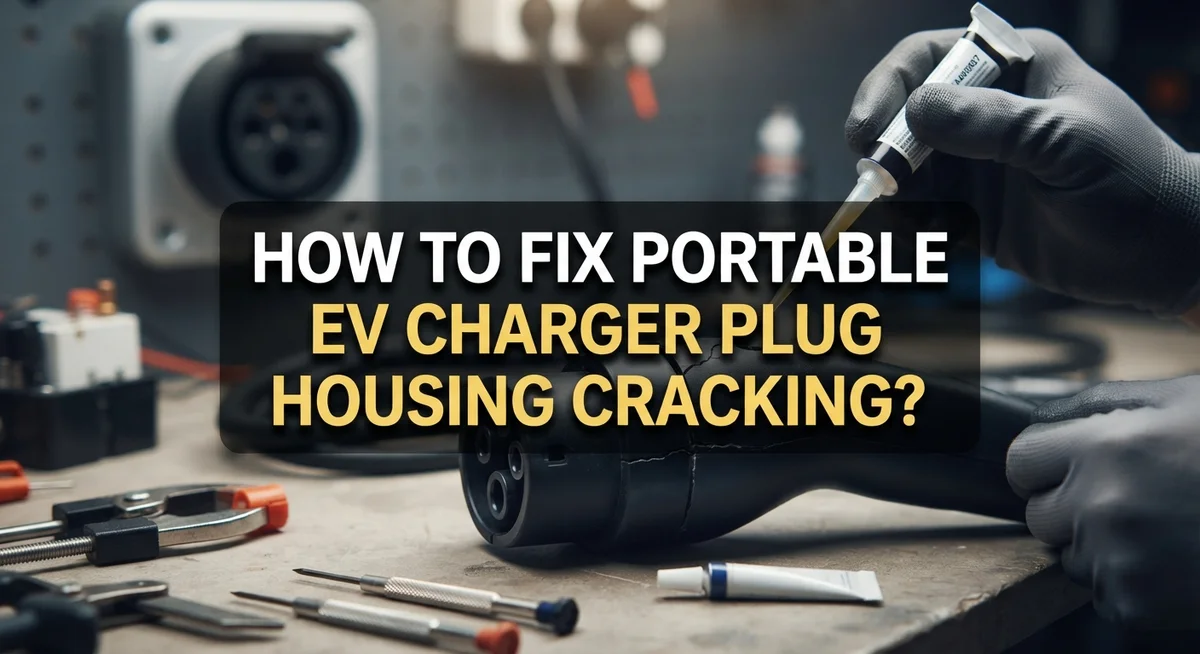
How To Fix Portable EV Charger Plug Housing Cracking?
Your portable EV charger works hard every day. It sits outside in the sun. It faces rain, cold, and heat.
Over time, this stress can crack the plug housing. A cracked housing is not just an eyesore. It creates real safety risks.
Water can seep inside the cracks. This leads to breaker trips and electrical hazards. Left unchecked, the damage can get worse fast.
In a Nutshell
- Turn off and unplug your charger before touching anything. This step keeps you safe from shocks.
- Inspect the housing closely. Look for frays, dark stains, or scorch marks near the plug.
- Check inside the connector for overheating signs. Heat damage often causes cracks to spread faster.
- Torque every terminal properly. Loose connections create heat, and heat leads to more cracking.
- Use ferrules when you reconnect wires. They add strength and stop wires from working loose again.
- Test outdoors under load after repairs. This helps you catch hidden problems before they become bigger issues.
- Know when to replace instead of repair. If water has soaked the internal parts, a new unit is safer than a patch job.
What Causes Plug Housing Cracking in Portable EV Chargers
Plug housing cracks in portable EV chargers happen for several reasons. Understanding the cause helps you prevent future damage and know whether repair or replacement makes sense.
UV light breaks down plastic materials over time. If your charger sits outside regularly, the sun’s rays slowly degrade the housing. This makes the plastic brittle and prone to cracking, especially in hot climates where UV exposure is intense.
Temperature swings create stress on the plastic. Your charger expands when hot and shrinks when cold. This constant expansion and contraction weakens the material. Eventually, small cracks form where stress concentrates most.
Mechanical stress from regular use causes damage too. Plugging and unplugging the connector puts pressure on the housing. If you bend the cable sharply or drop the charger, impact can crack the plastic immediately. Repeated flexing of the cable near the connector also triggers cracks over time.
Water exposure accelerates all these problems. Rain, snow, and moisture weaken plastic faster. Combined with UV light and temperature changes, water makes cracking more likely and more severe.
Overheating inside the connector creates internal stress. When terminals aren’t properly torqued or connections are loose, electrical resistance builds heat. This heat damages the plastic from inside out, causing cracks to spread from internal weak points.
The location of cracks matters. Cracks near the connector base are most serious because water easily enters there. Surface cracks on the outer housing are less urgent but still need attention. Small hairline cracks might seem minor, but they allow moisture inside, which leads to electrical hazards and breaker trips.
Signs You Need to Inspect Your Charger Housing
Your portable EV charger shows warning signs when the plug housing needs inspection. Catching these early prevents bigger problems down the road.
Look for visible cracks first. Examine the entire plug housing under good lighting. Small hairline cracks may seem minor, but they allow moisture inside. Larger splits or chunks missing from the plastic mean water damage is likely already present.
Check for discoloration or dark stains. Brown or black marks on the connector housing signal overheating or water exposure. These stains often appear around the terminals where current flows. Scorching marks mean excessive heat has damaged the internal components.
Feel for moisture inside the connector. Open the housing if your charger design allows it. Touch the internal terminals and connector area gently. Wet or damp surfaces indicate water has entered through cracks. Corrosion on metal parts looks like white, green, or blue crusty buildup.
Test for loose connections. Gently wiggle the plug while it sits in your hand. Excessive movement means the housing no longer holds parts securely. This creates dangerous gaps where water enters more easily.
Listen for unusual sounds during charging. Crackling, buzzing, or popping noises suggest electrical arcing inside the connector. These sounds mean your charger needs immediate attention before use.
Notice any burning smells. A plastic burning odor near the plug indicates overheating damage. This is a serious safety concern that requires inspection right away.
Check the cable near the plug. Frayed insulation or exposed wires mean the housing has failed to protect internal components. These visible wire problems often appear near cracks in the housing.
Perform these inspections monthly if your charger lives outdoors. Regular checks help you spot problems before they become dangerous.
Safety Precautions Before Attempting Any Repair
Before you attempt any repair on your portable EV charger, safety must come first. Your personal safety and the safety of your vehicle depend on following these precautions carefully.
Start by disconnecting everything. Turn off the charger at the power switch. Unplug it from the wall outlet. If your charger is currently connected to your vehicle, disconnect it from the charging port as well. Wait at least five minutes before touching any components. This allows residual electrical charge to dissipate completely.
Wear appropriate protective gear. Put on insulated gloves rated for electrical work. Safety glasses protect your eyes from any debris or battery acid splatter. Consider wearing a dust mask if you plan to open the housing, as dust inside the connector can cause respiratory irritation.
Inspect your work area. Choose a dry, well lit space for repairs. Avoid working in damp garages or during rain. Ensure the surface is clean and free of conductive materials like metal shavings or water puddles.
Never attempt repairs if water damage is present. If you see moisture, corrosion, or white deposits inside the connector, stop immediately. Water inside electrical components creates serious shock hazards. These chargers require professional replacement, not DIY fixes.
Check your charger’s manual first. Different models have different designs and safety requirements. Some housings cannot be safely opened without special tools. Your manual tells you exactly what you can and cannot do safely.
Have a fire extinguisher nearby. Keep one rated for electrical fires within arm’s reach. This is a precaution, but essential if something goes wrong during your repair work.
Step-by-Step Guide to Fixing Cracked Plug Housing
Start by powering down your charger completely. Unplug it from the wall outlet and disconnect it from your vehicle. This step prevents electrical shock and protects your safety during the repair process.
Next, perform a thorough visual inspection of the entire plug housing. Look under bright lighting to spot all cracks, no matter how small they appear. Check both the outer surface and any visible interior areas. Dark stains or discoloration indicate overheating or water exposure, which changes your repair approach significantly.
Gently wiggle the connector to test for loose connections. Loose terminals often cause arcing and heat buildup inside the housing. If you detect movement, the terminals likely need retorquing. Use the correct size wrench or socket for your charger model to avoid stripping the connection points.
Examine the cable where it enters the housing. Cracks often start at stress points where the cable bends repeatedly. Look for fraying, exposed wires, or separation between the cable jacket and connector.
Check for moisture or corrosion inside the connector housing. If you see white crusty deposits, green oxidation, or wetness, water damage is present. This situation usually requires replacement rather than repair, as water creates safety hazards that simple fixes cannot address.
Test all terminals by gently pressing them inward. They should feel snug and secure. Loose terminals can be carefully retightened using proper tools and the correct torque specifications from your manual.
Document everything you find with photos. This record helps you decide whether repair is safe or replacement is necessary. If cracks are minor and no water damage exists, you can proceed with repair steps. If damage is extensive or water is present, replacement is the safer choice.
Testing Your Repair Under Real-World Conditions
Once you’ve completed your repair, you need to test it under real conditions before trusting it with your vehicle. This step reveals problems that bench testing cannot.
Start by charging your EV in a safe location outdoors. Use a dry day without rain to eliminate moisture variables. Connect your charger and let it run for at least 30 minutes at full power. Watch for any unusual sounds, smells, or visible sparks around the plug housing.
Monitor the connector temperature during charging. The housing should feel warm but not hot to touch. If it becomes too hot, stop immediately and let it cool. Excessive heat means your repair didn’t fully restore electrical integrity.
Check your EV’s charging display for error codes or warnings. These messages often catch electrical problems before they become dangerous. If your vehicle shows fault codes, disconnect and inspect your work again.
After the test run, let everything cool completely. Then inspect the repaired area once more. Look for any new cracks, discoloration, or moisture that appeared during charging. Take photos to compare with your earlier inspection.
Repeat this test cycle two or three times over several days. Consistent performance during multiple charging sessions indicates a successful repair. If problems appear during any test, your housing likely needs replacement rather than repair.
Pay close attention to connector alignment during each test. Misaligned plugs create stress points that can crack again. If alignment issues persist, your repair may be incomplete.
Weather conditions matter too. Test your charger in different temperatures if possible. This reveals whether thermal stress will cause future cracking. A repair that works in mild weather might fail during temperature extremes.
Common Mistakes That Lead to Repeat Cracking
Many people repeat the same mistakes when fixing cracked plug housing. Understanding these errors helps you avoid costly damage and safety hazards.
Skipping visual inspection is the biggest mistake. You must examine the entire connector before attempting repairs. Look for water stains, scorching marks, and corrosion inside the housing. Many people rush straight to torquing terminals without checking what caused the crack in the first place. This approach fails because you’re treating the symptom, not the root cause.
Improper terminal torquing creates repeat problems. Terminals need correct pressure to stay secure. Too loose and connections fail. Too tight and you damage the connector. Many DIYers guess at the right tension instead of checking their charger’s manual for specifications. This leads to the same cracking issue within weeks.
Ignoring water damage signs is dangerous. If you see moisture, white deposits, or corrosion, the housing likely needs replacement rather than repair. Attempting to seal water-damaged connectors traps moisture inside. This causes electrical arcing and breaker trips later.
Using poor quality tools causes additional problems. Cheap crimping tools create weak connections that fail under load. Weak connections generate heat, which causes new cracks to form.
Overlooking cable strain at the housing entry point matters too. The cable enters the connector at a specific angle. Forcing it at the wrong angle stresses the housing and causes new cracks. Always check alignment before reassembling.
Failing to test under load means problems emerge during actual charging. Extended testing outdoors under real charging conditions reveals whether your repair truly worked. Skip this step and you’ll likely face the same cracking issue again within days.
Troubleshooting Persistent Issues After Repair
When your repair seems complete but problems persist, you need a systematic approach to find what went wrong. Start by reviewing each step you took during the initial fix. Most recurring issues stem from incomplete repairs rather than new damage.
Check your terminal connections again. Loose terminals cause intermittent charging failures and heat buildup. Use the correct torque specification from your charger’s manual and tighten each connection firmly. Verify that ferrules sit properly on all wire ends. Ferrules prevent fraying and ensure solid contact between components.
Inspect the cable path where it enters the housing. Cable strain at this junction creates stress points that reopen cracks. The cable should enter smoothly without sharp bends. If you notice the cable pulling at an angle, reposition it gently to reduce tension.
Run another outdoor charging test under actual load conditions. Monitor the connector temperature closely during this test. If it becomes hot to touch, stop immediately and let it cool. Heat indicates either loose connections or internal arcing.
Check your vehicle’s charging display for error codes. These codes point to specific electrical problems. Write down any codes you see and cross reference them with your charger manual.
Water damage often causes persistent issues even after repairs. If you see any moisture, corrosion, or white crusty deposits inside the connector, the housing likely needs replacement rather than repair. Water conducts electricity and creates safety hazards that repairs cannot fix.
Give yourself time between test cycles. Allow components to cool completely between charging attempts. This reveals whether problems reappear under fresh conditions. If issues continue after thorough inspection and retorquing, replacement becomes your safer option.
When to Repair vs When to Replace the Charger
Deciding whether to repair or replace your portable EV charger depends on several important factors. Water damage is your first decision point. If moisture has entered the connector housing, replacement is almost always the safer choice. Water inside the charger creates electrical hazards that repairs cannot fully eliminate.
Check the extent of the crack itself. Small surface cracks in the plastic housing can often be repaired successfully. Large cracks that go deep into the connector body usually mean replacement is necessary. The crack’s location matters too. Cracks near the cable entry point are harder to fix properly than cracks on flat surfaces.
Look for overheating damage next. Scorching, dark stains, or melted plastic inside the housing indicate internal electrical problems. These chargers should be replaced, not repaired. Repairs cannot fix damaged internal components.
Consider the charger’s age and overall condition. An older charger with multiple cracks and signs of wear should be replaced. A newer charger with one small crack might be worth repairing.
Test your repair thoroughly before deciding. If you repair the crack and the charger passes multiple outdoor charging tests without issues, you’ve made the right choice. If problems persist after repair, replacement is your next step.
Cost versus safety is the real question. Repairs are cheaper upfront, but a failed charger can damage your vehicle’s charging system or create fire hazards. When in doubt, replace the charger. Your safety matters more than saving money on a repair that might fail later.
Final Thoughts
Fixing a cracked plug housing takes patience and the right approach. You now know how to spot warning signs early. You also know when a repair works and when it does not.
Small cracks with no water damage are often fixable. Clean the area, apply proper sealant, and test thoroughly before regular use. This saves money and keeps your charger working.
Cracks paired with water damage or scorching tell a different story. These signs mean internal damage has already happened. Replacing the charger is the safer choice here.
Safety should guide every decision you make. Your EV charger carries serious electrical current. A shortcut today can cause bigger problems tomorrow.
Testing matters more than most people realize. Run your outdoor load tests. Check for error codes on your vehicle’s display. Give the system time between cycles to reveal hidden issues.
Remember that repeated cracking often points to a bigger problem. If your housing keeps cracking after repairs, something else is wrong. Check your terminal torque, cable strain, and connector alignment again.
Trust your instincts if something feels off. Unusual smells, sounds, or heat mean you should stop using the charger immediately. Your safety comes first, always.
Keep records of your repairs and tests too. This helps you spot patterns and catch problems faster next time. It also helps if you need professional help later.
A well maintained charger lasts longer and works better. Regular inspection catches small issues before they grow. This simple habit protects your vehicle, your home, and your family.
Take these steps seriously, and your portable EV charger will serve you safely for years to come.
Frequently Asked Questions
Can a cracked plug housing be fixed or must I replace the charger?
Yes, you can fix it in many cases. Small cracks with no water damage respond well to repair. However, if water has seeped inside or you see scorching and dark stains, replacement is safer. Water damage compromises electrical safety even after repairs. Check inside the connector housing carefully before deciding.
What actually causes the housing to crack in the first place?
Three main culprits damage plug housings. UV exposure from sun weakens plastic over time. Temperature swings between hot and cold stress the material. Mechanical stress from repeated plugging and unplugging, plus cable strain at the entry point, also causes cracks. Environmental factors matter most for outdoor chargers.
How do I know if water got inside the cracked housing?
Look for moisture, corrosion, or white crusty deposits inside the connector. Dark stains or scorching indicate overheating from water contact with electrical parts. Plug the charger in and watch for breaker trips during a test charge. Breaker trips signal water intrusion. Smell for burnt plastic odors too.
Should I test my repair before using it on my car?
Absolutely. Run an extended outdoor test under load conditions first. This reveals problems before they damage your vehicle. Check your vehicle’s charging display for error codes during the test. If the charger works smoothly without breaker trips, it’s safer to use normally.
What’s the most common mistake people make when fixing these cracks?
Skipping the visual inspection step. Many people jump straight to repairs without checking for water damage or overheating signs inside. This leads to failed repairs and potential hazards. Take time to inspect thoroughly before you start any work.

Hi, I’m Lola Griffin 👩💻, the voice and creator behind ResizerBox. I’m a passionate tech enthusiast who loves exploring the latest gadgets, smart devices, and trending Amazon electronics. Through my reviews, I share honest insights, real-world testing experiences, and practical buying advice to help readers make confident tech choices.