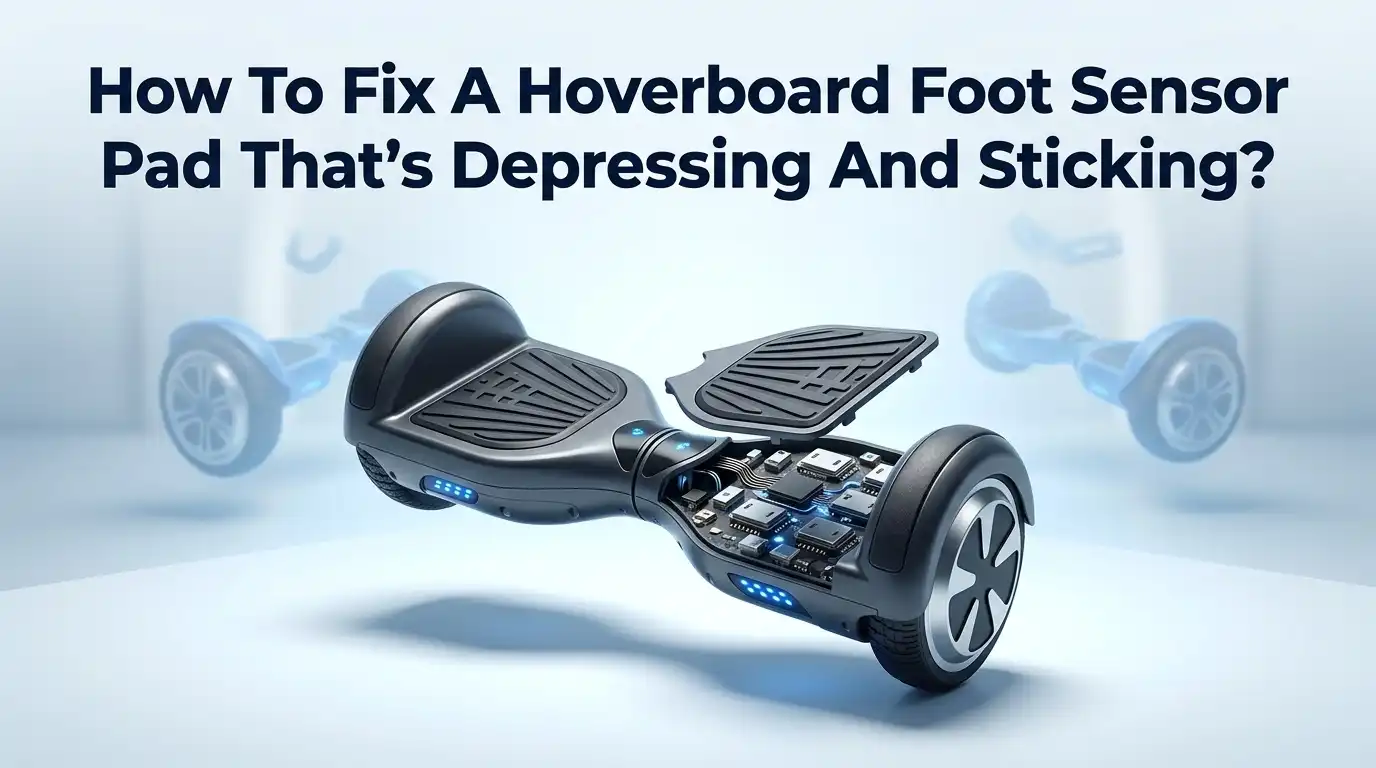
How To Fix A Hoverboard Foot Sensor Pad That’s Depressing And Sticking?
Your hoverboard suddenly stops mid ride. It jerks, wobbles, or refuses to move smoothly. This is frustrating and even a little scary.
In most cases, the problem points to one thing. Your foot sensor pad is depressing or sticking. This small part controls how your hoverboard reads your movement.
When it jams or malfunctions, your board can’t respond the way it should. The good news is that this issue is common. It’s also fixable at home with some patience.
In a Nutshell
- Foot sensors wear out fast. They’re the most common part that fails on a hoverboard. Depressing or sticking pads often lead to sudden stops while riding.
- Start with power off. Always turn off your hoverboard before you open it up. This keeps you safe and protects the internal parts.
- Find the sensor location. The foot pressure sensor sits right under the rubber foot pad. You’ll need to remove the pad to see it clearly.
- Check for damage first. Look for jamming, cracks, or a broken small “wing” mechanism. This tiny part often causes big problems.
- Inspect the wiring too. Loose connections inside can mimic sensor failure. A simple reconnect sometimes solves the whole issue.
- Replace if needed. If the sensor is broken or misaligned, swapping it out fixes the sticking problem for good.
- Know when to call a pro. Complex damage may need a specialized repair shop. Don’t hesitate to get help if DIY steps don’t work.
Understanding The Foot Pressure Sensor System
Your hoverboard’s foot pressure sensor system works like a switch. When you step on the pad, it tells your board you want to move. When you lift your foot, it signals the board to stop. This simple mechanism keeps you in control.
The sensor pad sits beneath your rubber footpad. It contains a small “wing” mechanism that moves up and down. This wing detects foot pressure and sends signals to your board’s computer. When everything works right, your hoverboard responds instantly to your weight shifts.
The sensor pad can get stuck for several reasons. Dirt and debris jam the wing mechanism. The pad itself can crack or break from repeated use. Sometimes the small components inside shift out of alignment. Any of these issues prevents the sensor from working correctly.
Your board has two foot sensors, one under each foot. Both sensors must work together for smooth riding. If one sensor sticks or stops responding, your hoverboard may stop suddenly or refuse to move. You might also notice uneven acceleration or balance problems.
Understanding how this system works helps you spot problems faster. When your foot sensor malfunctions, your board loses its ability to read your weight and position. This is why sticking sensors cause such dramatic riding issues.
Wire connections matter just as much as the sensor pad itself. Loose wires can interrupt signals between the sensor and your board’s main computer. A disconnected wire creates the same problem as a broken sensor. Both prevent proper communication between your feet and your hoverboard’s motor system.
Signs Your Sensor Pad Is Sticking Or Depressing
Your hoverboard gives you clear warning signs when the foot sensor pad starts failing. Watch for these specific indicators to catch problems early.
The most obvious sign is your board stopping suddenly while you’re riding. You’re moving forward, then the hoverboard cuts power without warning. This happens because the sensor pad gets stuck in the depressed position. Your board thinks you’ve stepped off, so it shuts down for safety.
You might also notice your hoverboard won’t respond when you step on it. You place your foot on the pad, but nothing happens. The board stays powered off or doesn’t accelerate. This means the sensor isn’t registering your weight properly.
Another common sign is uneven pressure response. One foot works fine, but the other foot feels sluggish or unresponsive. Since your hoverboard has two separate sensors, one can fail while the other works normally. This creates an imbalanced riding experience.
Listen for clicking or grinding sounds coming from under your feet. These noises suggest the small wing mechanism inside the sensor is jamming or rubbing against something.
You might also see your hoverboard acting erratically. It speeds up and slows down on its own. The board behaves like someone is constantly stepping on and off the pads. This jerky motion indicates the sensor pad is sticking intermittently.
Finally, check if the rubber footpad feels mushy or depressed when you press it. A healthy pad springs back up immediately. A failing pad stays down or moves slowly. This physical change shows the sensor mechanism underneath is losing its ability to reset properly.
Tools You’ll Need Before You Start
Before you start fixing your hoverboard’s foot sensor pad, gather the right tools. Having everything ready saves time and prevents frustration during the repair process.
You’ll need a screwdriver set with both Phillips and flathead options. Different hoverboard models use different screw types, so having both ensures you can open your board without stripping screws.
A small flashlight or headlamp helps you see inside the hoverboard clearly. The sensor area is tight and dark, so good lighting makes inspection much easier.
Grab some tweezers or needle nose pliers for handling small components. These tools let you manipulate wires and small parts without dropping them inside the hoverboard.
Keep a clean cloth or soft brush nearby. Dust and debris often jam the sensor mechanism, so you’ll want to gently clean the area before reassembling anything.
Have a small container or tray ready to hold screws as you remove them. This prevents losing screws and keeps your workspace organized.
Consider getting a multimeter if you want to test electrical connections. This tool checks whether wires are properly connected and transmitting signals.
A replacement sensor pad should be on hand if your inspection reveals damage. Knowing your hoverboard model beforehand helps you get the correct replacement part.
Wear safety glasses while working. Small parts and metal edges can fly up unexpectedly during disassembly.
Finally, have your hoverboard’s user manual available if you have it. The manual shows exactly where screws are located and how the board comes apart.
These basic tools make the entire repair process straightforward and safe.
Step-by-Step Guide To Accessing And Inspecting The Sensor
Start by powering off your hoverboard completely. This keeps you safe while you work on the internal components. Unplug the battery if possible, and wait a few minutes for any remaining power to drain.
Next, flip your hoverboard upside down on a clean work surface. Place it on a soft cloth or towel to prevent scratching the exterior. Make sure you have good lighting so you can see what you’re doing inside the device.
Locate the screws holding the bottom casing together. Most hoverboards have screws around the perimeter of the underside. Use your screwdriver to remove these carefully, placing each screw in your small container so you don’t lose them.
Gently pry open the bottom casing using a flathead screwdriver. Work slowly around the edges to avoid cracking the plastic. Once open, you’ll see the internal wiring and sensor components.
Now find the foot pressure sensors. These sit directly under where your feet rest on the board. You’ll see a small rectangular pad with a wire connection attached to it. The sensor typically has a small wing or lever mechanism that moves when you apply pressure.
Look closely at the sensor pad for visible damage, cracks, or debris jamming the mechanism. Use your flashlight to inspect the small spaces around the sensor. Check if the wing component moves freely or if it feels stuck.
Examine the wire connection attached to the sensor. Gently wiggle the connector to see if it’s loose. A loose connection can cause the same symptoms as a broken sensor pad.
Take photos of what you see before making any changes. This helps you remember how everything connects when you reassemble the hoverboard later.
How To Fix A Jammed, Broken, Or Misaligned Sensor
When your hoverboard foot sensor pad sticks or depresses, the problem usually stems from three main issues: jamming, breakage, or misalignment. Understanding what’s wrong helps you fix it faster.
A jammed sensor happens when debris, dust, or small objects get stuck under the pad. This prevents the sensor from moving freely. The pad feels stuck when you press it, and your hoverboard may not respond to your weight properly.
A broken sensor occurs from normal wear or impact damage. The internal components crack or snap, stopping the sensor from sending signals to your board. You might hear a snapping sound when you step on the pad.
Misalignment happens when the sensor shifts out of position inside the hoverboard. This causes the pad to sit unevenly. Your board may respond to one side of the pad but not the other.
To fix a jammed sensor, remove the rubber footpad carefully. Use a small brush or compressed air to clean away dust and debris around the sensor. Gently move the small “wing” mechanism back and forth to loosen it.
For a broken sensor, replacement is your best option. The damaged component won’t work again, even after cleaning.
If the sensor is misaligned, check the mounting screws holding it in place. Tighten any loose screws carefully. Make sure the sensor sits flat and level.
Always test your repair by powering on your hoverboard and stepping on both pads. The board should respond smoothly to your weight. If problems continue after these steps, the sensor pad likely needs professional replacement. Specialized hoverboard repair shops have the right parts and tools for this job.
Checking And Repairing Loose Wire Connections
Loose wire connections are a common culprit behind foot sensor pad problems. Even a slightly disconnected wire can cause your sensor to malfunction or stick. Start by examining all wires attached to the foot pressure sensor carefully.
Look for wires that have partially pulled away from their connection points. Gently wiggle each wire to see if it moves more than it should. A secure connection should feel firm and not budge when you apply light pressure.
Use your flashlight to inspect where wires connect to the sensor pad itself. Check both the positive and negative wire connections. Sometimes wires slip off during normal use or vibration from riding.
If you find a loose connection, carefully reconnect it. Push the wire connector back onto its terminal until you hear a small click or feel it seat properly. Make sure the connection is straight and fully inserted.
Test the connection by gently tugging on the wire. It should not move or come free easily. If it keeps slipping off, the connector may be worn or damaged.
Examine the wires for any visible damage like cuts, fraying, or exposed copper. Damaged wires need replacement to restore proper sensor function. Check if any wires are pinched or bent at awkward angles, as this restricts electrical flow.
After reconnecting loose wires, reassemble your hoverboard carefully. Power it on and test the foot sensor pad. Press down gently on both sides to ensure the sensor responds evenly without sticking.
If loose wires were the problem, your hoverboard should work normally again. When wiring issues persist despite your efforts, professional repair shops have specialized equipment to diagnose electrical problems accurately.
Testing The Sensor After Reassembly
After you’ve reassembled your hoverboard, testing the sensor pad is crucial. This step confirms whether your repair actually fixed the problem.
Start by powering on your hoverboard in a safe, open space. Make sure you have plenty of room to move around. Stand on the hoverboard with your full weight distributed evenly across both feet.
Press down firmly on each foot pad and hold the pressure for a few seconds. The sensor should respond smoothly without sticking or getting stuck. If the pad depresses easily and springs back to normal, that’s a good sign.
Now test the sensor during actual movement. Ride your hoverboard slowly in a straight line. Pay close attention to how the board responds to your weight shifts. The board should accelerate and decelerate smoothly without any sudden jerks or stops.
Shift your weight side to side while riding at a slow speed. This tests whether both sensors are working equally. If one side feels sluggish or unresponsive, that sensor may still have an issue.
Stop the hoverboard and check the foot pads again. They should feel firm and responsive, not mushy or loose. Press each pad multiple times in quick succession to ensure consistent performance.
If the sensor still sticks or depresses abnormally, you may need to repeat your inspection. The problem could be more serious than initially visible. Check wire connections one more time to make sure everything is properly seated.
For significant damage that your inspection revealed, professional repair services exist specifically for hoverboard issues. These specialists have advanced tools and replacement parts available. Consider reaching out to them if basic fixes don’t resolve the problem completely.
Common Mistakes To Avoid During The Repair
When repairing your hoverboard’s foot sensor pad, certain mistakes can make the problem worse. Avoid these common errors to keep your device safe and functional.
Never force the rubber footpad off. Many people pry too hard and crack the pad or damage the underlying sensor. Use gentle pressure and work slowly around the edges. If it resists, stop and try a different angle.
Don’t skip the power off step. Working on a powered hoverboard risks electrical shock and accidental activation. Always disconnect the battery before you start any repair work.
Avoid touching the sensor directly with bare hands. Your skin oils can create a sticky residue on the sensor surface. Wear clean gloves or use a lint free cloth when handling internal components.
Don’t reconnect loose wires without inspecting them first. Check for cuts, fraying, or exposed copper wire. Reconnecting damaged wires can cause short circuits or fire hazards.
Never reassemble your hoverboard without testing each component. Press the foot pads multiple times before you close everything back up. This catches problems before you seal the device.
Don’t ignore visible cracks or breaks in the sensor pad itself. Attempting to repair a severely damaged sensor wastes your time. Replacement is the only effective solution in these cases.
Avoid using excessive force when pressing down on the foot pads during testing. You’re checking responsiveness, not strength. Gentle, deliberate pressure gives you accurate results.
Don’t skip cleaning debris from inside your hoverboard. Dust and dirt contribute to future sensor problems. Use compressed air or a soft brush to clean the interior gently before reassembly.
Final Thoughts
Fixing a sticking foot sensor pad is a task most hoverboard owners can handle. You don’t need special training or expensive tools. A screwdriver, flashlight, and some patience are usually enough.
The key is careful inspection. Take your time when you open the hoverboard. Look closely at the sensor pad, the wiring, and the small wing mechanism before you touch anything.
Most sensor problems come from two sources. Either the wires have loosened over time, or the sensor pad itself has cracked or jammed. Both issues are fixable once you know where to look.
Always power off your hoverboard first. This step protects you and the internal components. Skipping it can lead to bigger problems later.
If you find loose wires, reconnect them gently. If the sensor pad looks broken or misaligned, replacing it solves the issue. Either fix restores normal function to your hoverboard.
Testing matters just as much as the repair itself. Once you reassemble everything, check the sensor pad carefully. Ride slowly at first and shift your weight to confirm the fix worked.
Sometimes the damage goes beyond a simple fix. If your inspection reveals major issues with the sensor or its wiring, professional repair shops can help. These specialists handle hoverboard issues every day.
Don’t feel discouraged if your first attempt doesn’t solve the problem completely. Sensor issues can be tricky, and some hoverboards have more complex wiring than others.
With careful inspection, the right tools, and a bit of patience, you can get your hoverboard riding smoothly again. Most riders find this repair straightforward once they know the steps involved.
Frequently Asked Questions
Why does my hoverboard foot sensor stick or depress suddenly?
Your hoverboard’s foot sensor pads stop responding correctly when they jam or break. Sudden stops happen because the sensor thinks you’ve removed pressure even though your foot is still there. Debris, dust, or internal misalignment causes this issue most often.
Can I fix a sticking sensor pad myself?
Yes, you can inspect and repair it yourself in most cases. Start by powering off your hoverboard completely. Remove the rubber footpad carefully to access the sensor underneath. Check for visible cracks, jammed components, or loose wires connected to the sensor.
What should I look for during inspection?
Look for these specific problems. The small “wing” mechanism inside the sensor may be bent or stuck. Wires connected to the sensor could be loose or disconnected. The sensor pad itself might show cracks or breaks. Misaligned components prevent the sensor from working correctly.
When should I seek professional help?
Get professional repair if your inspection reveals major damage. Complex internal issues require specialized equipment and expertise. Professional hoverboard repair shops can handle sensor replacement and rewiring. If you feel uncomfortable opening your hoverboard, professionals save you time and frustration.
How do I prevent sensor problems in the future?
Keep your hoverboard clean and dry. Avoid riding in wet conditions or dusty environments. Store it in a safe place away from extreme temperatures. Inspect your foot pads regularly for early signs of wear or damage.

Hi, I’m Lola Griffin 👩💻, the voice and creator behind ResizerBox. I’m a passionate tech enthusiast who loves exploring the latest gadgets, smart devices, and trending Amazon electronics. Through my reviews, I share honest insights, real-world testing experiences, and practical buying advice to help readers make confident tech choices.