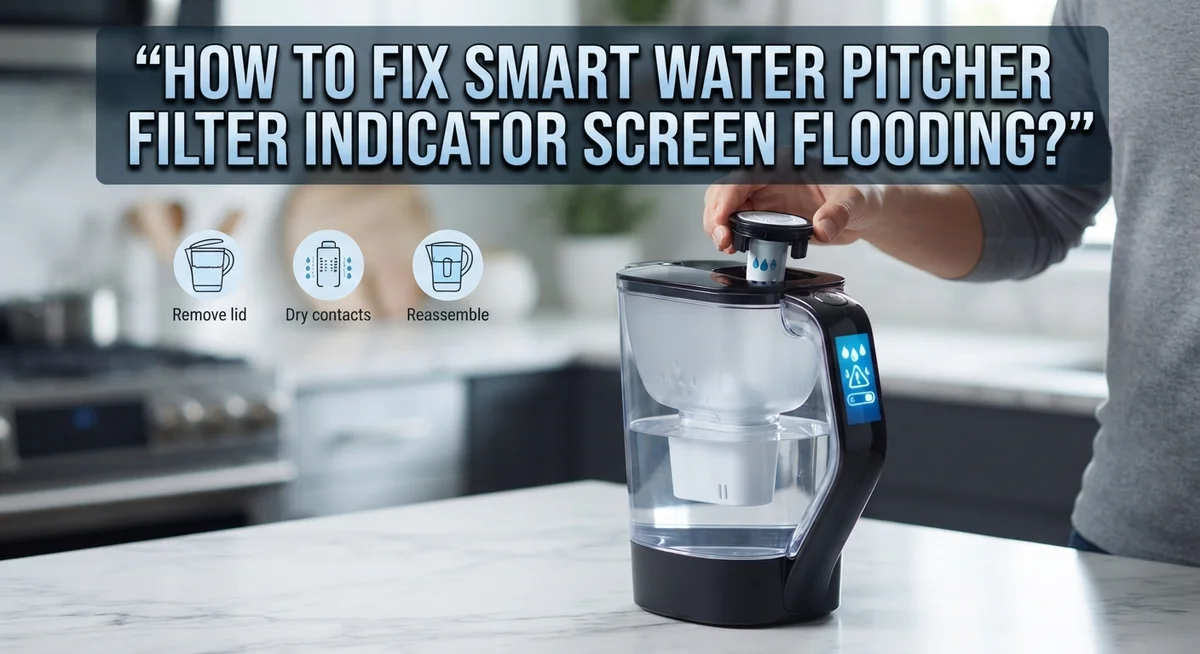
How To Fix Smart Water Pitcher Filter Indicator Screen Flooding?
Do you see water pooling under your smart pitcher’s indicator screen? This problem looks scary at first. But it rarely means your electronics are damaged.
Most of the time, this issue happens because of simple assembly mistakes. Sometimes the indicator just needs a reset. Your filter system is not broken.
The good news? You can fix this in just a few minutes. No tools or repairs are needed.
This guide will walk you through every step to solve the flooding issue. We will show you how to reset your indicator correctly. You will also learn the right way to fill your reservoir.
We cover common mistakes that cause this problem. Things like incorrect filter assembly or overfilling past the “Max Fill” line can trigger these screen issues.
By the end of this article, you will know exactly how to stop the flooding. You will also learn how to keep your indicator working smoothly for the life of your filter.
Let’s get your pitcher back to normal.
In a Nutshell
Screen flooding is almost always an easy fix. Here is a quick summary to solve the problem fast.
- Reset the indicator first. Press and hold the STATUS button. For Brita Elite™ filters, hold it for 6 seconds until the light responds.
- Check your filter assembly. Make sure every part sits in its correct spot. A loose or crooked filter often causes screen issues.
- Never overfill the reservoir. Water should only reach the Max Fill line. Pouring past this line causes pooling near the screen.
- Always use cold water. Warm or hot water can damage the filter and confuse the sensor system.
- Reset every time you change filters. Skipping this step is a very common mistake that leads to display errors.
- Remember, it’s rarely water damage. Most flooding issues come from assembly errors, not broken electronics.
Follow these simple steps and your pitcher should work like new again. The fix takes just a few minutes once you know where to look.
Understanding the Smart Filter Indicator System
A smart filter indicator system works like a digital assistant for your water pitcher. It monitors how much your filter has been used and tells you when replacement time arrives. The system uses sensors to track water flow through the filter material.
The indicator screen displays a percentage or bar graph showing remaining filter life. This helps you know exactly when to swap out the old filter for a fresh one. Most systems update this information automatically as water passes through.
When screen flooding appears, it usually means water has pooled around the display area. This looks concerning, but it rarely indicates actual electronic damage. The problem typically stems from how the filter or pitcher parts connect together.
The smart system includes a STATUS button that communicates with the indicator. Pressing this button sends signals to update the display and reset the counter. Different pitcher models have different button press requirements, so check your specific instructions.
Your pitcher’s reservoir has a maximum fill line marked clearly on the side. The indicator system works best when you fill only to this line. Overfilling creates pressure that can force water toward the display area and cause the flooding appearance.
Cold water flows through the filter properly and keeps the sensor system accurate. Warm or hot water can interfere with sensor readings and potentially cause the display to show errors or flooding signs.
Understanding these basics helps you prevent most indicator problems before they start. The system is actually quite simple once you know how each part connects and functions. Most users find that learning the proper reset procedure and assembly method solves their issues completely.
Your pitcher’s smart system exists to make filter replacement easier and more reliable. When everything works correctly, you get accurate information about your filter’s remaining life and water quality protection.
What Causes Screen Flooding on the Indicator
Screen flooding on your smart water pitcher’s indicator typically stems from a few specific causes. Understanding these reasons helps you fix the problem quickly and prevent it from happening again.
Assembly errors are the most common culprit. When you install a new filter, each component must fit perfectly into place. If the filter sits even slightly crooked or if the seal doesn’t connect properly, water can seep around the edges. This water then pools near the indicator screen area, creating the flooding appearance you see.
Overfilling your reservoir is another major cause. The pitcher has a clearly marked “Max Fill” line for a reason. When you fill water above this line, excess water can splash or leak toward the indicator during normal use. This happens especially when you move the pitcher or pour from it.
Using warm or hot water creates problems too. The filter system is designed for cold water only. Warm water can cause the filter materials to expand slightly, breaking the seal. Hot water makes this worse and can also confuse the sensor readings, leading to display malfunctions that look like flooding.
Forgetting to reset the indicator after filter replacement causes display errors that mimic flooding. The smart system needs a reset signal to recognize the new filter. Without this reset, the indicator can malfunction and show incorrect information on the screen.
Water quality issues occasionally play a role. Hard water or water with high mineral content can leave deposits inside the filter housing. These deposits can create small gaps where water escapes. Over time, this water accumulates near the electronic components.
Finally, a cracked or damaged filter cartridge allows water to bypass the seal entirely. If you notice cracks or damage during installation, replace the filter immediately. A compromised filter won’t hold water back properly, regardless of how carefully you assemble it.
Step-by-Step Guide to Resetting the Indicator
Resetting your smart water pitcher’s filter indicator is straightforward. This process clears error messages and ensures accurate tracking of your filter’s remaining life.
Start by locating the STATUS button. Most models have this button on the side or back of the indicator display. The button looks like a small square or circle that you can press with your finger.
For standard smart pitchers, press the STATUS button once. Hold it down for about 3 to 5 seconds. You should see the display change or flash. This single action resets the indicator to show 100 percent filter capacity.
If you have an Elite model filter, the process takes slightly longer. Press and hold the STATUS button for 6 seconds instead. Wait until the display shows a full bar or 100 percent before releasing. The extra time allows the system to fully register the reset command.
Always reset your indicator immediately after installing a new filter. Do this before you fill the reservoir with water. Resetting first prevents the system from tracking old filter data with your new cartridge.
Fill the reservoir to the marked maximum line only. Stop when water reaches this line. Overfilling causes water to pool around the indicator display area, which looks like screen flooding.
Use only cold water in your pitcher. Warm or hot water can interfere with the sensor system and cause false error readings. Cold water flows through the filter correctly and keeps all electronic components functioning properly.
If your display still shows flooding after resetting, try the process again. Sometimes a second reset completes the system update. If problems continue, check that your filter cartridge sits completely in its housing. Loose filters allow water to escape where it shouldn’t, creating display errors that mimic flooding issues.
Proper Filter Assembly and Installation Checks
When your smart water pitcher shows screen flooding, improper assembly is often the culprit. The filter cartridge must sit correctly in its housing. If it’s not fully inserted, water can seep around the edges and trigger false error readings on your indicator.
Start by removing the old filter completely. Check the filter housing inside your pitcher for any debris or residue. Rinse it with cold water to ensure a clean surface. This prevents gaps that allow water to escape during operation.
Next, examine your new filter before installation. Look for any visible cracks or damage to the cartridge. Even tiny fractures can cause water to bypass the seal. Run your finger along the rubber gasket at the filter’s base to confirm it’s intact and not twisted.
Insert the new filter straight down into the housing. Push firmly until you feel it click or seat completely. The filter should not wobble or move side to side. If it does, remove it and try again. Incorrect positioning is a major cause of screen flooding issues.
After installation, fill your pitcher slowly with cold water only. Watch for leaks around the filter area. If water drips from the sides, remove the filter and reinstall it. The gasket may need repositioning.
Once the filter is secure and the pitcher holds water without leaking, reset your indicator immediately. This tells the smart system a fresh filter is now active. Fill your reservoir only to the marked maximum line. Overfilling puts pressure on the filter seal and can force water toward the indicator screen.
Check your pitcher daily for the first week after installation. This helps you catch assembly problems early before they damage the indicator display.
Correct Filling Practices to Prevent Overflow
Filling your smart water pitcher correctly prevents most overflow and screen flooding issues. The key is understanding where the maximum fill line sits on your pitcher and respecting that boundary every single time.
Always fill to the marked “Max Fill” line only. This line exists for a reason. It gives the filter enough space to work properly and prevents water from reaching sensitive electronics in the indicator screen. Overfilling pushes excess water into areas where it shouldn’t go, and this is when display problems appear.
Fill slowly and deliberately. Rush the process and you risk splashing water onto the indicator or into gaps around the filter housing. Take your time. Pour water in steady streams rather than dumping it all at once. This controlled approach gives you better visibility of the water level as it rises.
Use cold water exclusively. Never use warm or hot water in your pitcher. Hot water can cause the filter materials to expand slightly, creating small gaps where water leaks around seals. It also interferes with the sensor system that tracks filter usage. Cold water keeps everything functioning as designed.
Stop pouring before you think you’ve reached the line. Water settles and shifts slightly after you stop pouring. What looks full might actually be slightly over the maximum once everything settles. Leave a tiny margin below the line to account for this natural settling.
After filling, inspect the area around your filter housing. Look for any water pooling or dripping near the indicator screen. If you spot moisture, empty the pitcher immediately and check your filter assembly. Proper assembly prevents leaks that lead to screen flooding.
These filling practices work together to keep your smart indicator dry and functional. Combine them with proper filter installation and regular resets for optimal performance.
Common Mistakes That Trigger Indicator Issues
Many people accidentally trigger indicator screen flooding by making simple assembly mistakes. Understanding these errors helps you avoid them entirely.
Forgetting to reset the indicator is the most common mistake. You install a new filter but skip the reset step. The indicator still thinks the old filter is active. This confusion causes the display to malfunction or show false readings. Always reset immediately after filter installation, not hours or days later.
Incorrect filter insertion creates another frequent problem. You push the filter in at an angle instead of straight down. This misalignment prevents a proper seal. Water then leaks around the filter housing and reaches the electronic components. The screen appears flooded even though no actual water damage occurred. Insert filters with steady, vertical pressure every single time.
Overfilling past the maximum line triggers overflow issues regularly. You fill the pitcher to the rim thinking more water is better. Excess water spills over the filter housing during the filling process. This overflow contacts the indicator display and creates the flooding appearance. The marked maximum line exists specifically to prevent this problem.
Using warm or hot water confuses the sensor system. These temperatures interfere with how the smart indicator reads filter status. The display may show error messages or appear to malfunction. Always use cold water exclusively in your smart pitcher.
Failing to assemble all filter parts correctly causes leaks that eventually reach the indicator. You might miss inserting the filter seal or gasket properly. Water slowly seeps through gaps in the housing. Over time, this moisture reaches the display screen.
These mistakes are completely preventable. Pay attention during filter replacement. Reset the indicator on schedule. Fill carefully to the marked line. Use cold water only. Check that every filter component sits flush and secure. Following these practices eliminates most indicator screen flooding problems before they start.
Troubleshooting Persistent Indicator Malfunctions
When your smart water pitcher’s indicator screen shows flooding, the issue usually stems from moisture reaching the sensor area rather than actual water damage to the electronics themselves. This happens most often when assembly problems allow water to seep into spaces where it shouldn’t be.
Start by identifying where moisture is coming from. Check the filter housing seal first. Remove the filter and inspect the rubber gasket or seal ring around the housing. Look for cracks, warping, or debris stuck on the seal surface. Even tiny particles prevent a watertight connection. Clean the seal gently with a soft, dry cloth. Make sure no lint or dust is trapped there.
Next, examine the filter cartridge itself for cracks or damage. A compromised filter allows water to bypass the normal filtration path and pool around the indicator contacts. If you notice any damage, the filter needs replacement immediately.
Pay attention to how the filter housing connects to your pitcher base. The connection point must be completely secure and seated properly. Wiggle the filter housing gently to confirm it’s not loose. A loose connection creates gaps where water can travel upward toward the indicator.
Check if water is pooling inside the pitcher base. Tilt your pitcher slowly to see if liquid collects near the filter housing. If water pools there, your seal isn’t working correctly. This is the most common cause of indicator screen flooding.
Once you’ve identified the moisture source, dry everything thoroughly. Use paper towels to absorb any standing water inside the base. Leave the pitcher disassembled for several hours to air dry completely before reassembling.
After everything dries, reassemble your pitcher carefully. Insert the filter straight down with firm, even pressure. Fill slowly with cold water and watch for any leaks around the housing. If moisture reappears, you may need a replacement filter or new pitcher, as the seal may be permanently compromised.
Final Thoughts
Fixing a flooded indicator screen is simpler than it looks. Most cases come down to two things. Either you skipped a reset, or water snuck past the filter seal.
The good news is that your pitcher’s electronics rarely suffer real damage. Screen flooding usually points to a reset issue, not a broken sensor.
Start with the basics every time. Press and hold the STATUS button to reset your indicator. If you use Elite™ filters, hold it for a full six seconds.
Do this immediately after installing a new filter. Waiting too long often causes the display to glitch or show flooding symbols.
Next, check your filling habits. Fill your reservoir only to the Max Fill line. Use cold water exclusively, since warm water confuses the sensor system.
Assembly matters just as much as filling. Make sure every filter part clicks into place correctly. Loose parts create small gaps where water escapes and reaches the indicator.
If flooding continues after these steps, take the pitcher apart. Dry all components fully before putting it back together.
Think of this as routine maintenance, not a major repair. A few consistent habits prevent most flooding problems from happening again.
Reset your indicator after every filter change. Fill carefully to the marked line. Check your assembly before each use.
These three habits solve the majority of indicator issues people face.
If your screen still floods after trying everything, contact customer support. Persistent problems sometimes point to a hardware defect rather than user error.
Most smart pitcher issues are fixable at home. With patience and the right steps, your indicator screen should return to normal function quickly.
Keep these fixes in mind, and your smart water pitcher will serve you reliably for a long time.
Frequently Asked Questions
Why does my smart pitcher’s indicator screen show flooding when no water leaked?
The indicator screen flooding message usually means moisture reached the sensor, not that your pitcher is broken. This happens most often when the filter isn’t assembled correctly or the indicator wasn’t reset after installation. The sensor is very sensitive to small amounts of moisture. Check that all filter parts snap into place firmly. Make sure the filter housing sits flush against the pitcher base with no gaps.
How do I reset the indicator after changing my filter?
Press and hold the STATUS button on your pitcher. Most standard filters need about 3 to 5 seconds of pressure. Some models require you to hold it for 6 seconds. You’ll see the percentage number reset to 100% when it works. Do this immediately after you install a new filter, before you fill the pitcher with water. This step prevents false flooding alerts.
What’s the right way to fill my pitcher to avoid indicator problems?
Fill only to the “Max Fill” line marked on your pitcher. Overfilling causes water to splash into areas where it shouldn’t go. This moisture can reach the sensor housing and trigger false flooding messages. Use cold water only, since warm or hot water can confuse the sensor system. Fill slowly and let the water settle before you use your pitcher.
Can I fix a flooded indicator screen myself?
Yes. First, empty your pitcher completely and remove the filter. Dry the entire pitcher inside and out with a clean cloth. Pay special attention to the filter housing and the base where moisture collects. Let it air dry for several hours. Then reassemble everything carefully, making sure each part clicks into place. Reset the indicator and refill to the marked line.

Hi, I’m Lola Griffin 👩💻, the voice and creator behind ResizerBox. I’m a passionate tech enthusiast who loves exploring the latest gadgets, smart devices, and trending Amazon electronics. Through my reviews, I share honest insights, real-world testing experiences, and practical buying advice to help readers make confident tech choices.