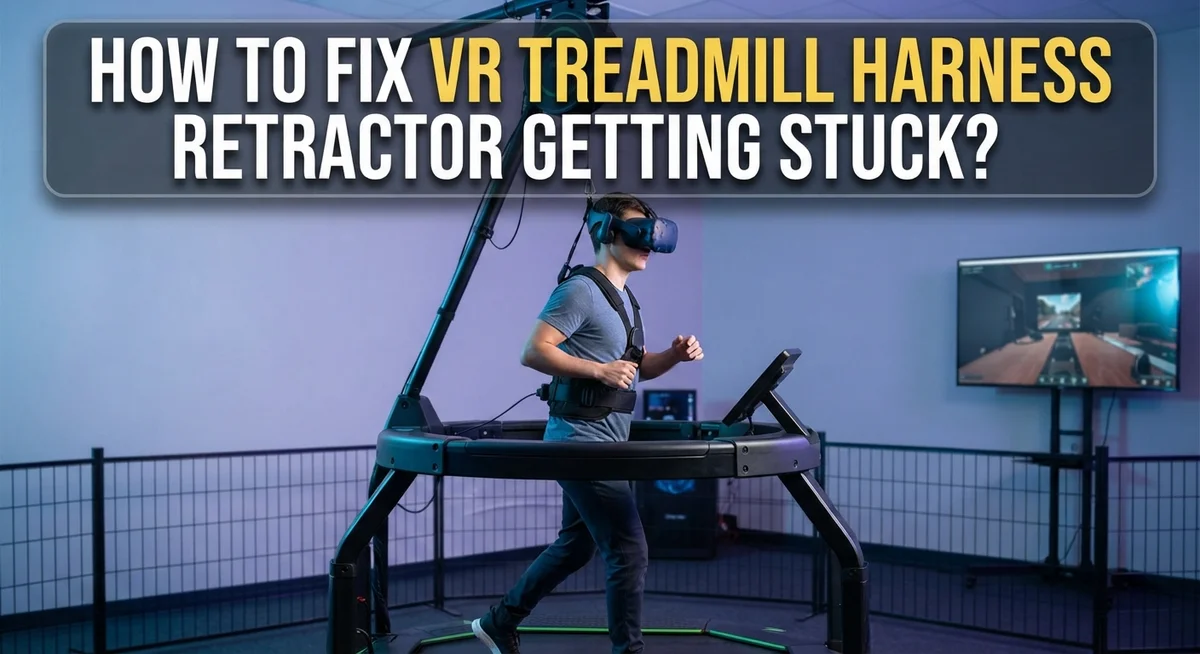
How To Fix VR Treadmill Harness Retractor Getting Stuck?
Your VR treadmill harness retractor should glide smoothly every time you play. But sometimes it gets stuck, jams, or refuses to pull back like it should.
This can turn an exciting VR session into a frustrating one. You strap in, ready to move, and the harness feels tight, jerky, or completely locked.
Don’t worry. This issue is common with VR treadmills, including popular models like the KAT Walk C2 Core. Most retractor problems come from simple mechanical causes.
Dust, debris, belt misalignment, or calibration errors often trigger the jam. The good news? You can usually fix this at home without any special tools.
In a Nutshell
- Check for debris first. Dust and small particles often block the retractor mechanism. A simple clean can solve the problem instantly.
- Inspect belt tension and alignment. A loose or misaligned belt can cause the retractor to jam. Adjust it gently until it sits correctly.
- Verify your calibration settings. Skipping calibration after setup or repair is a common mistake. Always recalibrate before you start playing.
- Confirm your play space is configured properly. Not enough room can put extra strain on the harness system. Give your treadmill the space it needs.
- Diagnose before you fix. Understanding the root cause saves time and prevents repeat issues. Don’t just guess at the problem.
- Follow device specific guides. Different treadmill models have unique setup steps. Always check your manufacturer’s instructions for the best results.
Understanding How the Harness Retractor Works
A VR treadmill harness retractor is a mechanical system that pulls your safety harness back toward its resting position after you move. Think of it like a seatbelt retractor in a car. The spring mechanism stores energy and releases it to wind the harness back up smoothly.
The retractor contains several key parts working together. A spring mechanism provides the pulling force. A spool or drum holds the harness strap. A brake system controls the speed of retraction so the harness doesn’t snap back too fast. All these components must work in harmony for smooth operation.
When you walk on the treadmill, the harness extends slightly. As soon as you stop moving, the retractor spring activates. The spool winds the strap back to its original length. This keeps you safely positioned in the center of the walking surface throughout your session.
The retractor also includes a tension adjustment mechanism. This lets you customize how tight or loose the harness feels during use. Proper tension is important for both comfort and safety. Too loose, and you won’t have proper support. Too tight, and you restrict your movement.
Friction and moving parts are where problems typically start. The spool rotates hundreds of times during a single gaming session. The brake system engages and disengages constantly. Over time, dust enters these mechanisms. Debris builds up on the moving components. The spring loses its smooth action.
Understanding how these parts interact helps you troubleshoot effectively. When the retractor gets stuck, one of these components has stopped working properly. The spring might be jammed. The spool could be blocked. The brake might be holding too tight. Knowing what each part does makes it easier to identify which component is causing your issue.
Common Causes of a Stuck Harness Retractor
A stuck harness retractor usually stems from a few specific mechanical issues. Understanding what causes the jam helps you fix it faster and prevent it from happening again.
Dust and debris are the most common culprits. Small particles settle inside the retractor mechanism over time. They block the moving parts and create friction. Lint from clothing, pet hair, or dirt from your play space can all contribute to this problem. Even tiny bits of material can stop the smooth gliding action you need.
Belt misalignment is another frequent cause. The belt that powers your treadmill must stay centered and properly tensioned. When the belt shifts out of place or becomes too loose, it puts uneven pressure on the harness system. This extra strain forces the retractor to work harder, and it may jam as a result. A slack or crooked belt creates resistance that the retractor cannot overcome.
Calibration errors lead to mechanical stress on the entire system. If your treadmill is not calibrated correctly after setup or repair, the harness may experience incorrect tension settings. The retractor operates based on calibration data. Wrong settings force it to pull with too much or too little force, causing jamming.
Insufficient play space creates another problem. Your VR treadmill needs adequate room to function properly. A cramped space puts extra strain on all mechanical components, including the retractor. When you cannot move freely, the harness system works overtime and becomes more prone to jamming.
Worn mechanical components develop over time with regular use. Springs lose their elasticity. Moving parts wear down. Friction increases gradually until the retractor stops working smoothly. Age and heavy use both contribute to mechanical failure.
Identifying which cause applies to your situation is the first step toward a working solution.
Diagnosing the Root Cause Before You Fix It
Before you start taking apart your VR treadmill harness retractor, spend time figuring out what’s actually wrong. A stuck retractor can have several different causes, and fixing the wrong problem wastes your time and energy.
Start by observing the retractor’s behavior. Does it not move at all, or does it move slowly and hesitantly? Does it get stuck at a certain point in its range? Listen carefully for grinding sounds or unusual noises coming from the mechanism. These details tell you whether you’re dealing with a mechanical jam, a friction issue, or something else entirely.
Next, visually inspect the retractor housing and cable. Look for visible damage, cracks, or bent metal parts. Check if the cable itself appears twisted, frayed, or kinked. A damaged cable often causes the retractor to bind up and refuse to move smoothly.
Gently test the retractor by hand. Pull the harness out slowly and feel for resistance points. Does the resistance feel consistent throughout the motion, or does it spike at specific locations? This tells you whether the problem is widespread or localized to one area.
Check your device’s manual or setup guide for your specific treadmill model. Different models have different mechanical designs, and your manual explains the normal operation and expected feel. Compare what you’re experiencing to what the manual describes.
Consider environmental factors too. Has the treadmill been in a dusty space? Have you recently moved it or changed your play area? Has the device been unused for a long time? These situations often trigger retractor problems.
Document what you observe. Write down the exact symptoms, when the problem started, and any recent changes to your setup. This information helps you identify the root cause accurately and prevents you from making unnecessary repairs to parts that work fine.
Step-by-Step Guide to Fixing a Stuck Retractor
Start by gathering your tools and preparing your workspace. You’ll need basic items like a soft brush, compressed air, and clean cloths. Work in a well lit area where you can see all the small parts clearly.
Step 1: Disconnect and Secure the Device
Unplug your VR treadmill from the power source completely. This prevents accidental activation while you work. Make sure the harness is in its fully retracted position before you begin any repairs.
Step 2: Access the Retractor Mechanism
Locate the retractor housing according to your device manual. Most models have access panels that you can remove with basic tools. Take photos as you go so you remember how to reassemble everything later.
Step 3: Clean Out Debris
Use compressed air to blow out dust and particles from inside the retractor. Hold the can upright and use short bursts. Follow up with a soft brush to gently remove stubborn debris stuck in crevices.
Step 4: Inspect the Cable and Belt
Look for visible damage, fraying, or kinks in the harness cable. Check that the belt sits properly aligned within its track. Misalignment often causes binding that makes the retractor feel stuck.
Step 5: Check Spring Tension
Locate the tension adjustment mechanism inside the retractor. Verify it hasn’t become too tight or too loose. Adjust according to your manual’s specifications if needed.
Step 6: Test Movement Manually
Gently pull the harness out and release it several times. It should move smoothly without grinding sounds. If resistance remains, stop and recheck your work before reassembling.
Step 7: Reassemble and Calibrate
Put all panels back in place securely. Reconnect power and run your device’s calibration sequence. Test the retractor under normal conditions to confirm it works properly.
Cleaning and Maintaining the Retractor Mechanism
Regular cleaning keeps your retractor running smoothly. Dust buildup is the enemy of mechanical systems, so make it a habit to clean your retractor every few weeks.
Start by using compressed air to blow out particles from the retractor housing. Hold the can upright and use short bursts. Work from the top down so debris falls away from the mechanism. Pay special attention to the cable entry point where particles love to hide.
For stubborn dust, use a soft brush to gently sweep around the moving parts. Never use water or liquid cleaners near the retractor mechanism. Moisture causes rust and electrical problems. If you need to clean the cable itself, use a dry microfiber cloth and wipe gently along its entire length.
Check the cable for signs of wear during cleaning. Look for fraying, cracking, or discoloration. A damaged cable often feels rough to the touch. If you spot damage, document it with photos for your records.
Lubrication matters, but use it carefully. Most retractor mechanisms work best when kept dry. However, some models have specific lubrication points. Check your device manual before applying any lubricant. If lubrication is recommended, use only the type specified by the manufacturer.
Inspect the spring mechanism while you’re cleaning. Springs can lose tension over time. Look for visible rust or corrosion on metal parts. Clean these areas gently with a dry cloth.
Create a cleaning schedule that fits your usage. Heavy users should clean monthly. Casual users can extend this to every two months. Keep your play space clean too. Sweep the floor regularly to reduce airborne dust that settles on your equipment.
Document each cleaning session. Note the date and what you cleaned. This helps you spot patterns if problems develop. Consistent maintenance prevents most retractor issues before they start.
Calibrating Your VR Treadmill After Repair
After you repair your stuck harness retractor, calibration is essential. Your VR treadmill needs proper setup to work safely and accurately. Skipping this step leads to tracking errors and safety issues.
Start by powering on your device and entering the calibration menu. Most VR treadmills have a dedicated settings area for this. Check your device manual for the exact menu location. The calibration process typically takes 5 to 10 minutes.
Height calibration matters most after retractor repair. Stand in your play space and let the system detect your position. Your treadmill uses this information to track your movement correctly. If height is wrong, your walking won’t match your in game movement.
Next, verify belt tension and alignment. A loose or misaligned belt causes tracking problems. Walk forward slowly and feel for smooth, consistent movement. The belt should respond immediately to your steps. If it feels sluggish or uneven, stop and recheck the belt position.
Test the retractor itself during calibration. Pull the harness out and release it several times. It should extend and retract smoothly without resistance. Listen for unusual sounds. Grinding or clicking noises mean something still needs adjustment.
Walk around your entire play space during testing. Move forward, backward, and sideways. Test turning in both directions. Your movement in the real world should match what you see in your headset. Lag or drift indicates calibration problems.
Document your calibration results. Note the date, any adjustments you made, and how the treadmill performs. This record helps you spot future issues quickly.
If problems persist after calibration, your retractor repair may be incomplete. Return to the repair steps and inspect the mechanism again. Sometimes multiple issues cause retractor problems, and fixing one reveals another.
Mistakes to Avoid When Troubleshooting the Retractor
When troubleshooting your VR treadmill harness retractor, certain mistakes can make problems worse. Avoid these common errors to protect your equipment and save time.
Don’t force the retractor mechanism. Pulling hard on a stuck cable or belt can damage internal springs and gears beyond repair. Let the device sit for a moment if it feels resistant. Gentle pressure works better than aggressive tugging.
Skip the assumption that lubrication fixes everything. Many people spray lubricant directly into the retractor housing. This actually traps dust and creates a sticky paste inside. Dry mechanisms work better than wet ones for this type of equipment.
Avoid opening the retractor without consulting your manual. Different models have different internal layouts. Opening it incorrectly can misalign components or break seals. Your device manual shows the exact steps for safe access.
Don’t ignore warning signs before the retractor completely jams. Slow movement, grinding sounds, or hesitation mean something needs attention now. Waiting until total failure makes repairs much harder and more expensive.
Never skip the walking source settings check. Incorrect input settings can cause the system to misread your movements. This creates tension in the cable that mimics a stuck retractor. Verify your controller and walking input are configured correctly.
Avoid testing the retractor under full weight immediately after repair. Put on your harness and gently move around first. Let the mechanism prove it works smoothly before taking a full walk in your VR space.
Don’t forget to document what caused the jam. Write down whether it was dust, cable misalignment, or spring tension. This information helps you prevent the same issue next time and guides future maintenance decisions.
Final Thoughts
A stuck harness retractor can feel like a big problem. But most fixes are simple and quick.
Regular cleaning prevents most jams before they start. A few minutes each week saves you from bigger headaches later.
Calibration after any repair ensures your treadmill works safely. Skipping this step often leads to repeat problems.
Remember to avoid common mistakes. Forcing a stuck retractor or using too much lubricant can cause more damage than good.
If your retractor still sticks after cleaning and calibration, something deeper may be wrong. In that case, check your device manual for specific guidance.
Patience matters when fixing mechanical parts. Rushing through steps often creates new issues instead of solving the original one.
Every VR treadmill model works a bit differently. What fixes one brand’s retractor may not apply to another.
Always test your harness thoroughly after any repair. Walk in different directions and check for smooth, even resistance.
Consistent maintenance keeps your retractor working well for a long time. Simple habits now prevent expensive repairs later.
Your VR treadmill is an investment in your fitness and gaming experience. Taking care of small parts like the retractor protects that investment.
Don’t ignore small warning signs. Grinding sounds or slow movement often signal problems before they become serious.
If you feel unsure about opening the retractor housing yourself, that’s okay. Many manufacturers offer support teams who can guide you through safe repairs.
Fixing a stuck retractor doesn’t have to be stressful. With the right steps, most people can solve this issue at home.
Stay calm, follow each step carefully, and test your results. Your treadmill should feel smooth and responsive once the retractor works properly again.
Keep this guide handy for future reference. Retractor issues can happen again, and knowing the fix saves you time and frustration.
Frequently Asked Questions
Why does my VR treadmill harness retractor get stuck in the first place?
Your harness retractor jams due to mechanical wear or debris buildup. Dust, hair, and dirt collect inside the mechanism over time. Belt misalignment also causes friction that locks the system. Lack of regular cleaning is the main culprit behind most jams.
Sometimes the cable inside becomes tangled or frayed. Springs lose tension after heavy use. Ignoring early warning signs like slow movement or grinding sounds leads to complete jamming later.
Can I fix a stuck retractor without opening it?
Yes, you can try external fixes first. Start by cleaning around the retractor housing with a soft brush. Remove visible debris from belt areas and cable paths.
Check if the belt sits properly aligned. A misaligned belt creates friction that stops the retractor. Gently wiggle the harness to see if it loosens naturally. Never force the mechanism hard as this damages internal springs.
If these steps don’t work, you may need to open the unit. Always check your device manual before doing this.
What should I do if cleaning doesn’t solve the problem?
Inspect the belt tension next. A slack or overly tight belt prevents smooth retraction. Look at your manual for proper tension settings specific to your model.
Test the retractor mechanism by hand slowly. Feel for grinding or resistance points. These indicate where the jam occurs. If you find resistance, that area likely has damage or debris trapped inside.
At this stage, consult your device’s support resources or contact the manufacturer. Internal repairs may require professional help.
How often should I maintain my retractor to prevent jams?
Clean your retractor monthly during regular use. Wipe down the housing and remove dust from moving parts. Check belt alignment every few weeks.
After intensive gaming sessions, inspect the cable for signs of wear. Perform a quick visual check of the entire harness system. Regular maintenance stops problems before they start.

Hi, I’m Lola Griffin 👩💻, the voice and creator behind ResizerBox. I’m a passionate tech enthusiast who loves exploring the latest gadgets, smart devices, and trending Amazon electronics. Through my reviews, I share honest insights, real-world testing experiences, and practical buying advice to help readers make confident tech choices.