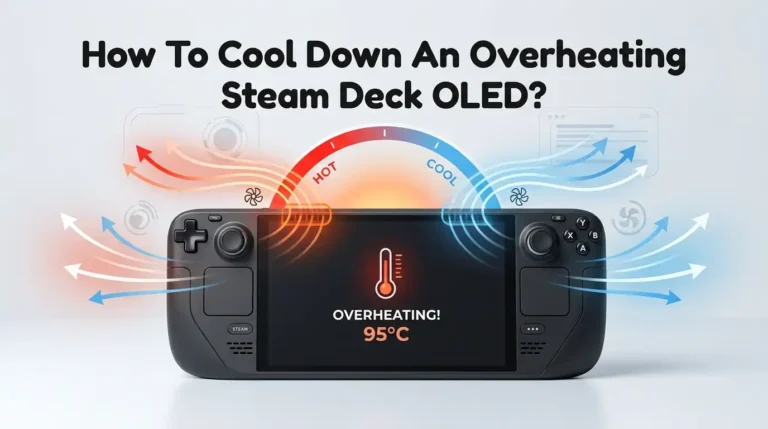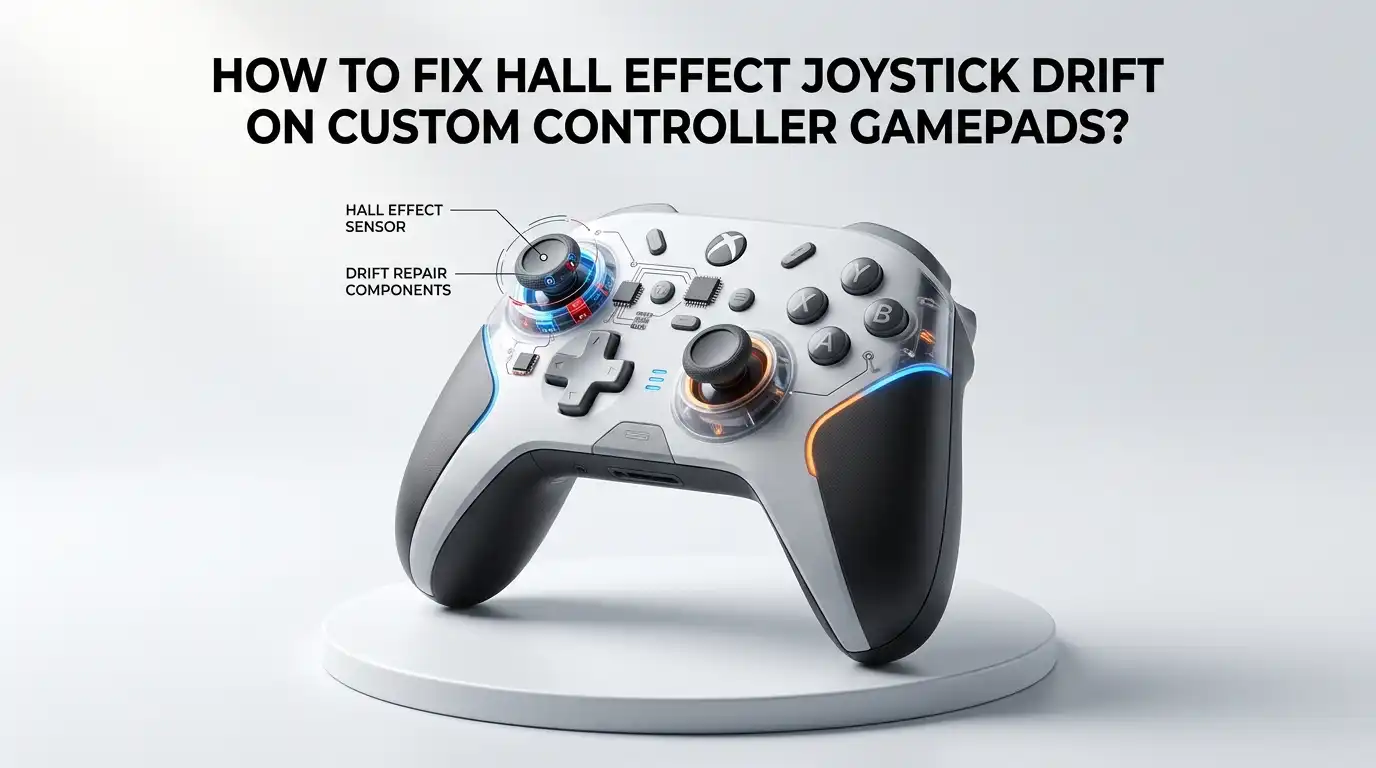
How To Fix Hall Effect Joystick Drift On Custom Controller Gamepads?
Hall effect joysticks promised the end of stick drift. Most of the time, they deliver. But sometimes you build a custom controller, plug it in, and the cursor still creeps across the screen on its own.
Frustrating, right? You spent good money on magnetic sensors, yet your character keeps walking into walls. The good news is simple. Hall effect drift is almost always fixable at home.
Unlike worn potentiometers, these sensors do not physically degrade. So the problem usually lives in software, magnet placement, or wiring. This guide walks you through every fix in plain steps.
In a Nutshell:
- Hall effect sensors do not wear out like potentiometers. Drift on these joysticks almost always comes from software settings, magnet alignment, or loose wiring, not from physical damage. This means you can usually fix it without buying new parts.
- Calibration is your first and most powerful tool. A quick recalibration resets the center point and fixes the majority of drift cases in minutes.
- A small deadzone is normal and healthy. No joystick centers at a perfect zero. A 2 to 3 percent deadzone removes harmless tiny drift without hurting your aim.
- Magnet orientation matters a lot. If the magnet sits upside down or off center, the sensor reads wrong values. Flipping or recentering it often solves stubborn drift.
- Firmware tools give you the most control. Custom controllers using firmware like GP2040-CE let you set deadzones, invert axes, and tune ranges directly from your browser.
- Clean wiring and a stable power source prevent noise. Loose solder joints and electrical interference create false signals that look exactly like drift.
What Hall Effect Joystick Drift Actually Means
Drift happens when your controller sends movement signals even though you are not touching the stick. With Hall effect joysticks, the cause is different from old controllers.
A tiny magnet sits on the stick, and a Hall sensor reads the magnetic field as the stick moves. No parts rub together, so there is no friction wear. Instead, drift shows up when the sensor reads a value that the system thinks is movement.
This usually means the resting position does not match the expected center value. Your game reads that gap as a slow push in one direction. Understanding this difference is key. You are not fixing a broken part. You are correcting a reading error between the magnet, the sensor, and the software that interprets them.
Why Hall Effect Sticks Can Still Drift
Many people believe Hall effect means zero drift forever. That belief is mostly true, but not perfectly. The sensors are durable, yet the system around them is not flawless. Drift creeps in from several places.
The magnet may shift slightly during assembly. The firmware may store an old center point. Electrical noise from cheap wiring can create false readings. Temperature changes can even nudge neodymium magnets, since stronger magnets show more temperature drift.
On custom builds, the most common culprit is human error during assembly. You might mount the magnet at a small angle or solder a joint poorly. The sensor then reports a center that is slightly off. So the hardware is fine, but the setup needs correction.
Step One: Test And Confirm The Drift First
Never start repairs without confirming the problem. You want to see the real numbers, not guess. Open a gamepad testing tool on your computer. Many free browser based testers show your stick position as live coordinates.
Set the stick down and do not touch it. Watch whether the dot sits still or wanders away from center. Note which direction it drifts and how far. A reading that hovers at 1 or 2 percent is normal and harmless.
A reading that climbs to 5 percent or more needs action. Also test both sticks separately. This step tells you if the drift is constant or only appears during movement. Good data now saves hours of wrong fixes later.
Step Two: Recalibrate The Joystick
Calibration is the fastest fix and works for most cases. Recalibration teaches the controller where true center and full range really are. The exact steps depend on your firmware or platform.
In general, you enter a calibration mode, let the stick rest untouched to set center, then rotate it slowly two full circles in each direction to map the edges. Always leave the stick alone while it records the neutral point.
If you nudge it, you record a bad center, and the drift returns. After calibration, retest with your gamepad tester. Many custom controllers fix drift completely at this stage. Recalibrate again any time you swap switches, magnets, or sticks on the build.
Pros: Fast, free, and reversible. It often solves drift in under five minutes without opening the controller.
Cons: It does not fix bad wiring or a misaligned magnet. If the hardware is wrong, calibration only hides the problem briefly.
Step Three: Adjust The Deadzone Correctly
A deadzone is a small area around center where the controller ignores input. Every joystick needs a small deadzone because no stick centers at a perfect zero. If your drift is tiny, this is the cleanest fix.
Set the deadzone to around 2 to 3 percent, just enough to swallow the harmless wandering. Avoid setting a huge deadzone, since that makes your aim feel sluggish and dead. Many custom firmware tools and PC games let you change this value directly.
On firmware like GP2040-CE, you can set inner and outer deadzone values in the web configurator. Test after each change. The goal is the smallest deadzone that stops drift while keeping the stick responsive.
Pros: Reliable, quick, and keeps the stick smooth when tuned well.
Cons: It masks drift rather than removing the source. Too large a deadzone reduces precision and accuracy.
Step Four: Check And Fix The Magnet Alignment
If calibration and deadzone do not work, look at the magnet. The magnet must sit centered and flat under the sensor. If it is tilted, off center, or even upside down, the sensor reads wrong values that look like drift.
One common sign is a stick that gets stuck near one extreme or moves only a little in one axis. Gently open the joystick module and inspect the magnet position. Make sure it sits squarely over the sensing element with even spacing.
If the magnet is rotated incorrectly, flip it and reseat it. Then recalibrate. Offset along an axis directly causes a shifted center reading. Correct physical alignment fixes drift that software alone cannot.
Pros: Solves the true root cause for many stubborn cases. The fix is permanent once done right.
Cons: Requires opening the controller and steady hands. A wrong move can damage the tiny sensor or magnet.
Step Five: Verify Magnet Polarity And Distance
Polarity and gap matter as much as position. The Hall sensor expects a specific magnetic pole facing it. If the magnet is flipped, the sensor reads inverted or weak fields. This shows up as an axis stuck at minus one or a stick that barely responds.
Use a known magnet or a sensor test to confirm the correct pole faces the sensor. The distance between magnet and sensor also changes the signal strength. Too far, and readings get weak and noisy.
Too close, and the sensor saturates. Aim for the spacing the joystick design recommends, usually around one to two millimeters. Correct polarity and gap give clean, stable readings that calibration can then fine tune perfectly.
Pros: Fixes severe drift and stuck axis problems that nothing else touches.
Cons: Hard to judge without test tools. Adjusting gap on glued assemblies can be tricky and risky.
Step Six: Inspect Wiring And Solder Joints
Custom controllers fail at the connections more than anywhere else. A cold or cracked solder joint sends noisy, unstable signals to the board. The system reads that noise as movement.
Inspect every wire from the joystick to the controller board. Look for loose pins, frayed wires, or dull gray solder blobs. Reflow any joint that looks weak with fresh solder and a clean iron. Make sure ground and power wires are secure, since a flaky ground line creates floating readings.
Tug gently on each wire to confirm it holds. Bad wiring drift often comes and goes, which is a strong clue. Solid connections give the sensor a clean path to report accurate position every time.
Pros: Fixes intermittent drift that calibration cannot catch. Improves overall controller reliability.
Cons: Needs soldering skill and tools. Poor soldering can make the problem worse or damage the board.
Step Seven: Reduce Electrical Noise
Hall sensors are analog, so they are sensitive to electrical noise. A noisy power supply or unshielded wiring creates random signal jumps. These jumps look like drift even when the magnet and calibration are perfect.
First, make sure your controller draws clean power. A stable voltage reference keeps readings steady. Keep signal wires short and away from power lines that carry heavy current. Adding a small filter capacitor near the sensor can smooth out spikes on some builds.
If your firmware offers a software filter or averaging option, enable a light version of it. Do not over filter, since heavy smoothing adds input lag. Clean power and tidy wiring remove the false signals that cheap builds often suffer from.
Pros: Stops random, unpredictable drift on custom and budget builds.
Cons: Diagnosing noise is harder than other fixes. Extra components add complexity to your build.
Step Eight: Update Or Tune Your Firmware
Firmware controls how raw sensor data becomes movement. Outdated or default firmware may handle Hall data poorly. On custom controllers, tools like GP2040-CE let you control analog behavior from a browser.
You can set the correct GPIO pins, choose the analog mode, and adjust deadzones and ranges. Update to the latest stable firmware version before deep tuning. New releases often improve analog handling and add calibration features.
Inside the configurator, confirm the joystick is mapped to the right axes and not inverted. Save, reboot, and retest with a gamepad tester.
Firmware gives you the most control of any method here. The right settings turn a drifting stick into a precise one without touching the hardware at all.
Pros: Powerful, flexible, and free. Many fixes happen entirely in your browser.
Cons: Wrong settings can break input. The learning curve feels steep for first time builders.
Step Nine: Adjust Range And Axis Inversion
Sometimes drift is really a mapping problem in disguise. If the range values are wrong, center sits in the wrong place. Your firmware reads the sensor between a minimum and maximum value.
If those limits are set incorrectly, the calculated center shifts, and the stick pushes one way. Open your range settings and recalibrate the full sweep of the stick. Check that no axis is accidentally inverted or swapped.
A flipped axis can make a normal center read as a constant push. After setting correct minimum, center, and maximum values, the stick should rest cleanly at zero. Retest in both a tester and a game. Proper range mapping aligns the math with what your magnet and sensor actually report.
Pros: Fixes drift caused by setup math, not hardware. Fully reversible in software.
Cons: Requires careful, repeated calibration. Mistakes in range values can feel worse than the original drift.
Step Ten: Account For Temperature And Long Term Stability
Hall effect builds are stable, but not immune to environment. Strong neodymium magnets shift slightly with temperature changes. If your controller drifts only when warm or cold, temperature is the clue.
There is no full fix for this beyond using a small deadzone that absorbs the tiny shift. Let your controller reach normal room temperature before serious calibration. Calibrating a cold controller and then gaming in a warm room can create a small offset.
Over the long term, Hall sticks hold their center far better than potentiometer sticks, since nothing physically wears. So once you set a good deadzone and calibration, the fix usually lasts. A modest deadzone is your insurance against these tiny natural variations.
Pros: A small deadzone makes the controller stable across conditions.
Cons: You cannot fully remove magnet temperature behavior. Extreme environments still cause minor variation.
Step Eleven: When To Replace The Joystick Module
Most Hall effect drift is fixable, but not all. Sometimes a module arrives defective or gets damaged during the build. If you have recalibrated, checked the magnet, fixed the wiring, and tuned firmware, yet the drift remains, the module itself may be faulty.
A cracked sensor or a damaged magnet mount cannot be tuned away. Swap in a known good module to confirm before deciding. This test isolates whether the problem is the part or your setup.
If the new module works cleanly, the old one was the issue. Replacing a module is a last step, not a first one. Exhaust the software and alignment fixes first, since they solve the large majority of cases for far less effort.
Pros: Guarantees a clean fix when a part is truly defective.
Cons: Costs money and time. Requires desoldering and resoldering on most custom builds.
Frequently Asked Questions
Can Hall effect joysticks really drift?
Yes, but rarely from wear. They drift mostly from software settings, magnet alignment, or wiring problems. The sensors themselves do not physically degrade like potentiometers, so the fix is usually quick and lasting once you find the real cause.
Is a small amount of drift normal on Hall effect sticks?
Yes. No joystick centers at a perfect zero. A tiny reading of 1 to 2 percent at rest is completely normal. A small 2 to 3 percent deadzone removes it without hurting your aim or responsiveness.
Will calibration fix my Hall effect drift?
Often, yes. Calibration resets the center point and full range, which solves most drift cases in minutes. If it does not work, the cause is likely physical, such as a misaligned magnet or a loose solder joint.
Why does my stick get stuck at one extreme?
This usually means the magnet sits upside down or the polarity is wrong. The sensor then reads an inverted or saturated field. Open the module, check the magnet orientation, reseat it correctly, and recalibrate.
Does temperature affect Hall effect joysticks?
A little. Strong neodymium magnets shift slightly with temperature. Calibrate at normal room temperature and keep a small deadzone to absorb minor changes. The effect is small and rarely noticeable in everyday use.
Should I replace the module right away?
No. Replacement is the last step. Try calibration, deadzone, magnet alignment, wiring checks, and firmware tuning first. These fix the large majority of drift cases. Only swap the module if everything else fails.

Hi, I’m Lola Griffin 👩💻, the voice and creator behind ResizerBox. I’m a passionate tech enthusiast who loves exploring the latest gadgets, smart devices, and trending Amazon electronics. Through my reviews, I share honest insights, real-world testing experiences, and practical buying advice to help readers make confident tech choices.