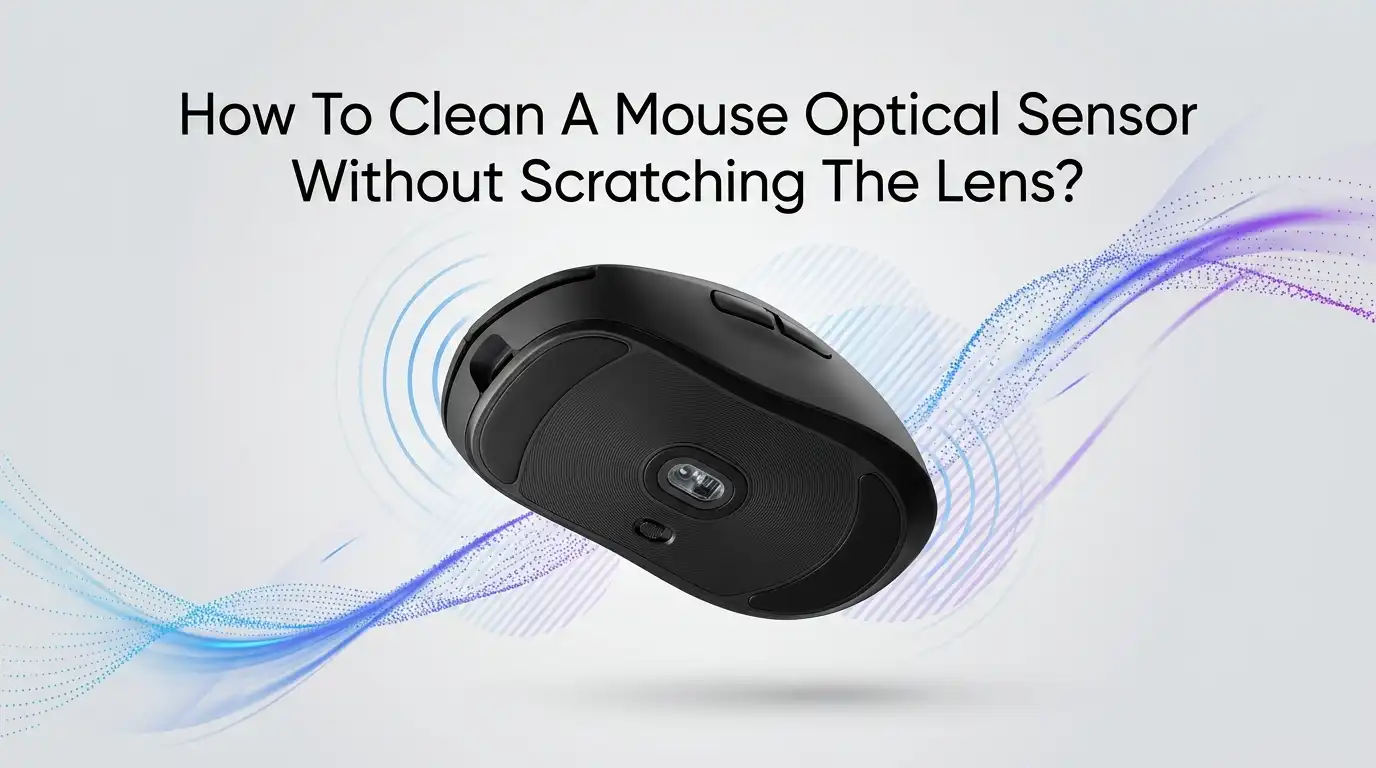
How To Clean A Mouse Optical Sensor Without Scratching The Lens?
Your mouse cursor jumps. It skips across the screen. It freezes for a split second during an important task. Most people blame the software or the mouse pad. The real culprit often hides underneath the mouse. A dirty optical sensor causes most tracking problems.
The good news is simple. You can fix this at home in a few minutes. You do not need special tools. You do not need to spend money. You just need the right method and a gentle hand.
The tricky part is the lens. The sensor sits behind a tiny plastic window. This window scratches easily. One wrong wipe can leave a permanent mark. A scratched lens tracks worse than a dirty one. So you must clean it the smart way.
Key Takeaways
- Always unplug your mouse first. Power off wireless models too. A live sensor can misread your cleaning and waste your effort.
- Start with the gentlest method. Use a dry blow or soft brush before you touch anything wet. Most dust comes off with air alone.
- Use 90 percent or higher isopropyl alcohol when you need liquid. Lower grades leave streaks and water marks on the lens.
- Never scrub the lens hard. The window is soft plastic, usually acrylic. Light pressure removes grime. Heavy pressure leaves scratches.
- Avoid paper towels and tissues. These feel soft but contain rough fibers. They scratch the lens and leave lint behind.
- Let the sensor dry fully before you plug the mouse back in. Even a tiny bit of moisture can fool the sensor or cause damage.
Why A Dirty Optical Sensor Ruins Your Mouse Performance
The optical sensor is the eye of your mouse. It takes thousands of tiny photos every second. It compares these photos to track movement. Dust, hair, and oil block this view. When the eye cannot see, your cursor acts strange.
You will notice clear signs of a dirty sensor. The cursor stutters or jumps. It feels laggy on smooth surfaces. It stops tracking at certain angles. Some mice double click on their own.
A clean sensor restores accuracy instantly. Gamers feel this the most. A blocked lens can cost you a shot or a match. Office users notice less strain because the cursor obeys their hand.
Cleaning fixes these problems for free. You avoid buying a new mouse for a tiny issue. Regular cleaning also extends the life of your device. A few minutes of care saves you money and frustration.
Tools You Need To Clean The Sensor Safely
Gather your supplies before you begin. The right tools prevent scratches. The wrong tools cause them. Here is what works best for this job.
You will want a soft microfiber cloth or lens paper. You need cotton swabs with tight, clean tips. A can of compressed air or a hand blower helps a lot. Get 90 percent or higher isopropyl alcohol for stubborn grime.
A small, soft makeup brush or art brush works for light dust. A bright flashlight helps you see inside the sensor well. Keep everything clean and lint free.
Avoid these items completely. Skip paper towels, tissues, and napkins. Skip glass cleaner, soap, and tap water. Skip sharp tools like pins or toothpicks. These damage the soft lens and leave permanent marks. Good tools make this job easy and safe.
Step One: Power Off And Unplug Your Mouse
Safety comes first. Always cut the power before you touch the sensor. This step protects both you and your device. It also makes cleaning easier and more accurate.
For a wired mouse, pull the cable from the USB port. For a wireless mouse, flip the power switch off. Remove the batteries if your model uses them. A powered sensor keeps trying to track during cleaning.
This active light can confuse you while you work. It also risks a small electrical issue if liquid gets inside. Turning it off removes both problems at once.
A powered down mouse stays calm in your hand. You can clean every corner without odd cursor jumps on screen. This simple step takes five seconds. It sets you up for a smooth, worry free cleaning session every single time.
Step Two: Inspect The Sensor Under Bright Light
You cannot clean what you cannot see. Good light reveals the problem clearly. Flip your mouse over and hold it under a lamp. A phone flashlight also works well here.
Look closely at the small window on the bottom. This is the sensor lens. Search for dust, hair, lint, and oily smudges. Tilt the mouse at different angles to catch hidden grime.
A magnifying glass gives you an even better view. You will often spot a single hair stuck across the lens. This one hair can cause big tracking problems.
Note where the dirt sits before you start. This helps you aim your cleaning tools. You avoid touching clean spots and reduce scratch risk. Knowing the exact problem area means you work faster. You also touch the lens less, which keeps it safe and clear.
Step Three: Blow Away Loose Dust First
Always start dry. Air removes most dust without any contact. No contact means no scratch risk. This is the safest first move you can make.
Use a hand blower or a can of compressed air. Hold the can fully upright while you spray. A tilted can shoots out cold liquid that can damage the lens. Keep a small gap between the nozzle and the sensor.
Give the sensor short, gentle bursts of air. This blows loose particles out of the sensor well. Repeat until no visible dust remains.
A soft brush helps with light dust too. Sweep it across the lens with a gentle touch.
Pros of this method: it is fast, safe, and needs no liquid. Cons: it cannot remove oily smudges or stuck grime. For those, you move to the wet method next.
Step Four: Use A Soft Brush For Stubborn Particles
Sometimes air alone fails. Sticky dust clings to the lens edges. A soft brush handles these gentle cases well. It removes grit that air leaves behind.
Pick a clean, soft bristle brush like a makeup or art brush. Make sure the bristles are fine and never stiff. Hard bristles scratch the soft lens surface.
Brush the sensor area with light, sweeping strokes. Move from the center outward to push dust away. Do not press hard at any point. Let the bristles do the work.
This method works great between deep cleans. It clears the sensor well without any moisture.
Pros: it is dry, simple, and reaches tight corners. Cons: it cannot remove oily fingerprints or dried liquid spots. A brush also collects dust over time, so keep it clean. Wash it now and then to avoid spreading dirt back onto your sensor.
Step Five: Clean Smudges With Isopropyl Alcohol
Oily smudges need liquid to dissolve. Water leaves marks, so skip it. Isopropyl alcohol is the safe choice for electronics. It cleans well and dries fast without residue.
Use 90 percent isopropyl alcohol or higher. Lower grades hold more water and leave streaks. Dip a cotton swab lightly into the alcohol. The swab should be damp, not dripping wet.
Gently wipe the lens in slow, soft circles. Use the lightest pressure your hand can manage. Let the alcohol break down the oil for you. Do not scrub or press into the lens.
Wipe once, then check your progress under light. Repeat with a fresh swab if needed.
Pros: alcohol removes oil, fingerprints, and stuck grime. Cons: too much liquid can seep inside the mouse body. Always use small amounts and work quickly to avoid this risk.
Step Six: The Safe Wiping Technique To Avoid Scratches
Your wiping motion matters more than your tool. Bad technique scratches even a clean lens. Good technique protects it every time. Master this and you will never leave a mark.
Always wipe in one direction or in soft circles. Never drag a dirty swab back and forth. This motion grinds dust into the lens like sandpaper. One pass, then switch to a clean area.
Use almost no pressure on the lens. Imagine you are wiping a soap bubble. Let the tool glide, not push. The dirt lifts off with gentle contact.
Lift the swab between strokes to release trapped grit. Check the lens often under your light. A clean lens needs only a few light passes. If grime stays, add a touch more alcohol rather than more force. Patience beats pressure every single time.
Step Seven: Dry The Sensor Completely
Moisture is the hidden enemy. A wet sensor cannot track well. Trapped liquid can also harm the inside parts. You must dry the lens fully before use.
Isopropyl alcohol evaporates fast on its own. Give it a minute or two to vanish. You can speed this up with gentle air. Use a hand blower or let it sit in open air.
Look at the lens under your light again. Make sure no streaks or droplets remain. A clean lens looks clear and shiny.
Never use a hair dryer with heat. Hot air can warp the soft plastic window. Cool, gentle air or simple patience works best.
Pros of careful drying: it protects the sensor and prevents marks. Cons: it adds a short wait to your cleaning. That small wait is worth a safe, working mouse.
Step Eight: Clean The Mouse Feet And Surrounding Area
The sensor is not the only problem spot. Dirty mouse feet cause tracking issues too. Grime around the sensor falls back onto the lens. A full clean keeps the sensor cleaner for longer.
The mouse feet are the small pads on the base. Wipe them with a microfiber cloth and a little alcohol. Clean feet help the mouse glide smoothly. They also keep the sensor at the right height above the surface.
Clear the area around the sensor well too. Dust often hides in these tiny grooves. Use a dry swab or soft brush here.
This step protects your hard work on the lens. A clean base means less grime travels to the sensor. You will clean less often as a result. The whole mouse performs better and feels new again under your hand.
Step Nine: Open The Mouse For Deep Cleaning (Advanced)
Sometimes the dirt sits inside the sensor well. Surface cleaning cannot reach it. Opening the mouse gives you full access. This step is for confident users only.
Look for a hidden screw under the mouse feet. Many mice hide screws beneath these sticky pads. Peel the pad back gently and unscrew the shell. Keep all parts in a safe spot.
Once open, you can clean the lens directly. Use the same gentle methods from before. Air first, then a light alcohol wipe.
Pros: you reach deep grime and clean the lens fully. Cons: you risk damaging clips, cables, or your warranty. Opening the mouse can void your warranty, so check first. If you feel unsure, stop and stick to surface cleaning. The risk is not worth it for most small problems.
Step Ten: Test Your Mouse After Cleaning
Cleaning is not done until you test. A quick check confirms your success. It also catches any leftover problem early. Always test before you call the job finished.
Plug the mouse back in or switch it on. Move it across your mouse pad in slow circles. Watch the cursor for any stutter or jump. Test fast moves and slow moves both.
Open a drawing app to spot tiny skips. Draw a straight line and a smooth curve. A clean sensor draws without breaks.
If the cursor still acts up, repeat the wet clean. The lens may hold a hidden smudge. Check your mouse pad surface as well. A shiny or glass surface can confuse some sensors. Sometimes the fix is the surface, not the mouse itself.
Common Mistakes That Scratch The Lens
Many people damage their mouse by accident. They mean well but use bad habits. Knowing these mistakes helps you avoid them. Each one can scratch the soft lens for good.
The biggest mistake is using paper towels or tissues. These feel soft but hold rough wood fibers. They scratch the lens and leave lint behind. Stick to microfiber or cotton instead.
Another mistake is pressing too hard. The lens is soft plastic, not glass. Heavy pressure grinds dust into the surface.
Using tap water is also risky. Water leaves mineral marks and can seep inside. Sharp tools like pins are the worst. One slip carves a deep scratch.
Scrubbing back and forth drags grit across the lens. Always wipe one way. Avoid these habits and your lens stays clear and smooth for years.
How Often Should You Clean Your Mouse Sensor
Timing matters for good performance. Clean too little and grime builds up. Clean too much and you raise scratch risk. A balanced schedule keeps your mouse happy.
For most users, a light clean every month works well. Blow out dust and check the lens monthly. This quick habit stops most problems before they start.
Heavy users need more care. Gamers and artists should check weekly. Their hands and surfaces shed more oil and dust.
Do a deep alcohol clean only when needed. Wait for actual tracking problems before you wipe the lens. The fewer times you touch the lens, the safer it stays. Dust prevention helps too. Keep your desk clean and store the mouse in a tidy spot. A clean space means a clean sensor and less work for you.
Frequently Asked Questions
Can I use 70 percent isopropyl alcohol on my mouse sensor?
You can, but it is not ideal. 70 percent alcohol holds more water. This water can leave streaks and marks on the lens. It also dries slower, which raises moisture risk. 90 percent or higher works much better. Higher grades clean well and evaporate fast with no residue.
Will a scratched sensor lens stop my mouse from working?
Not always, but it hurts performance. A scratched lens scatters the sensor light. This causes stutters, skips, and poor tracking. Light scratches may cause minor issues. Deep scratches can make the mouse nearly useless. This is why gentle cleaning matters so much. Prevention beats repair here.
Is compressed air safe for cleaning a mouse sensor?
Yes, when you use it the right way. Always hold the can fully upright. A tilted can sprays cold liquid that harms the lens. Use short, gentle bursts from a small distance. Compressed air is the safest first cleaning step. It removes loose dust with zero contact and zero scratch risk.
Why does my mouse still jump after cleaning?
Several things could cause this. The lens may hold a hidden smudge, so clean again. Your mouse pad surface might be the real problem. Glass and shiny surfaces confuse many sensors. Check the mouse feet too. Worn or dirty feet change the sensor height and cause skips.
Can I clean my mouse sensor with just water?
No, plain water is a poor choice. Water leaves mineral marks as it dries. It also dries slowly and can seep inside the mouse. This moisture risks damage to the inner parts. Isopropyl alcohol is the safe and proper option. It cleans grime and evaporates fast without any residue.
Do I need to open my mouse to clean the sensor?
Most of the time, no. Surface cleaning fixes the majority of problems. Air and a light alcohol wipe handle normal dust. You only open the mouse for deep, stuck grime. Remember that opening it can void your warranty. Try the simple methods first before you take that step.

Hi, I’m Lola Griffin 👩💻, the voice and creator behind ResizerBox. I’m a passionate tech enthusiast who loves exploring the latest gadgets, smart devices, and trending Amazon electronics. Through my reviews, I share honest insights, real-world testing experiences, and practical buying advice to help readers make confident tech choices.