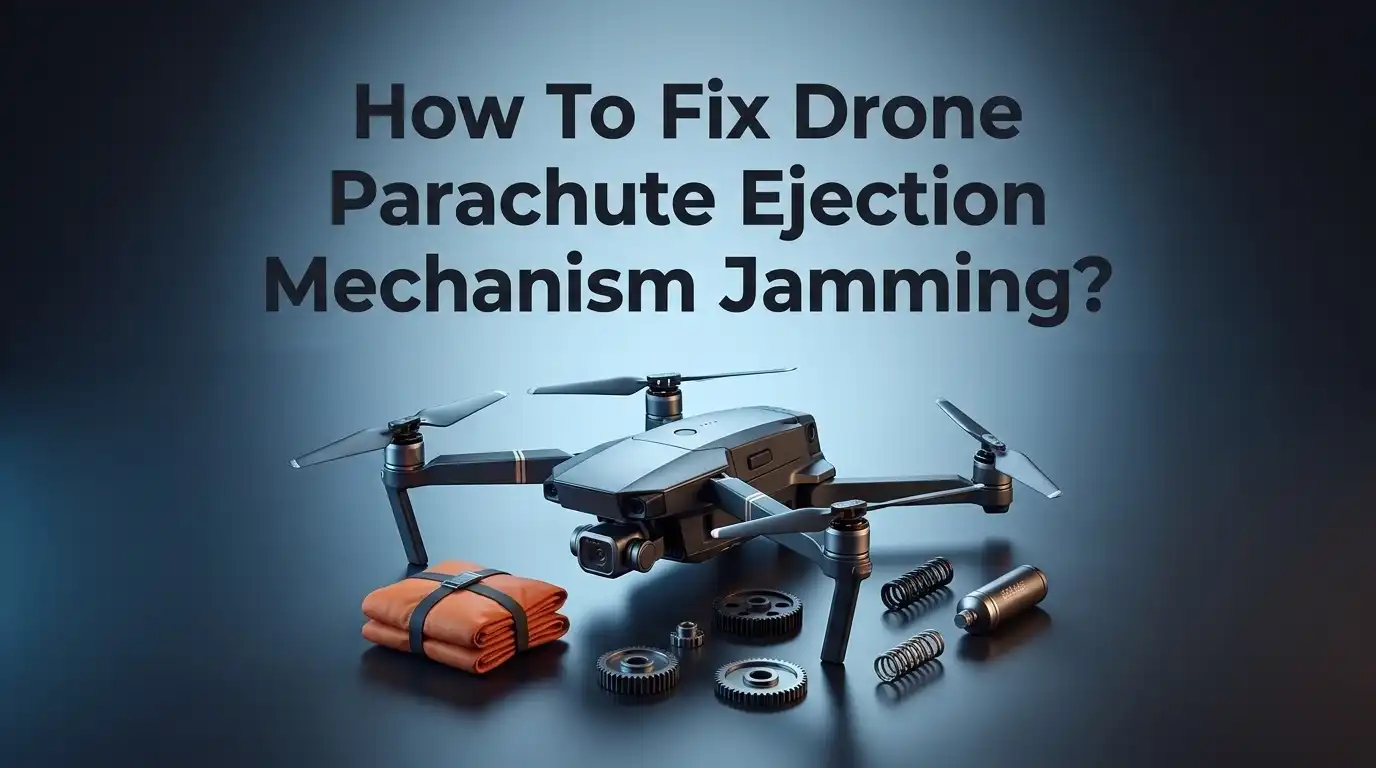
How To Fix Drone Parachute Ejection Mechanism Jamming?
Your drone parachute won’t deploy. That small jam can turn a safe landing into a costly crash.
Parachute ejection mechanisms are supposed to save your drone during emergencies. But when they jam, they create the exact danger they were built to prevent.
This problem happens more often than pilots expect. Springs stick. CO2 canisters misfire. Lines get tangled around propellers at the worst possible moment.
In a Nutshell
- Entanglement is the top culprit. Parachute lines often catch on propellers or the drone body during ejection. This happens when the launch direction points toward moving parts instead of away from them.
- Check your trigger mechanism first. Spring or CO2 based systems need proper tension and pressure to fire correctly. A weak trigger causes slow or failed deployment.
- Parachute positioning matters a lot. The parachute must sit in a spot that gives it clear separation from the drone. Poor placement leads to jams every time.
- Test with slow motion footage. This helps you spot exactly where the mechanism gets stuck. You will see entanglement or force issues clearly this way.
- Inspect your ejection force. Insufficient force means the parachute won’t clear the drone fast enough. This causes tangling with propellers mid deployment.
- Regular maintenance prevents most jams. Clean and inspect your system often. Small debris or wear can jam even a well designed mechanism.
Following these basics keeps your recovery system reliable when you need it most.
Understanding How Drone Parachute Ejection Systems Work
A drone parachute ejection system works by storing and releasing a folded parachute rapidly when triggered. The mechanism uses either a spring or CO2 cartridge to generate the force needed for quick deployment.
Here’s how the basic process unfolds. Your drone carries a compressed parachute stored in a tight container. When you activate the system or an automatic trigger fires, the spring or gas cartridge releases its energy instantly. This force pushes the parachute out and away from your drone at high speed.
The trigger mechanism is the brain of the system. It detects when deployment should happen, then signals the ejection mechanism to fire. Some systems use manual buttons. Others use altitude sensors or impact detection to trigger automatically.
Once deployed, the parachute must separate completely from the drone. This separation distance is critical. If the parachute doesn’t travel far enough away, it can wrap around propellers or the drone body during descent. That’s when jamming occurs.
The ejection force matters tremendously. Insufficient force means the parachute deploys slowly or incompletely. Too much force can cause the parachute to tear or tangle with drone components.
Proper parachute positioning inside the container determines success. The parachute must fold in a way that allows clean ejection. Lines should stay organized and ready to unfurl without catching on anything.
The entire system works as one unit. Each part depends on the others functioning correctly. A weak spring affects deployment speed. A poorly positioned parachute causes entanglement. A faulty trigger prevents activation.
Understanding these components helps you identify where jamming problems actually occur. Most issues trace back to one of these core elements failing to perform its job properly.
Common Causes of Parachute Ejection Mechanism Jamming
Drone parachute ejection mechanisms jam for several predictable reasons. Understanding these causes helps you fix problems before they become dangerous.
Parachute entanglement is the most common jamming culprit. When your parachute deploys, its lines and fabric can catch on propeller blades, landing gear, or the drone body itself. This happens because the parachute doesn’t have enough clearance or launches in the wrong direction. Even a small snag stops the entire deployment process cold.
Insufficient ejection force causes another major problem. Spring based systems or CO2 cartridges need proper tension and pressure to work. If your mechanism lacks enough power, the parachute won’t separate quickly enough from the drone. It gets stuck halfway out of its container.
Trigger mechanism failures prevent deployment from starting at all. These systems rely on precise mechanical tension. Dirt, corrosion, or misalignment can jam the trigger so it never fires when needed. The spring or gas cartridge stays inactive even during emergencies.
Improper parachute positioning inside the container creates jamming during ejection. If your parachute sits too close to the drone body or gets folded incorrectly, it catches on internal components. The fabric bunches up instead of deploying smoothly.
Inadequate separation distance between the parachute and drone frame matters greatly. Your parachute needs clear space to unfold and catch air. Without this gap, the mechanism struggles to push the parachute away fast enough.
Worn or damaged components also cause problems. Over time, springs lose tension. Containers develop dents. Trigger pins corrode. These small failures accumulate and eventually jam your system.
Diagnosing a Jammed Ejection Mechanism: Step-by-Step Inspection
Start your inspection by powering down the drone completely. Remove the battery and let the system sit for five minutes. This ensures no accidental triggers occur while you work.
Next, locate the parachute container on your drone. Open it gently and examine the parachute itself. Look for creases, tears, or compressed areas where fabric bunches up. Check if any lines appear twisted or tangled inside the container.
Inspect the ejection mechanism housing carefully. Spring based systems should have no visible rust or corrosion. CO2 systems need pressure gauge checks to confirm they hold adequate charge. Look for debris, dust, or small particles blocking the ejection path.
Examine the trigger assembly closely. Press it gently by hand to feel if resistance seems normal. A stuck or grinding sensation indicates mechanical problems. Check that all fasteners connecting the trigger to the ejection chamber are tight.
Look at the parachute’s position within its container. It should sit centered with clearance on all sides. Verify that folded lines don’t press against the container walls. Any contact points can cause binding during deployment.
Inspect separation points where the parachute connects to the drone frame. These attachment areas should show no cracks or stress marks. Verify that quick release mechanisms operate smoothly without resistance.
Check the deployment path above the drone. Ensure no propeller blades extend into the ejection zone. Measure the distance from the container opening to the nearest obstacle. This clearance must be at least 12 inches minimum.
Document your findings with photos or notes. This record helps you track which component needs attention next. Move forward with targeted repairs based on what your inspection reveals.
Fixing Entanglement and Deployment Path Obstructions
When your drone parachute gets tangled or blocked during deployment, the problem usually stems from obstructions along the ejection path. Let’s fix these issues systematically.
Clear the deployment corridor first. Remove any loose wires, fabric, or components near where the parachute travels. Check that nothing dangles from your drone’s frame that could snag the parachute during ejection. Even small cable ties or sensor mounts can create major blockages.
Inspect the parachute folding pattern. How you fold the parachute directly affects deployment success. Tight, compact folds prevent tangling during ejection. Loose or uneven folds catch on edges and create jams. Refold your parachute using a consistent method each time. Ensure all fabric layers are smooth and aligned.
Verify the ejection container opening. The container must have a clear, unobstructed exit. Check that the lid or cover opens fully without catching the parachute fabric. Sometimes container edges become bent or warped, narrowing the opening and causing entanglement.
Examine the separation mechanism. Your parachute needs enough distance to clear the drone before fully inflating. If the attachment point sits too close to the drone body, the parachute can wrap around propellers or frame elements. Increase separation distance if possible.
Test the deployment path visually. Trace an imaginary line from the parachute’s resting position straight upward. Ensure nothing blocks this vertical path. Remove any components or structures in this zone.
Conduct a manual deployment test. Trigger the mechanism by hand without the drone powered on. Watch the parachute move through its complete path. This reveals exactly where obstructions occur and helps you identify specific problem areas before flight testing.
Adjusting Trigger Mechanisms and Ejection Force Settings
The trigger mechanism is the command center for your parachute system. When it fails or gets stuck, the entire ejection sequence breaks down. Understanding how to adjust these components helps you restore reliable deployment.
Start by examining the trigger assembly itself. Look for bent pins, corroded contacts, or misaligned components. Even small deviations prevent the trigger from activating properly. Clean any debris around the trigger housing with a soft brush. Corrosion often causes sticking, so gently remove oxidation from metal parts.
Next, check the trigger’s mechanical engagement with the ejection mechanism. The trigger should move freely without resistance. If it feels stiff, apply a small amount of lubricant designed for mechanical systems. Work the trigger back and forth slowly to distribute the lubricant evenly.
Ejection force settings control how hard the parachute deploys. Most systems use spring tension or gas pressure to create this force. If your parachute deploys too slowly, the ejection force may be too weak. If it deploys violently and tangles, the force may be too strong.
Adjust spring tension carefully by turning the adjustment screw incrementally. Make quarter turn adjustments, then test the mechanism each time. Document each change you make so you can track what works.
For gas based systems, check the pressure gauge reading. Pressure that’s too low prevents proper deployment. Pressure that’s too high causes aggressive ejection that increases entanglement risk.
Test your adjustments using slow motion video recording. This reveals exactly what happens during deployment. You’ll see if the parachute clears the drone properly or if it catches on components.
Make small adjustments rather than large ones. Precision tuning prevents over correction and additional jamming problems.
Testing Your Repaired Parachute System Safely
Before you fly your drone again, you need to test the parachute system safely. Testing prevents failures during actual flight. Start in a controlled environment away from people and buildings.
Begin with a ground test. Power on your drone and arm the parachute system without launching. Listen for the ejection mechanism’s sound. You should hear a distinct click or pop when the trigger activates. If the sound is weak or absent, the mechanism needs more adjustment.
Next, conduct a slow motion deployment test. Use a camera that records at high frame rates. This lets you see exactly what happens during ejection. Watch for tangling, incomplete deployment, or parachute separation issues. The parachute must clear the drone completely before inflating.
Perform a tethered drop test in an open area. Attach a long rope to your drone and hold it several feet above the ground. Trigger the parachute system and observe the deployment from start to finish. The parachute should deploy smoothly without catching on any part of the drone.
Check parachute inflation and descent rate. A properly functioning parachute creates a steady, controlled descent. If the parachute descends too quickly or unevenly, adjust the bridle lines or canopy shape.
Document everything with photos and videos. Record the deployment sequence, descent pattern, and landing. This documentation helps you identify remaining problems before actual flight.
Never test over people, vehicles, or property. Always maintain a safe distance from obstacles. Repeat these tests multiple times to ensure consistency. Consistent performance indicates your repair was successful. Only after multiple successful tests should you proceed to actual flight operations.
Mistakes to Avoid When Repairing or Reassembling the Mechanism
When you reassemble your drone parachute ejection mechanism, several mistakes can cause the system to fail during critical moments. Understanding these errors helps you avoid costly damage and safety hazards.
Never force components together. If a part doesn’t fit smoothly, stop immediately. Forcing pieces can bend the ejection pin, crack the trigger assembly, or misalign the spring mechanism. Take time to check alignment before applying pressure. Misaligned components will jam when you need the parachute most.
Don’t skip the orientation check. The parachute container must point away from your drone’s propellers. Many people accidentally orient the deployment path toward the rotors. This causes the parachute to tangle with spinning blades instantly. Always verify the ejection direction before final assembly.
Avoid over tightening fasteners. Screws and bolts hold your mechanism together, but excessive tightening warps metal parts. Warped components bind during deployment. Use firm pressure only, then stop. The mechanism should move freely when you manually test it.
Don’t neglect spring tension calibration. If you adjust the spring force, test it multiple times. Springs that are too tight prevent deployment. Springs that are too loose won’t eject the parachute with enough force. Find the balance through careful testing.
Never reassemble with dirt or debris present. Dust particles jam trigger mechanisms instantly. Clean every component with a soft brush before putting parts back together. Inspect threads and moving surfaces for any contamination.
Avoid skipping the manual deployment test. Before any powered test, manually trigger your mechanism on the ground. This reveals jamming issues safely. Listen for smooth clicks and watch for free movement throughout the cycle.
Preventive Maintenance to Stop Future Jamming
Regular maintenance stops jamming before it happens. You prevent problems by keeping your parachute system clean and inspecting it often.
Start with a cleaning schedule. Dust and debris cause the most jamming issues. After every flight, use a soft brush to remove dirt from the ejection chamber. Pay special attention to the trigger assembly and spring components. Clean around the parachute container opening where particles accumulate easily.
Inspect all moving parts monthly. Look at springs for signs of rust or corrosion. Check that pins move freely without sticking. Test the trigger mechanism by hand several times to ensure smooth operation. Listen for grinding sounds, which signal debris inside.
Store your drone in a dry location. Moisture causes metal parts to corrode, and corrosion leads to jamming. Keep the parachute system covered when not in use. Store the ejection mechanism separately from the parachute to prevent accidental entanglement.
Apply lubricant to moving components carefully. Use only light machine oil on springs and pins. Avoid heavy greases that attract dust. A small amount goes a long way. Wipe away excess lubricant with a clean cloth.
Check fasteners every few months. Vibration from flights loosens bolts and screws over time. Tighten them gently without over tightening, which warps metal and causes binding.
Replace worn springs before they fail. Springs lose tension gradually. Test spring force quarterly using a simple pull test. If deployment feels sluggish compared to your baseline, order a replacement spring.
Document your maintenance in a log. Write down cleaning dates, inspection findings, and any adjustments made. This record helps you spot patterns and predict problems before they cause failures during flight.
Final Thoughts
A jammed parachute ejection mechanism feels scary, but you can fix it with patience. Most problems come from dirt, wrong spring tension, or bad orientation. Small issues cause big failures in these systems.
Start by cleaning the mechanism thoroughly. Dust and debris jam triggers more often than broken parts. A simple cleaning session solves many jamming problems right away.
Check your parachute orientation every single time. The container must point away from propellers. This one mistake causes entanglement and crashes more than any other issue.
Test your repairs slowly and carefully. Ground tests come first, then slow motion deployment tests. Never skip these steps before flying again.
Regular maintenance beats emergency repairs every time. Inspect springs monthly for rust or wear. Replace parts before they fail during flight.
Keep your drone stored in dry conditions. Moisture damages springs and causes corrosion over time. This simple habit prevents many future jams.
Document your repairs and maintenance schedule. Notes help you spot patterns in recurring problems. You will catch issues faster with good records.
Remember that safety waivers matter for parachute systems. Check your local regulations before testing or flying. This step protects you legally and physically.
The engineering community still studies entanglement solutions actively. New designs and testing methods appear regularly. Stay updated on best practices for your specific drone model.
Fixing a jammed mechanism takes practice and patience. Do not rush the process or skip safety steps. Slow, careful work now prevents dangerous failures later.
Your drone parachute system protects your equipment and people below. Treat every repair seriously. Consistent care keeps your recovery system reliable when you need it most.
Frequently Asked Questions
Why does my drone parachute jam during deployment?
Parachute jamming happens most often when the parachute entangles with your drone’s body or propellers during ejection. This occurs because the parachute deploys toward the wrong direction or lacks enough separation force to clear the aircraft safely.
Spring tension that’s too weak also causes slow deployment. When the ejection mechanism lacks power, the parachute unfolds gradually instead of shooting away cleanly. Debris trapped inside the mechanism adds friction and blocks smooth operation.
What should I check first when the mechanism gets stuck?
Start by inspecting the parachute orientation carefully. Your parachute container must point away from all propellers and moving parts. Even slight misalignment causes entanglement.
Next, look inside the ejection mechanism for dirt, dust, or debris. Clean all surfaces gently with a soft brush. Check that the trigger mechanism moves freely without resistance.
Can I fix jamming without taking the whole mechanism apart?
Sometimes, yes. First, try applying light machine oil to moving pins and springs. Let the oil sit for a few minutes, then work the trigger slowly back and forth. This often frees up minor sticking.
If that doesn’t work, you’ll need to disassemble the mechanism. Remove fasteners carefully and inspect each component for damage or misalignment.
How do I prevent future jamming issues?
Regular maintenance stops problems before they start. Inspect your parachute system monthly. Look for rust on springs and corrosion on metal parts.
Store your drone in a dry location away from moisture. Check all fasteners every few months. Replace springs showing signs of wear. Document each inspection and repair in a maintenance log.

Hi, I’m Lola Griffin 👩💻, the voice and creator behind ResizerBox. I’m a passionate tech enthusiast who loves exploring the latest gadgets, smart devices, and trending Amazon electronics. Through my reviews, I share honest insights, real-world testing experiences, and practical buying advice to help readers make confident tech choices.