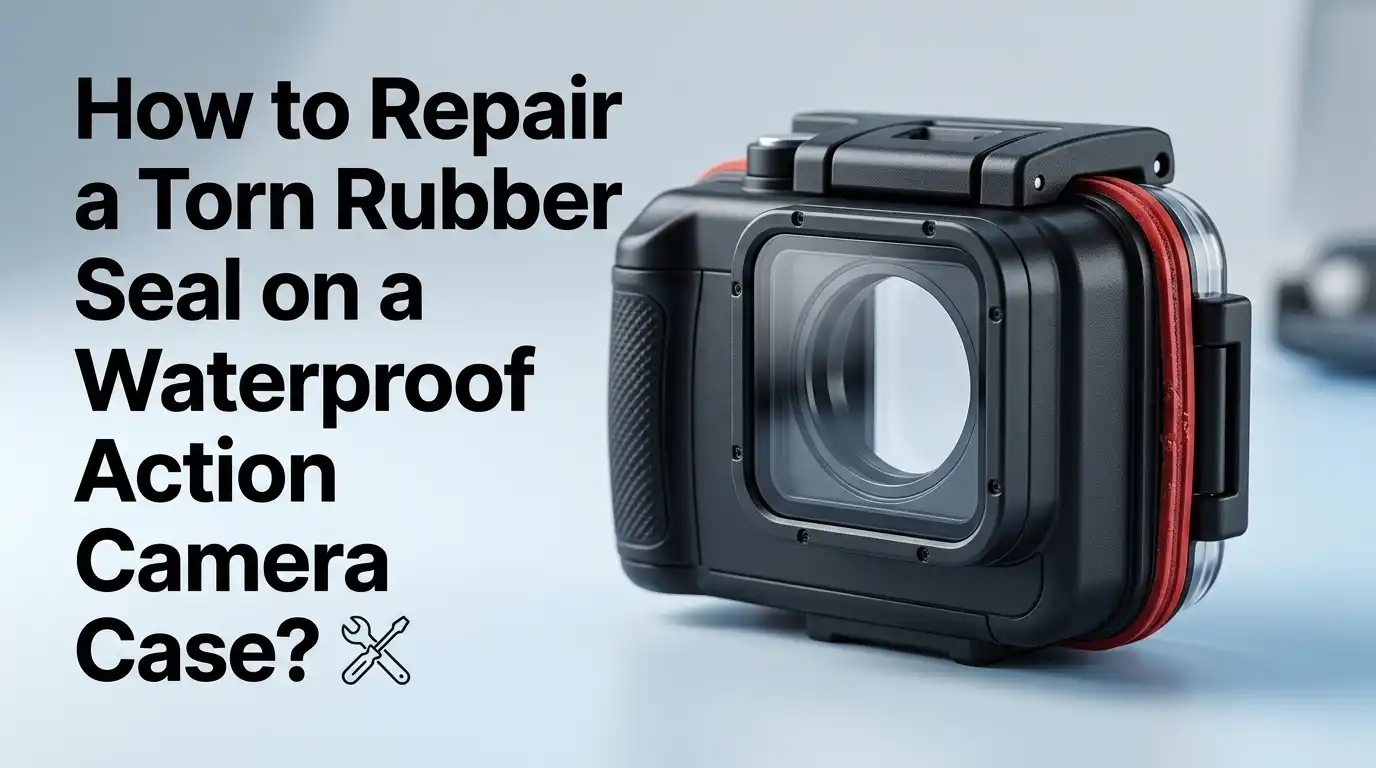
How to Repair a Torn Rubber Seal on a Waterproof Action Camera Case?
Your action camera goes everywhere with you. Surfing, snorkeling, mountain biking through rain, diving in pools. Then one day you spot it. A small tear in the rubber seal of your waterproof case. Your heart sinks because that tiny rip can flood your expensive camera in seconds.
The good news? You can often repair a torn rubber seal at home. You do not always need to throw the case away or buy a new housing.
With the right glue, a steady hand, and a few simple steps, you can bring that seal back to life. This guide walks you through every method, tool, and trick that actually works.
Key Takeaways
- Inspect the damage first. A clean small tear can usually be repaired with silicone adhesive or rubber cement. Large rips, missing chunks, or stretched seals usually need a full replacement.
- Clean the seal thoroughly with isopropyl alcohol before applying any glue. Dirt, salt, and old silicone grease stop adhesives from bonding properly.
- Use the right product. Marine grade silicone, urethane rubber repair glue, or RTV silicone sealant work best for waterproof bonds. Avoid super glue because it dries brittle.
- Always test the repair with a tissue paper dive before putting your camera back inside. A dry tissue tells you instantly if water is sneaking through.
- Replacement O rings cost less than a flooded camera. If your seal is older than two years, consider swapping it out instead of patching it.
- Regular maintenance prevents most tears. Rinse with fresh water, dry completely, and apply silicone grease to keep the rubber soft and flexible.
Understand Why Rubber Seals Tear in the First Place
Rubber seals fail for a handful of common reasons. Saltwater, sand, sunscreen, and chlorine all break down rubber over time. The material loses its stretch and starts to crack along stress points.
Heat is another big enemy. Leaving your case in a hot car or in direct sunlight dries the rubber out. Dry rubber tears easily when you snap the case shut.
Pinched seals are also a frequent cause. If you close the case without checking that the gasket sits flat in its groove, the metal latch can slice right through it. Knowing the cause helps you pick the right repair and avoid the same problem later.
Identify the Type of Seal You Are Dealing With
Not every waterproof case uses the same seal. GoPro housings typically use a thin square cut gasket glued into the back door. DJI, Insta360, and Akaso cases often use removable O rings that sit in a channel.
Some budget housings use a foam strip with adhesive backing. These are the hardest to repair because foam compresses and tears easily.
Look closely at your case before you start. Check whether the seal is glued in place or sits loose in a groove. A loose O ring is the easiest to replace. A glued gasket needs careful cutting and prep work. Knowing what you have in front of you saves time and prevents extra damage during the repair.
Gather the Right Tools and Materials
Before you start, lay out everything you need. You do not want to be hunting for tweezers with glue drying on your fingers.
You will want isopropyl alcohol (at least 90 percent), cotton swabs, a soft microfiber cloth, fine tweezers, a toothpick, and a magnifying glass. For the repair itself, grab clear silicone adhesive, marine grade RTV sealant, or a rubber repair kit. Some people prefer B7000 or T7000 glue because it dries flexible and clear.
Keep a small dish of fresh water nearby for testing later. Silicone grease is also useful for treating the seal after the repair cures. Skip super glue. It hardens stiff and cracks under pressure.
Clean the Damaged Seal Properly
This step makes or breaks your repair. Skip cleaning and your glue will not stick. Start by removing the seal from its groove if possible. Use a wooden toothpick or plastic pick, never metal, to avoid scratching the channel.
Wipe the seal down with a microfiber cloth to remove visible dirt. Then dampen a cotton swab with isopropyl alcohol and gently clean both sides of the tear. Pay special attention to the torn edges because residue hides there.
Let the seal air dry for at least 10 minutes. Any moisture trapped under the glue will weaken the bond. Also clean the groove in the case using the same method. A clean groove ensures the repaired seal sits flat when you reinstall it.
Method 1: Repair Using Silicone Adhesive
Silicone adhesive is the most popular fix for small tears. It stays flexible, bonds to rubber, and holds up underwater.
Apply a tiny drop of clear silicone to the torn edges using a toothpick. Press the two sides together gently and hold for about 30 seconds. Wipe away any excess immediately because cured silicone is tough to remove. Let it cure for a full 24 hours before testing.
Pros: flexible, waterproof, easy to find, affordable, and forgiving to apply.
Cons: needs a long cure time, can look messy if you use too much, and may not hold up to deep dives beyond 10 meters.
This method works best for hairline tears and small nicks on the outer edge of the gasket.
Method 2: Use a Rubber Repair Patch
For longer tears, a patch works better than glue alone. Pool liner repair kits and bicycle tube patch kits both contain thin rubber patches with strong adhesive backing.
Cut a small piece of patch material slightly larger than the tear. Peel off the backing and press it firmly over the damaged area. Hold pressure for a minute, then let it set for several hours.
Pros: covers larger tears, very strong, and the patch material is designed to flex underwater.
Cons: adds thickness that may stop the case from sealing properly, and patches can peel off over time.
Use this method only when the tear is on the flat outer surface of the seal, not in the contact area that touches the case.
Method 3: Replace the Seal Entirely
Sometimes the smartest fix is no fix at all. If your seal is older, brittle, or has multiple tears, replace it. Replacement O rings and gaskets are widely available for most major brands.
Search by your exact camera model and housing version. Aftermarket sellers often offer them in packs of two or three for a few dollars. Pop the old seal out, clean the groove, and press the new one into place.
Pros: restores the case to original waterproof rating, removes all guesswork, and lasts for years.
Cons: not every brand sells replacements, especially for older or budget housings. You may need to wait for shipping.
For peace of mind on deep dives, replacement beats repair every single time.
Method 4: Make a DIY Seal from Sheet Rubber
If you cannot find a replacement, you can make your own. Thin sheet rubber or silicone gasket material sold at hardware stores works for many cases.
Trace the shape of the old seal onto the sheet using a fine marker. Cut carefully with sharp scissors or a craft knife. Test fit the new seal in the groove before gluing it down with a thin layer of silicone adhesive.
Pros: completely customizable, cheap, and works when no replacement exists.
Cons: requires patience and precision, may not match the original thickness exactly, and is less reliable for deep water use.
Treat DIY seals as a backup option for shallow water adventures only. Pool snorkeling and surface splashes, yes. Scuba diving, no.
Test Your Repair with the Tissue Paper Trick
Never trust a repaired seal blindly. The tissue paper test is the gold standard for checking a waterproof case before risking your camera.
Take a folded piece of dry tissue paper and place it inside the empty case. Close and latch the case as you normally would. Then submerge it in a sink or bucket of water for at least five minutes. Push it around and rotate it to test from all angles.
Pull it out, dry the outside, and open it carefully. If the tissue is still bone dry, your repair works. If you see any damp spots, water got in. Locate the leak and repair again before trusting your camera inside.
Apply Silicone Grease to Extend Seal Life
Once your repair passes the test, treat the rubber with silicone grease. A thin layer keeps the seal soft, flexible, and water resistant. Skip petroleum based grease because it eats rubber.
Use your fingertip to spread a tiny dab evenly across the entire seal. Less is more here. Too much grease attracts sand and dirt that can damage the gasket later.
Wipe away any excess with a clean cloth. Reinstall the seal in its groove and you are ready to go.
This simple step doubles the life of both repaired and new seals. Repeat the grease treatment every few months or after heavy use in saltwater. Your future self will thank you.
Know When to Stop Repairing and Buy New
Some damage cannot be fixed safely. If your seal has multiple tears, missing chunks, or feels stiff and crumbly, stop trying. A failed seal at 30 feet underwater costs you a camera worth hundreds of dollars.
Replacement housings for popular action cameras often cost less than half the price of the camera itself. Weigh the risk before you take a patched case into deep water.
For shallow pool use, splash protection, or rain shooting, a repaired seal is usually fine. For ocean dives, river kayaking, or anything past wading depth, invest in a new housing or a new seal. Your camera and your memories are worth that small extra cost.
Prevent Future Tears with Smart Maintenance
The best repair is the one you never have to make. Rinse your case in fresh water after every saltwater or chlorinated use. Salt crystals are sharp and slowly cut into rubber.
Dry the case completely before storing it. Store it open, not latched shut, so the seal does not stay compressed for months at a time. Compressed rubber loses its bounce.
Inspect the seal before every use. Look for dirt, hairs, or tiny tears. A single grain of sand in the groove can ruin your dive. Treat your seal with silicone grease every couple of months and your case will outlast several cameras.
Common Mistakes to Avoid During Repair
Even careful people make these slip ups. Using super glue tops the list. It dries hard, cracks under pressure, and ruins the seal permanently.
Skipping the cleaning step is another big one. Glue will not bond to oily or dirty rubber. Always wipe with alcohol first.
Overtightening the case after repair can also pinch and tear the fresh seal. Close it gently and check that the seal sits flat all the way around. Do not test the case with your camera inside for the first water test. Always do the tissue paper dive first.
Finally, do not rush the curing time. Silicone needs a full day to fully harden. Patience now saves heartbreak later.
Frequently Asked Questions
Can I use super glue on a torn rubber seal?
No. Super glue dries hard and brittle. It cracks the moment the seal flexes, which it does every time you open and close the case. Stick with silicone adhesive, rubber cement, or marine grade sealant for a flexible, lasting bond.
How long does a repaired seal last?
A well done silicone repair on a small tear can last several months to a year with proper care. Larger repairs or DIY seals may need replacing within a few uses. Always inspect before each use and replace at the first sign of new damage.
Can I take a repaired case scuba diving?
It is not recommended. Repairs hold up best in shallow water under 10 meters. Scuba depths put extreme pressure on seals. For diving, always use a new manufacturer seal or a replacement housing for safety.
What is the difference between an O ring and a gasket?
An O ring is a round, circular rubber loop that sits in a groove. A gasket is a flat shaped piece that lines a sealing surface. Most action cameras use one or the other depending on the housing design.
Where can I buy replacement seals for my camera?
Check the camera manufacturer website first. Many third party sellers also offer compatible O rings and gaskets for popular models like GoPro, DJI Osmo, Insta360, and Akaso. Always match the exact model number of your housing.
How do I know if my seal is too old to repair?
Press the rubber gently with your fingernail. If it feels stiff, brittle, cracked along the surface, or leaves a permanent dent, the rubber has aged out. Replace it instead of repairing.
Does silicone grease damage rubber seals?
No, silicone grease is safe and actually helps preserve rubber. Avoid petroleum based products like Vaseline because they break down rubber over time. Always check the label and pick a grease made for O rings.

Hi, I’m Lola Griffin 👩💻, the voice and creator behind ResizerBox. I’m a passionate tech enthusiast who loves exploring the latest gadgets, smart devices, and trending Amazon electronics. Through my reviews, I share honest insights, real-world testing experiences, and practical buying advice to help readers make confident tech choices.