How To Fix Smart Mug Coaster Charging Pins Retracting And Sticking?
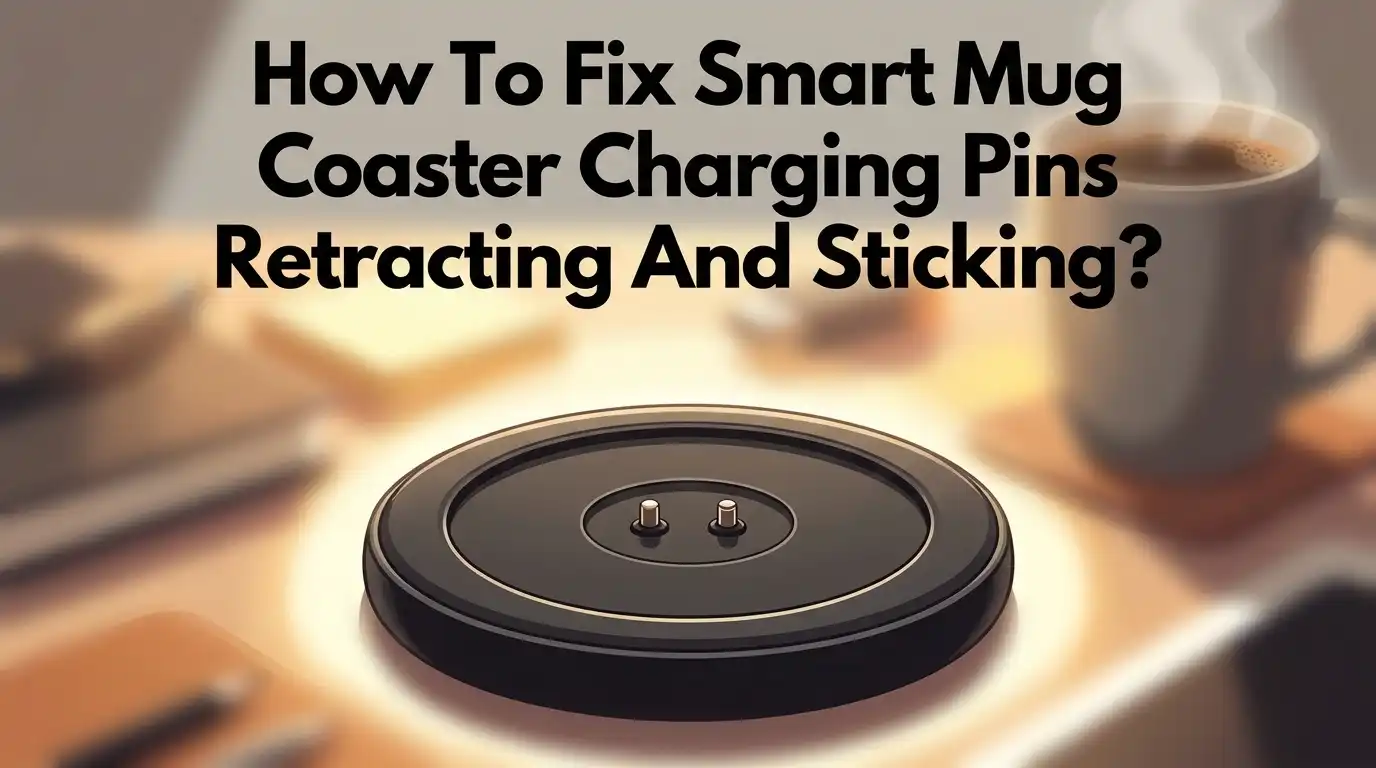
Your smart mug coaster keeps your coffee warm all day. But then one morning, it stops working. You check the charging pins and notice they are stuck flat.
This is a common problem. Many users face stuck or retracted charging pins on their smart mug coasters. The good news? You can fix this at home in just a few minutes.
Debris and residue often cause this issue. Small particles build up around the pins over time. This buildup stops the pins from springing back into position.
The pins need to stay upright to connect with your mug. When they get stuck down, your mug simply will not charge.
In this guide, we will walk you through simple steps to fix stuck pins. You will learn how to safely dislodge the spring mechanism. We will also cover cleaning methods that prevent this problem from returning.
Plus, we will share tips to keep your coaster working smoothly. You will know exactly when a fix works and when you might need a replacement.
Let’s get your mug coaster back in working order.
In a Nutshell
Here’s a quick summary to fix your sticky coaster pins:
-
Unplug the coaster first. Always disconnect power before touching the pins. This keeps you safe and protects the device.
-
Push the pin gently. Use your finger to press the stuck pin. This can help release the spring underneath.
-
Pull pins up with tweezers. If the pin stays down, grab it carefully with tweezers. Lift it back to its upright position.
-
Clean with alcohol. Dip a Q-tip in rubbing alcohol and wipe each pin. This removes sticky residue causing the jam.
-
Try WD-40 for tough spots. If pins still stick, add a tiny bit of WD-40 on a Q-tip. Apply it directly to the stubborn area.
-
Wipe your mug and coaster often. Regular cleaning stops debris from building up. This keeps your pins working well long term.
Follow these steps in order for the best results. Your coaster should charge your mug smoothly again soon.
Understanding Why Charging Pins Retract and Stick
Your smart mug coaster has tiny metal pins underneath that pop up and down. These pins connect with your mug’s charging contacts to transfer power. When they retract and stick, your mug won’t charge.
The main reason this happens is debris buildup. Dust, coffee residue, and moisture collect on the pins over time. This gunk makes the spring mechanism stiff and prevents the pins from moving freely.
Another cause is spring fatigue. The small springs inside the coaster weaken after repeated use. When springs lose their strength, pins stay down instead of bouncing back up naturally.
Sometimes the pins get stuck because moisture enters the coaster. If you spill liquid near the charging area or use the coaster in humid conditions, water can corrode the metal pins. Corrosion makes the pins rough and causes them to jam in the down position.
Poor contact between your mug and coaster also triggers this issue. If the mug’s charging plate is dirty or misaligned, the pins may not retract properly after charging stops.
The good news is that most stuck pin problems are fixable at home. The issue rarely means your coaster is broken permanently. In most cases, cleaning and gentle mechanical adjustment solve the problem completely.
Understanding these causes helps you prevent future issues. You’ll know exactly what to avoid and how to maintain your coaster properly. Regular cleaning and careful handling keep your charging system working smoothly.
The key is acting quickly when you notice pins sticking. The longer debris sits on the pins, the harder they become to clean. Early intervention prevents permanent damage to the spring mechanism inside your coaster.
Tools You Need Before You Begin
Before you start fixing your smart mug coaster, gather a few basic items from around your home. You probably have most of these already, so this won’t cost you anything extra.
First, you need a power source check. Make sure you have access to an outlet where you can safely unplug your coaster. Never attempt repairs while the device is plugged in. Safety comes first when working with any electrical device.
Next, grab some cleaning supplies. A box of regular Q-tips works perfectly for this job. You’ll also want rubbing alcohol on hand. Most households keep this in their medicine cabinet or bathroom. The alcohol helps dissolve stubborn residue stuck to the pins.
A pair of fine-tipped tweezers is essential. These let you gently manipulate the pins without causing damage. Tweezers give you better control than your fingers alone. Look for ones with a straight or slightly curved tip.
Consider having a small container nearby. This holds your Q-tips and keeps your workspace organized. A cup or small dish works great for this purpose.
Optional but helpful: WD-40 or a similar lubricant. If your pins are really stuck, a tiny amount on a Q-tip can help loosen them. Keep this away from electrical components and use it sparingly.
Finally, prepare a clean work surface. Use a table or desk with good lighting. This helps you see the tiny pins clearly while you work. A magnifying glass is nice to have but not required.
Gather everything in one spot before starting. This prevents you from stopping midway through repairs to search for tools. Having everything ready makes the whole process faster and smoother. Take a moment to organize your supplies, and you’re ready to begin fixing those sticky pins.
Step-by-Step Guide to Fixing Stuck Charging Pins
Now that you have your tools ready, it’s time to fix those stuck pins. Follow each step carefully to avoid damaging your coaster.
Start by unplugging your coaster from the power adapter. This is the most important safety step. Never work on an electrical device while it’s plugged in. Wait a few seconds after unplugging to let any residual power drain away.
Gently push the recessed pin with your finger. Use light pressure to see if the spring mechanism responds. Sometimes a simple push dislodges the pin and makes it pop back up. If this works, you’re done with this step.
If your finger doesn’t work, grab your tweezers. Carefully grip the top of the stuck pin between the tweezers tips. Pull upward slowly and steadily. Avoid jerking or twisting, as this can damage the internal spring. You may feel resistance as the pin moves. This is normal.
Once the pin stands upright, take your Q-tip and rubbing alcohol. Wipe around the pin base and the surrounding contact area thoroughly. Debris often hides in these crevices. Clean both the pin and the socket where it sits. Let the alcohol dry completely for one minute.
For stubborn pins that won’t budge, apply a tiny amount of WD-40 to a clean Q-tip. Gently apply this around the pin base. Wait thirty seconds for the lubricant to penetrate. Then try pulling the pin up again with your tweezers.
Test your pin by pushing it down gently with your finger. It should spring back up easily. If it stays down, the spring may be broken and you might need a replacement coaster.
Repeat this entire process for any other stuck pins on your coaster.
How to Deep Clean Pins for Long-Term Performance
Deep cleaning your charging pins keeps them working smoothly for months ahead. This process removes the invisible gunk that causes sticking problems in the first place.
Start by unplugging your coaster completely. Let it sit for a few minutes so any residual charge drains away safely. This prevents accidental damage while you work.
Dip a clean Q-tip into rubbing alcohol. The alcohol cuts through mineral deposits and dried residue that builds up over time. Gently swab each pin from base to tip using light circular motions.
Pay special attention to the grooves around the pin base. Debris loves hiding in these small crevices. Use the pointed end of your Q-tip to reach into tight spots where dirt accumulates.
For pins that feel extra sticky, let the alcohol soak for 30 seconds. The liquid breaks down stubborn buildup without harming the metal or spring mechanism. Then swab again with a fresh Q-tip.
Check the coaster surface around each pin too. Wipe away any white crusty deposits or dark spots you see. These indicate mineral buildup or mold growth that prevents proper pin movement.
After cleaning, let everything air dry completely. This usually takes 5 to 10 minutes depending on humidity levels. Don’t plug in your coaster until it’s fully dry.
Test each pin by pushing it down gently with your finger. It should pop back up smoothly without resistance. If a pin still feels sticky, repeat the cleaning process one more time.
Perform this deep clean every two to three weeks for best results. Regular maintenance stops problems before they start. You’ll notice your mug charges faster and more reliably when pins stay clean and free moving.
Preventing Future Pin Sticking Issues
The best way to stop pin sticking problems is to prevent them from happening in the first place. You can avoid frustration and keep your smart mug coaster working perfectly with a few simple habits.
Wipe your mug bottom regularly. Every time you remove your mug from the coaster, take a quick look at the charging contacts on the bottom. Use a dry cloth to wipe away any dust, coffee residue, or moisture. This single habit stops most debris from building up on the pins.
Keep your coaster clean and dry. The coaster surface collects dust just like any other device. Wipe it down with a soft, dry cloth at least once a week. Pay special attention to the areas around each charging pin where particles like to gather.
Avoid placing the mug in wet conditions. Moisture creates the perfect environment for corrosion and sticky buildup. Never set your coaster near water sources or in humid bathrooms. If your mug gets wet, dry the bottom completely before placing it back on the coaster.
Test your pins weekly. Push each pin down gently with your finger once a week. This keeps the spring mechanism active and prevents pins from getting stuck in the down position. Think of it like exercising a muscle to keep it strong.
Store your coaster properly. When you’re not using your smart mug, keep the coaster in a clean, dry space. Avoid dusty shelves or areas where particles can settle on the device.
Use your mug regularly. Ironically, using your smart mug often keeps the charging system healthy. Frequent pin movement prevents sticking better than leaving the coaster sitting unused for weeks.
These simple prevention steps take just minutes each week but save you hours of troubleshooting later.
Common Mistakes That Make the Problem Worse
Many people accidentally make their charging pin problems worse by rushing through fixes or skipping important safety steps. Understanding these mistakes helps you avoid creating bigger headaches down the road.
The most common error is forcing the pins without unplugging the coaster first. When you apply pressure to a stuck pin while power flows through the device, you risk damaging the internal spring mechanism permanently. The electrical current can interfere with the delicate components inside. Always disconnect your coaster from the power adapter before touching anything.
Another frequent mistake is using excessive force with tools. People grab pliers or screwdrivers and push hard on the recessed pins. This aggressive approach can bend the pin shaft or break the spring entirely. Tweezers work best because they let you apply gentle, controlled pressure. Your fingers are often the safest option for the first attempt.
Neglecting routine cleaning makes the problem repeat itself. If you fix stuck pins but never wipe your mug bottom or coaster surface, debris builds up again within days. The same sticky situation returns because the root cause remains untouched. Regular maintenance prevents this cycle.
Using the wrong cleaning materials also causes issues. Harsh chemicals or abrasive cloths can corrode the metal pins or damage the coaster’s electronic components. Rubbing alcohol is your safest choice for cleaning. It evaporates quickly and won’t leave residue behind.
Many people also skip the drying step after cleaning. Moisture left on the pins creates rust and corrosion, which makes them stick again faster. Always let everything air dry completely before testing or using your mug.
Finally, some folks give up too quickly. If a pin doesn’t pop up on the first try, they assume it’s broken. Most pins respond after gentle, patient work with the right technique. Patience and proper steps matter more than speed.
Troubleshooting When the Fix Doesn’t Work
Sometimes your smart mug coaster pins stay stuck even after you try the basic fixes. This happens more often than you might think. The good news is you have several options to explore before giving up.
First, check if you’re using the right cleaning materials. Rubbing alcohol works best for most situations. If regular alcohol didn’t help, the buildup might be mineral deposits from water or dried beverage residue. These deposits are harder to remove and need extra soaking time. Let your cleaning solution sit on the pins for a full minute before wiping.
The spring mechanism itself might be damaged. If you push a pin down and it doesn’t pop back up on its own, the spring lost its tension. This means the pin physically cannot stay in the raised position anymore. You’ll notice this problem happens to the same pin repeatedly, even right after cleaning.
Another issue is corrosion inside the coaster. If your mug lives in a humid environment or near a sink, moisture gets inside the device. Corrosion eats away at the metal parts that make the spring work. You can’t fix internal corrosion with surface cleaning alone.
Consider testing with a different mug first. Sometimes the problem isn’t your coaster at all. If another mug charges perfectly fine, your original mug’s charging contacts might be the real issue. The coaster pins work fine, but they can’t make good contact with a damaged mug bottom.
If none of these troubleshooting steps work, your coaster likely needs replacement. The internal spring mechanism has reached the end of its life. Contact the manufacturer’s support team with photos of the problem. Explain what fixes you already tried. Many companies offer replacement options if the device fails within warranty periods.
Final Thoughts
Sticky charging pins feel frustrating, but the fix is simple. Most problems come down to dirt and debris. A quick clean often solves the issue in minutes.
Remember the core steps. Unplug your coaster first. Gently dislodge the pin, then clean it with alcohol.
Patience matters here. Rushing the process leads to more damage. Take your time with each pin.
Prevention saves you future headaches. Wipe your mug bottom often. Keep your coaster free from dust and moisture.
These small habits make a big difference. A clean setup means fewer sticking pins. You spend less time troubleshooting and more time enjoying warm coffee.
Sometimes the fix does not work right away. The pin may refuse to stay upright. This usually points to a damaged spring.
Do not force it repeatedly. Forcing a broken spring can crack the pin housing. At this point, replacement becomes the smarter choice.
Customer support for these coasters can feel slow. Many users report long wait times. This makes self troubleshooting even more valuable.
Knowing how to fix the issue yourself saves time. You do not need to wait on a response. Most fixes take less than ten minutes.
Keep your tools ready for next time. A tweezer and some alcohol wipes go a long way. Store them near your coaster for quick access.
Smart mug coasters make daily life easier. A little maintenance keeps them working well. Small efforts now prevent bigger problems later.
Stay consistent with cleaning and checks. Your coaster will reward you with reliable performance. Sticking pins do not have to ruin your coffee routine.
In the end, simple care solves most issues. Understanding the pins and springs helps you act fast. With these steps, your smart mug stays ready whenever you need it.
Frequently Asked Questions
Why do my charging pins keep retracting into the coaster?
Debris and residue buildup is the main culprit. When dust, coffee residue, or mineral deposits collect on the pins and coaster surface, they prevent the spring mechanism from working properly. The pins get stuck in the down position and won’t pop back up.
Over time, this buildup hardens and makes the problem worse. Even after you fix it once, the same issue can return if you don’t clean regularly.
Can I fix stuck pins without taking apart my coaster?
Yes, you can fix this without disassembly. First, unplug the coaster from power. Then gently push each recessed pin upward with your finger to dislodge the spring. Use tweezers to carefully pull the pins upright if they resist.
Next, clean the pins with a Q-tip and rubbing alcohol. This removes the sticky residue causing the problem. For stubborn pins, apply a small amount of WD-40 on the Q-tip before cleaning.
When should I replace my coaster instead of fixing it?
Replace your coaster if the pin won’t stand independently after troubleshooting. If you push it down and it doesn’t spring back up on its own, the spring mechanism is likely damaged beyond repair.
Also consider replacement if the pins bend or crack during the cleaning process. Bent pins won’t make proper contact with your mug.
How often should I clean my coaster to prevent this issue?
Clean your coaster weekly to prevent pin problems. Wipe the mug bottom before placing it on the coaster. Check the pins and coaster surface for debris buildup every few days.
Regular maintenance stops the problem before it starts and keeps your charging working smoothly.

Hi, I’m Lola Griffin 👩💻, the voice and creator behind ResizerBox. I’m a passionate tech enthusiast who loves exploring the latest gadgets, smart devices, and trending Amazon electronics. Through my reviews, I share honest insights, real-world testing experiences, and practical buying advice to help readers make confident tech choices.