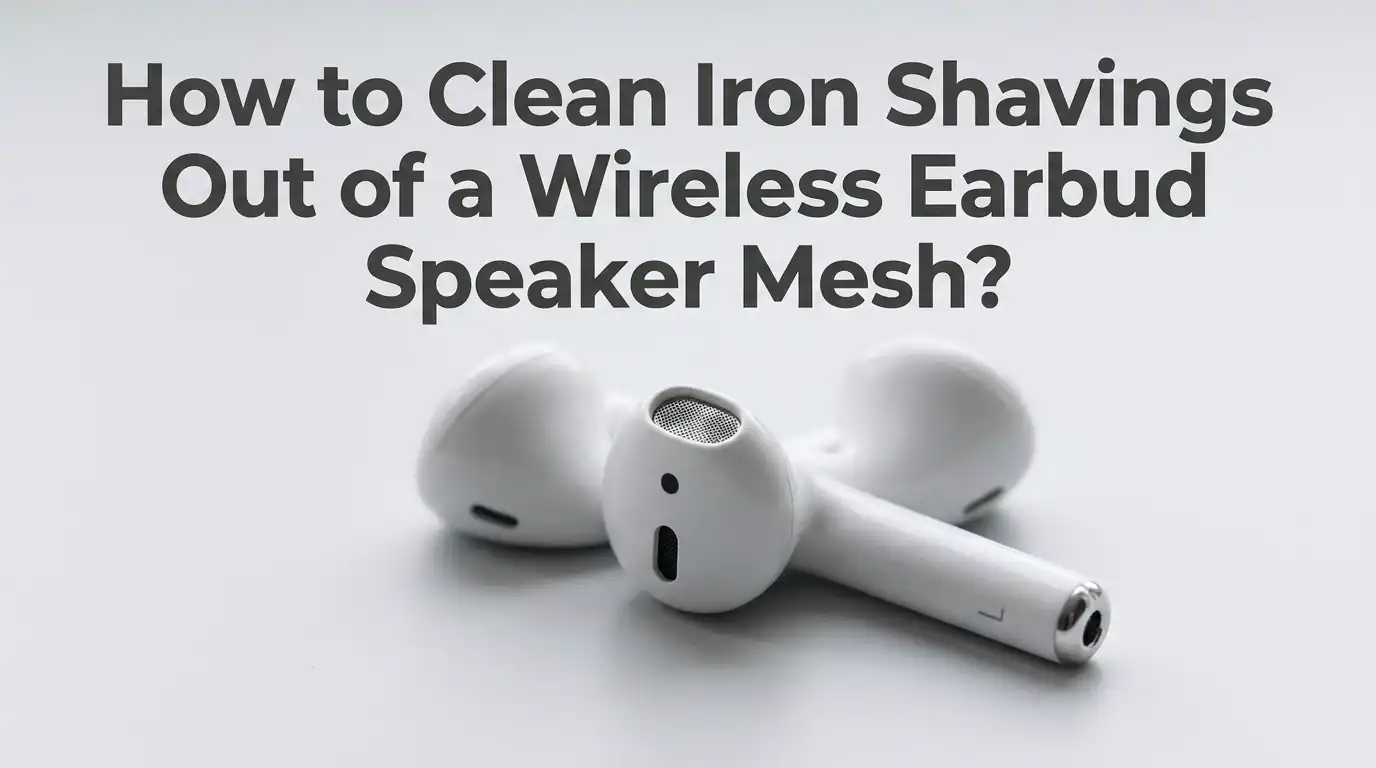
How to Clean Iron Shavings Out of a Wireless Earbud Speaker Mesh?
Wireless earbuds attract iron shavings like tiny magnets in a hardware store. The small magnets inside the speakers and the charging case pull metal dust right onto the mesh.
Once those shavings settle, your audio sounds muffled, scratchy, or weak. You may even notice black specks clinging to the grille.
This guide walks you through every safe method, the pros and cons of each, and the habits that keep shavings away for good.
In a Nutshell
- Iron shavings stick to earbud mesh because the speakers contain small neodymium magnets. The longer the shavings sit, the harder they push into the mesh fibers.
- Use dry methods first, like a soft brush, sticky tack, or compressed air. Wet methods come second because liquid can push debris deeper or damage the driver.
- A stronger external magnet can pull shavings out of the mesh fast. Wrap the magnet in plastic film so the shavings drop off cleanly.
- Isopropyl alcohol (70 percent or higher) works for stubborn black stains left behind, but apply it with a barely damp cotton swab and never spray it directly.
- Never use needles, sharp pins, or metal tweezers. They tear the fine mesh and let dust travel straight into the speaker driver.
- Store earbuds in a clean case and keep them away from pockets, tool benches, and magnetic surfaces to stop the problem from coming back.
Why Iron Shavings Stick to Earbud Mesh in the First Place
Every wireless earbud has a tiny speaker driver. That driver uses a neodymium magnet, which is one of the strongest magnets you can buy in a small size. The magnet sits right behind the mesh grille.
When iron dust floats near the earbud, the magnet pulls it through the openings in the mesh. The shavings then stick to the metal weave and the magnet behind it. This happens even when the earbud is turned off.
People who weld, grind metal, sand cars, or work near machine shops face this most often. But you can also pick up shavings from old keys, watch backs, or even rusty pocket lint. Knowing the cause helps you pick the right tool for the cleanup job.
Signs Your Earbud Mesh Has Iron Shavings Stuck Inside
Before you start cleaning, confirm the problem. Iron shavings look like tiny black hairs or dark specks pressed flat against the mesh. They often form a small ring or cluster right over the speaker hole.
The sound gives you another clue. You may hear lower volume in one ear, a fuzzy hiss, or muffled bass. Sometimes high notes drop out completely. Touching the mesh with a fingernail may not reveal the shavings, but a magnifying glass will.
Shine a flashlight directly on the grille. The metal flakes will sparkle a bit against the dark mesh. If you see brown patches, that is rust forming from old shavings mixed with sweat or moisture, which means you need to act soon.
Tools You Need Before You Start Cleaning
Gather your supplies before you touch the earbuds. A clean workspace with good lighting makes the job much easier. Lay down a white paper towel so you can see every shaving that drops out.
You will need a soft bristle brush, like a clean baby toothbrush or a watch cleaning brush. Add a roll of clear tape, a small ball of mounting putty or blue tack, and a few cotton swabs. Keep a bottle of 70 to 99 percent isopropyl alcohol nearby.
A small neodymium magnet helps for tough cases. A piece of plastic wrap or a sandwich bag covers the magnet during use. Skip metal picks, sewing needles, and paper clips, since they puncture the delicate mesh almost every time.
Method 1: The Soft Brush Technique
This is the safest first step. Hold the earbud with the mesh facing down so gravity helps the shavings fall out instead of going deeper. Tilt it at a slight angle over a white surface.
Take your soft bristle brush and sweep gently across the mesh in one direction. Do not scrub in circles, because circular motion grinds the shavings sideways into the holes. Tap the earbud lightly between strokes to shake loose particles free.
Pros: This method is gentle, cheap, and works for most light cases. It needs no liquid and carries almost zero risk of damage.
Cons: It does not remove shavings that are deeply lodged or magnetically pulled tight against the driver. Stubborn flakes will need a stronger method after this first pass.
Method 2: The Sticky Putty or Mounting Tack Trick
Sticky putty is a wonderful tool for earbud cleaning. The soft, non residue glue grabs particles without leaving anything behind. Pinch off a small piece about the size of a pea.
Press the putty gently onto the mesh, then peel it away slowly. Look at the putty. You should see dark specks stuck to its surface. Fold the putty over, knead it, and press again with a fresh side.
Repeat until the putty comes away clean. Mounting tack, poster putty, and earbud cleaning putty all work the same way.
Pros: Putty pulls shavings out without pushing them deeper. It also picks up earwax and lint at the same time.
Cons: Cheap putty can leave oily residue on the mesh. Always test on a small spot first, and avoid using putty that feels too soft or sticky.
Method 3: The Magnet Pull Method
Since a magnet caused the problem, a stronger magnet can solve it. Find a small neodymium magnet, the kind sold for fridge use or hobby crafts. Wrap it tightly in a single layer of plastic wrap or place it inside a thin plastic bag.
Hold the wrapped magnet about half a centimeter from the earbud mesh. Move it in slow, gentle sweeps. The shavings will jump from the earbud to the stronger magnet through the plastic.
Pull the magnet away and peel back the plastic. The shavings will fall right off into a trash bin.
Pros: This method removes iron particles fast and reaches shavings buried deep in the mesh layers.
Cons: Strong magnets near electronics can interfere with sensors in rare cases. Keep the magnet away from the charging case battery and never touch the magnet directly to the mesh.
Method 4: Clear Tape Lifting
Clear tape acts like a gentle lint roller for earbud mesh. Cut a small strip of regular transparent tape, about one inch long. Press the sticky side flat against the speaker grille.
Push it down softly with your fingertip, then peel it back quickly. The shavings stick to the tape and lift right out. Use a fresh piece each time so the adhesive stays strong.
Pros: Tape is cheap, available in every home, and works on flat mesh areas. It also picks up dust and dead skin cells.
Cons: Tape can leave sticky glue residue on the mesh if you press too hard or use cheap brands. Avoid duct tape, masking tape, and packing tape, since they leave heavy adhesive behind that traps even more dust later.
Method 5: Isopropyl Alcohol and Cotton Swab Cleanup
Once the shavings are gone, you may still see black stains or rust marks on the mesh. This is where isopropyl alcohol helps. Use 70 percent or higher concentration, since lower percentages have too much water.
Dip the tip of a cotton swab in alcohol and squeeze out the excess against a paper towel. The swab should feel damp, not wet. Roll it gently over the mesh in one direction.
Let the earbud air dry for at least 15 minutes before charging or wearing it.
Pros: Alcohol dissolves oils, sweat, and light rust that other methods leave behind. It also kills bacteria.
Cons: Too much liquid can seep into the driver and damage the speaker. Never dunk the earbud or spray alcohol directly onto it.
Method 6: Compressed Air for Loose Particles
Compressed air helps blow loose shavings out of the mesh after you have loosened them. Hold the can upright and at least six inches from the earbud. Use short, controlled bursts.
Aim the air at an angle across the mesh, not straight down into it. Straight blasts push debris deeper into the speaker chamber. Side angle blasts sweep particles out and away.
Pros: Compressed air clears dust and loose flakes quickly without touching the mesh at all.
Cons: Strong bursts can damage the speaker driver by pushing on the diaphragm. Cheap cans may also spray cold liquid propellant onto the earbud. Always test the spray away from the device first, and never use an air compressor with high pressure.
Method 7: The Micellar Water and Soft Toothbrush Method
Apple itself recommends micellar water for cleaning the mesh on certain earbud models. Micellar water is a gentle skincare liquid that lifts dirt without harsh chemicals.
Dip the bristles of a soft children’s toothbrush into the micellar water. Tap off the excess so the bristles are only slightly damp. Brush the mesh gently in one direction for about 60 seconds.
Wipe the earbud dry with a clean microfiber cloth. Let it air dry for an hour before placing it back in the case.
Pros: Micellar water removes oils and stuck on particles that alcohol misses. It is gentle on the mesh and safe for skin contact.
Cons: It is more expensive than alcohol and not always on hand. The method also takes longer, and excess moisture can still seep inside if you are not careful.
What You Should Never Do When Cleaning Earbud Mesh
Some cleaning shortcuts cause permanent damage. Never use a safety pin, needle, or paper clip to scrape the mesh. The wire mesh tears easily, and once it is open, dust pours straight into the driver.
Skip household cleaners like bleach, glass cleaner, or hand sanitizer. These contain dyes, fragrances, and harsh chemicals that corrode the mesh and rubber seals. Hand sanitizer also leaves behind a gel residue that traps more dirt.
Do not soak the earbuds in water, even if they claim IPX water resistance. Submerging them voids most warranties and lets water reach the electronics. Also avoid blowing into the mesh with your mouth, since saliva droplets carry bacteria and moisture deep inside.
How to Stop Iron Shavings From Coming Back
Prevention is easier than cleaning. Always store your earbuds in their closed charging case when not in use. The case shields the magnets from floating metal dust in the air.
Keep the earbuds away from workshops, garages, and metal cutting areas. If you must wear them in those spaces, cover the mesh with a thin foam ear tip cover designed for earbuds. These covers block dust without muffling sound.
Clean your pockets, bags, and case interior weekly. Pocket lint often hides small iron particles from coins, keys, and old screws. Wiping the case magnets with a dry cloth every few days prevents shavings from transferring back to the earbuds.
When to Stop Cleaning and Replace the Earbuds
Sometimes the mesh is too damaged to save. If you see torn fibers, large holes, or rust eating through the metal, cleaning will not bring the sound back. At that point, replacing the mesh or the entire earbud is the right call.
Listen to the audio after each cleaning attempt. If volume stays low or the sound crackles, the driver itself may be damaged. Iron particles can scratch the speaker diaphragm and create permanent distortion.
Many brands offer mesh replacement kits or repair services. Check your warranty before paying for outside repairs. If the earbuds are older than two or three years, a replacement is often cheaper than a fix.
Frequently Asked Questions
Can iron shavings permanently damage my earbuds?
Yes, they can. If the shavings reach the speaker diaphragm, they scratch the surface and cause distortion. Acting fast and removing them early keeps the damage minimal and protects your sound quality.
Is it safe to use a magnet near my wireless earbuds?
A small magnet is safe if you keep it away from the battery and charging contacts. Wrap it in plastic and only use it near the mesh. Avoid placing it on or near the case lid for long periods.
How often should I clean my earbud mesh?
Clean the mesh once a week for light use and twice a week if you work near metal or sweat heavily. Regular cleaning stops buildup and keeps the audio clear at all times.
Will rubbing alcohol damage the earbud mesh?
A small amount of 70 to 99 percent isopropyl alcohol is safe. Do not soak the earbud, and never use rubbing alcohol that contains added oils, scents, or moisturizers, since these leave a sticky film behind.
What is the best tool for stubborn iron shavings?
A wrapped neodymium magnet works best for shavings stuck deep in the mesh. It pulls them out without touching or damaging the fragile metal weave at all.
Can I use water to clean my earbud mesh?
Plain water is not the best choice. It can seep inside and damage the driver. If you need a liquid, use micellar water or diluted isopropyl alcohol on a barely damp swab instead.

Hi, I’m Lola Griffin 👩💻, the voice and creator behind ResizerBox. I’m a passionate tech enthusiast who loves exploring the latest gadgets, smart devices, and trending Amazon electronics. Through my reviews, I share honest insights, real-world testing experiences, and practical buying advice to help readers make confident tech choices.